
In case you missed it, here are the previous links for this now-completed project:
I thought I was done with this project, but after living with the girl cave AC cabinet for the past few months I decided I didn’t like the blue I’d used to spray paint the laser-cut wooden door panels with:


The blue was just a random color I’d had in a can of spray paint. But to me it clashed with the violet of the walls and the deep purple of the ceiling. So last weekend I climbed up, planning to remove the cabinet from the walls. But that didn’t work out. When I caulked it to the wall I did a REALLY good job apparently! So I had to settle with taking just the doors off.
After taking the doors apart [frame/laser-cut panels/rigid insulation] I sprayed the panels off-white:


Then painted the rigid insulation the same color as the walls and let everything dry for a week:


Today I put the doors back together. But before putting them on the cabinet I used the same trick as I did with the bedroom AC cabinet and added thin pieces of cardboard behind each hinge to bring the doors out a few millimeters. Originally they closed too tightly and I wanted to fix that. I grabbed an old Ziploc box from the basement:

And cut little hinge-sized pieces from it:


Then hung the doors up, inserting the cardboard under each hinge:


Closeup of the cardboard behind the hinge:

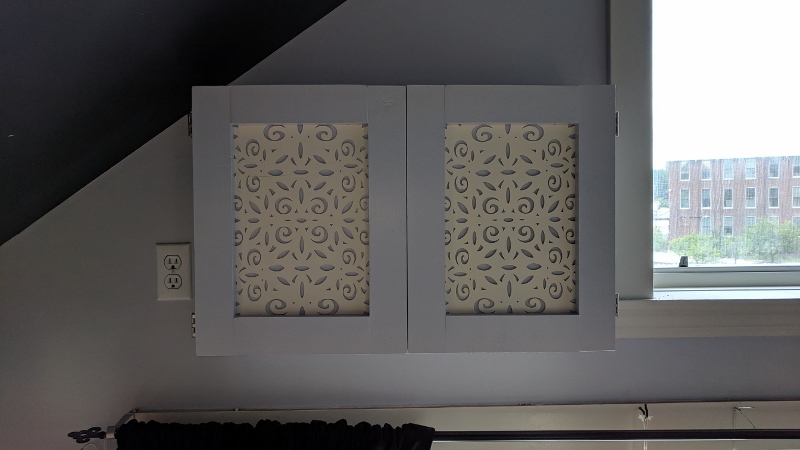
Look how perfectly the doors close now – just a few millimeters of space which is what I wanted:


I love how it looks now!:


As you may note in the above pic, I’ve removed the weird alien-looking IKEA light I’d hung up there in 2016. I’m going to replace it with a spotlight shining down on my work bench.
… but I liked the IKEA light! 🙂
It was cool looking but cheaply made, never attached correctly to the ceiling, and gave minimal light… i need better lighting when i work on stained glass 🙂 i liked it too, but after while I just got sick of it’s shit 🙂
Haha $
So subtle, but such an improvement – great job, Alison!
Thanks! I probably should have painted the laser cut panels the same color as the wall and kept the insulation panels white… but whatever. it’s an improvement!