
In case you missed it, here are the previous links for this now-completed project:
I cannot believe that after 14 months I am finally DONE!!! I am floored. This is definitively the largest and most complex painting I’ve ever done. It’s the first time I’ve painted on large canvas. My typical medium is small square wooden blocks. It was a learning curve, for sure! And very frustrating at times. But so worth it in the end! I have no idea how long it took in terms of hours. My best guess is at least 20, probably more.
Yesterday afternoon I added the finishing touches and called the chameleon DONE:

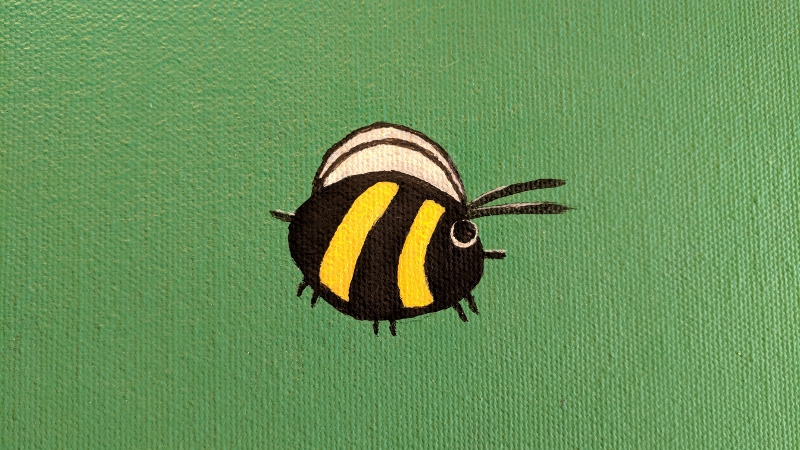
I added a bumble bee, which the chameleon is eye-balling:


Front claws:


And rear claws:


So exciting! DONE!!! OMFG!!!
Here’s a closeup of the tail, just because:

Today after work I gently hammered hanging hardware to the back of each canvas:


And after much measuring, hung it above the bed:


That’s our new king sized bed, btw. More about that in a different post. But we both LOVE the chameleon – it’s just perfect above the bed. I can’t believe I DID THAT! I really can’t. It’s fun when you do something outside your comfort zone and actually accomplish it, despite feeling like you’re fucking it up every step of the way *nods*.
He’s beautiful. Have you given him a name? Or her. Not sure why I decided he was male and not female.
No, I hadn’t thought of that! But the whole time I was painting him, I felt he was a boy, too. Interesting 🙂
WOW!!!! That’s SO gorgeous!
Thanks!
He’s perfect! Awesome job! Love the bee. You did such a good job with the shading and the spiny details.
Thanks! I love it. It’s better than I ever could have hoped for. I’m not trying to pat myself on the back – I’m just stunned I actually did it!