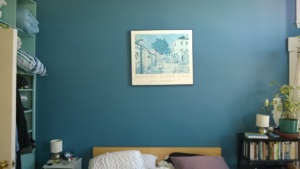
Hubby’s birthday was yesterday. For his present I’ve been planning to paint something for above the bed, to replace the faded picture that’s been up there since I moved in:
I measured out the space and decided a 30″ x 60″ mural would be perfect. At first I was going to paint it on plywood but the thought of trying to hang something that heavy on any wall, let alone the wall over our heads while we’re sleeping, was scary. I decided stretched canvas would be much better *nods*. I went to the local art supply store but couldn’t find canvas that big. They did have 30″ x 30″ canvases so I bought 2. Once the mural is done I’ll staple the back of the frames together but for now they’re separate.
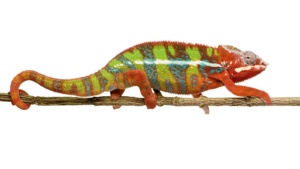
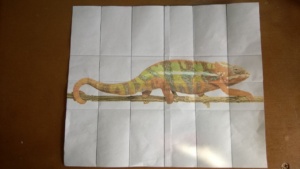
I searched online for a picture of a chameleon I liked. One which would be easy enough to reproduce on canvas! I settled on this one, which I printed out and drew a 6×3 grid on top of:
Looking at them together makes me realize how much our printer sucks. Or perhaps it just needs a new cartridge…
Hubby loves chameleons and we’ve seen a couple in Hawaii. We both love their eyes [which move independently] and their mitten feet. I wanted to do something Hawaii-related for the mural, but instead of big palm trees and turquoise water I settled on a bright, fun chameleon. I bought the canvases on 6/10/17, figuring I had plenty of time before hubby’s birthday to paint the mural and hang it up over the bed for a surprise. However, my energy took a nosedive and I did nothing for 3 weeks. So I told hubby about his birthday surprise instead.
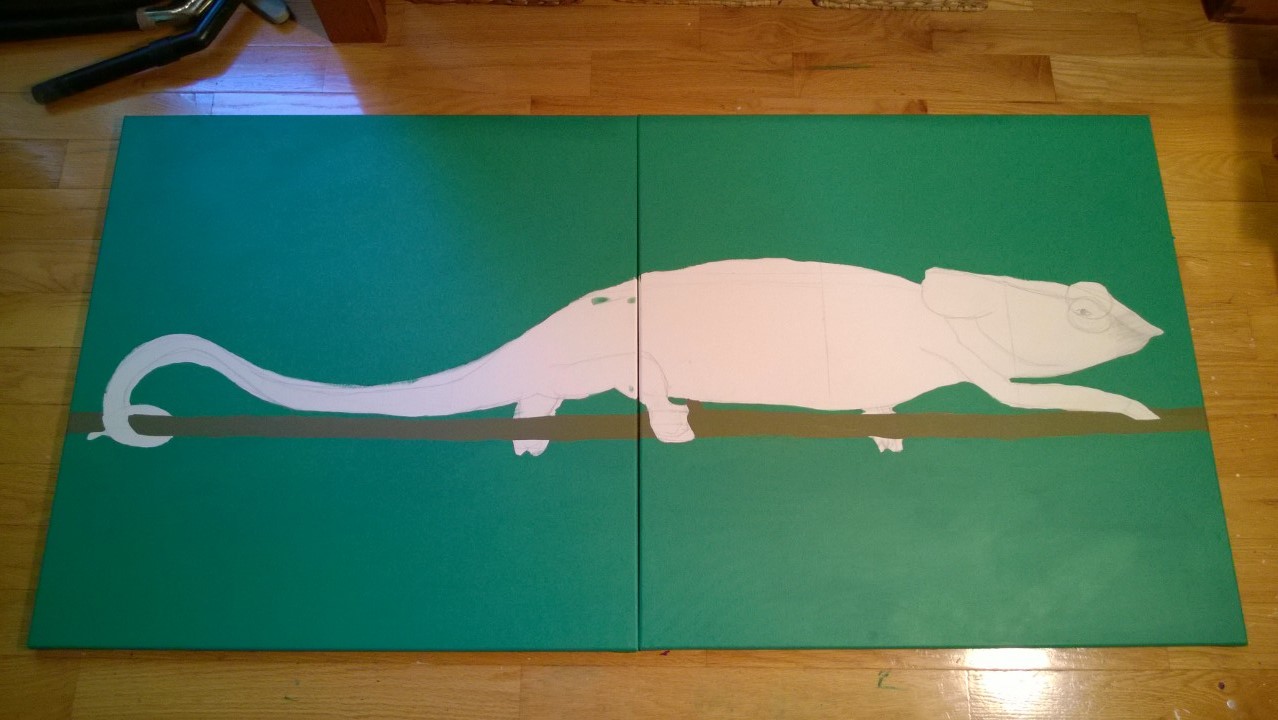
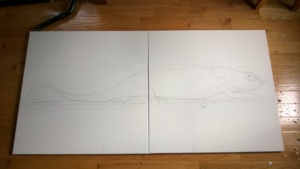
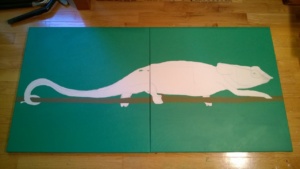
Last week I lay the canvas’ on the floor and drew 3×3 grids on each one to match the grid I’d drawn on the printout*. Gridding makes reproducing a picture into a painting more manageable, and helps you keep perspective. I did my best to draw the chameleon on the canvas’, using the grids as a guide:
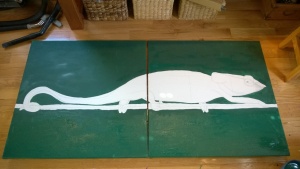
Then, based on what I learned in my paintbar class, I painted the background:
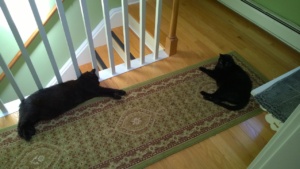
Meanwhile Darwin & Birdie were in the upstairs hall enjoying the cross breezes:
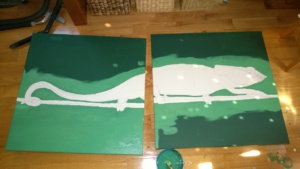
The background dried darker than I wanted, so I mixed some white into the green paint and re-painted it [the spots in the first pic are from the disco ball reflecting onto the floor]:
I also painted the tree branch. I don’t own brown paint, so I had to create my own by mixing black, white, red, green, blue, yellow, and orange… quite a mess, but it ended up working out! I saved the green paint & the brown paint in Tupperware containers. Very important for later touch ups!
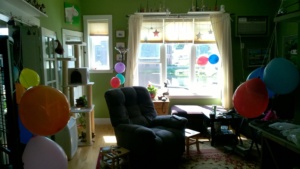
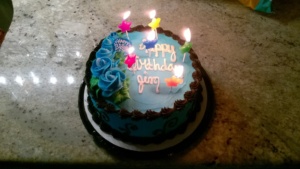
Then it was hubby’s birthday, and we celebrated with balloons, homemade veggie chicken parm [with oatmeal crusted veggie-chicken tenders], & cake:
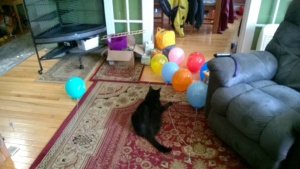
I don’t think any of the cats have seen balloons before… after I’d blown them up and started tying strings to them the wind blew them over towards Darwin and he kept trying to herd them and put his paws over the strings:
At one point a balloon rolled up and over Bonkers but he didn’t seem phased at all LOL!
* I learned the grid trick in high school art class when our entire class reproduced Van Gogh’s Starry Night into a huge mural. We were each given a large piece of paper and assigned one section of the painting. Our art teacher had a poster which she drew grid lines on, and she had us draw our assigned portion onto our paper using the grid as a reference. Then we each set to work painting our section. When hung together in the cafeteria it was impressive!
Beautiful Motive.
For Jim all the best.
Liebe Grüsse
Danke Daniela! Ich vermisse dich, meine Schwester
This is very cool. I would like to learn that technique. I’m excited to see the finished product.
Thanks, Jessica! I am too 🙂
Fascinating!!!! Can’t wait to see the finished chameleon – what a fun project!
Thanks! It is fun 🙂
What a fun thing to paint with all the bright colors! It’ll look great above the bed (or anywhere)! I learned the grid method of reproduction in high school, too. Makes things so much simpler.
That’s awesome that you also learned the grid technique in high school. This is the first time I’ve ever used it, almost 30 years out of high school. I bet my teacher would be happy 🙂