
Part 1 took us up the point of removing the spider arm from the Samsung washer drum. It was nearly impossible. The bolts were completely fused to the spider arm and drum and they basically melted any time we applied force. NIGHTMARE. I even looked up how much a new drum would cost! A lot… close to $400!
I finally took the drum and spider arm down to the basement and WHALED ON IT with a huge wrench which smashed the spider arm to pieces. It took close to 40 minutes and thankfully our neighbor who lives right above our basement cage was in Boston for the day!!! It was soooooooo loud! The process worked but left the bolt holes quite damaged:


To get the final pieces of spider arm off I actually used my power drill and drilled holes down through the bolts! Here’s a piece of spider arm with fused bolt still attached, and a pic of the last remaining piece of spider arm still attached to the drum:


Here’s another piece of spider arm with a hole drilled directly through the bolt! And the bolt still didn’t budge. Crazy! And a pic of me sitting on the drum drilling down through a bolt:


Once the entire spider arm was removed, the drum was pretty banged up:


I was able to use a ballpeen hammer to gently tap the bolt holes back to almost normal. Before doing that, the new spider arm wouldn’t fit onto the drum. Thankfully it did after my repair work:


I went to our local Aubuchon Hardware and bought plumber’s putty [$4] which I used to seal the damaged bolt holes:


The instructions said to roll the putty into snakes and press it around the areas you need to make water tight:


I removed the excess putty after screwing the new bolts in, and rubbed a bit of water sealant caulk onto the areas for added protection:


After that multi-day nightmare, I was able to move on with putting the rest of the washer back together. The YouTube video I was following said to use blue threadlocker [#affiliate] on the bolts before replacing them, so I went back to Aubuchon and bought a tube [$8]:

During the dismantling of the washer I had noticed the door seal was a bit torn near the top. I ordered a new one [#affiliate] [$52] which arrived before I put the washer back together. With that installed I replaced the front of the washer including the door and electronics panel:


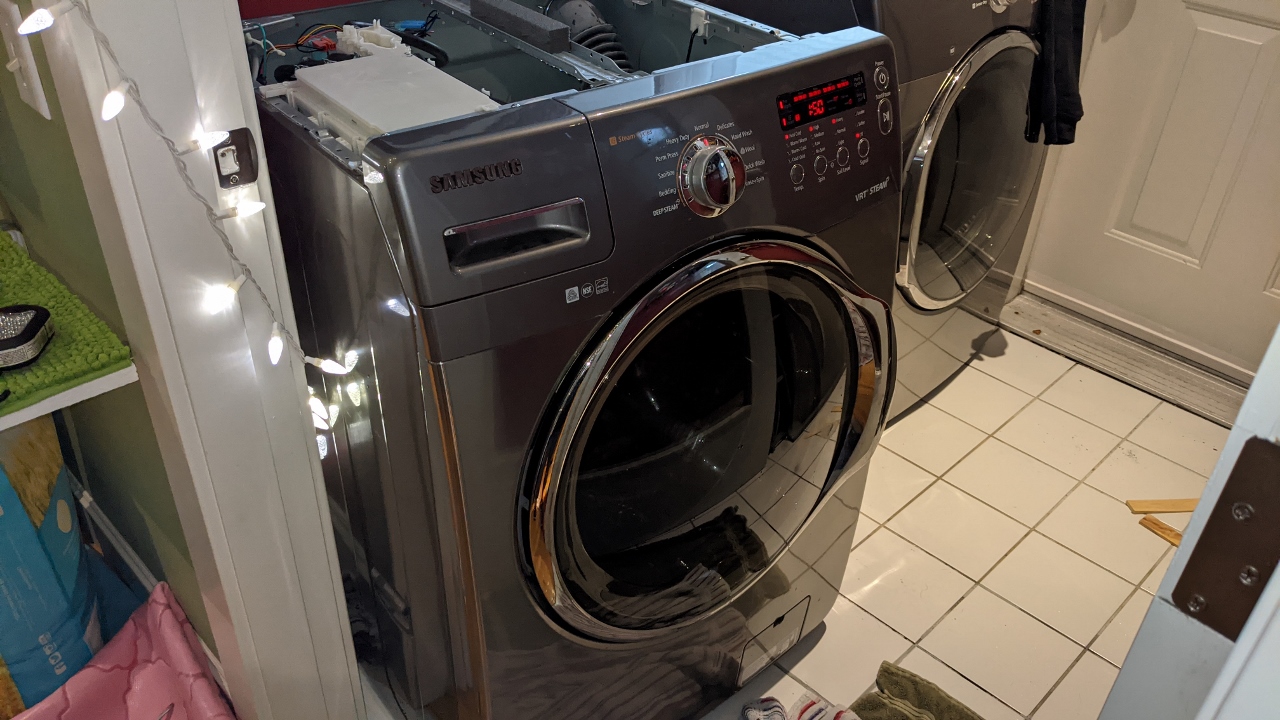
It was time for a test run! I was SO WORRIED it wouldn’t work, or would leak everywhere. I stood to one side as hubby turned it on. The best sign was when the electronics panel lit up:

Everything was working great until water suddenly fire-hosed Jim in the chest. We turned off the washer and after checking all the hoses and all the connections we found nothing amiss. We had to go through 2 more water-spraying episodes before narrowing it down to a hole in the housing assembly [closeup in 2nd pic]:


It looks like a flat-head screw driver impaled it… so weird. We looked online for a replacement part but Amazon and AppliancePartsPros both wanted $50 for it. I found a brand new one on eBay for $25 with free shipping 🙂 Once it arrived I installed it in the washer. If you look closely in the 2nd pic you’ll see little black dots [like markings on dice] on each of the 4 hose clamps that attach to the housing. The YouTube video guy had suggested that trick during the dis-assembly, which worked great when I was reassembling the hoses to the housing:


After that it was back to a test run and it worked perfectly!:
The inside of the drum still bears the dents from when I slammed the outside of it with a wrench to remove the spider arm, but it works fine and doesn’t leak, which is all that matters!:

Replacement Spider Arm Assembly: $116
Replacement Door Seal: $52
Replacement Housing Assembly: $25
Loctite Threadlocker: $8
Plumber’s Putty: $4
TOTAL DIY WASHER REPAIR: $205
Not bad 🙂 A hell of a lot cheaper than having a repair guy come to the house, or buying a new machine. Now I’ve fixed both the washer and the dryer. Which doesn’t say much for Samsung Appliances, since they’re only 6 years old!
Holy crap, that’s an incredible DIY! I would have bagged it at several points and simply ordered a new washer. OK, I wouldn’t even attempt it! I’m sure our washer is just as gross inside, even though I occasionally use washer cleaner. And now, knowing there’s a SPIDER ARM inside it, I may never do laundry again!!
I still can’t really believe I did it!!! Spider anything = full body shudder! I think all washers are that gross inside. The gross part is way inside, away from the furthest reaches of washer cleaner I believe! But I could be wrong. We use washer cleaner sometimes to get the old sock smell out of the drum and drum seal. Gross!