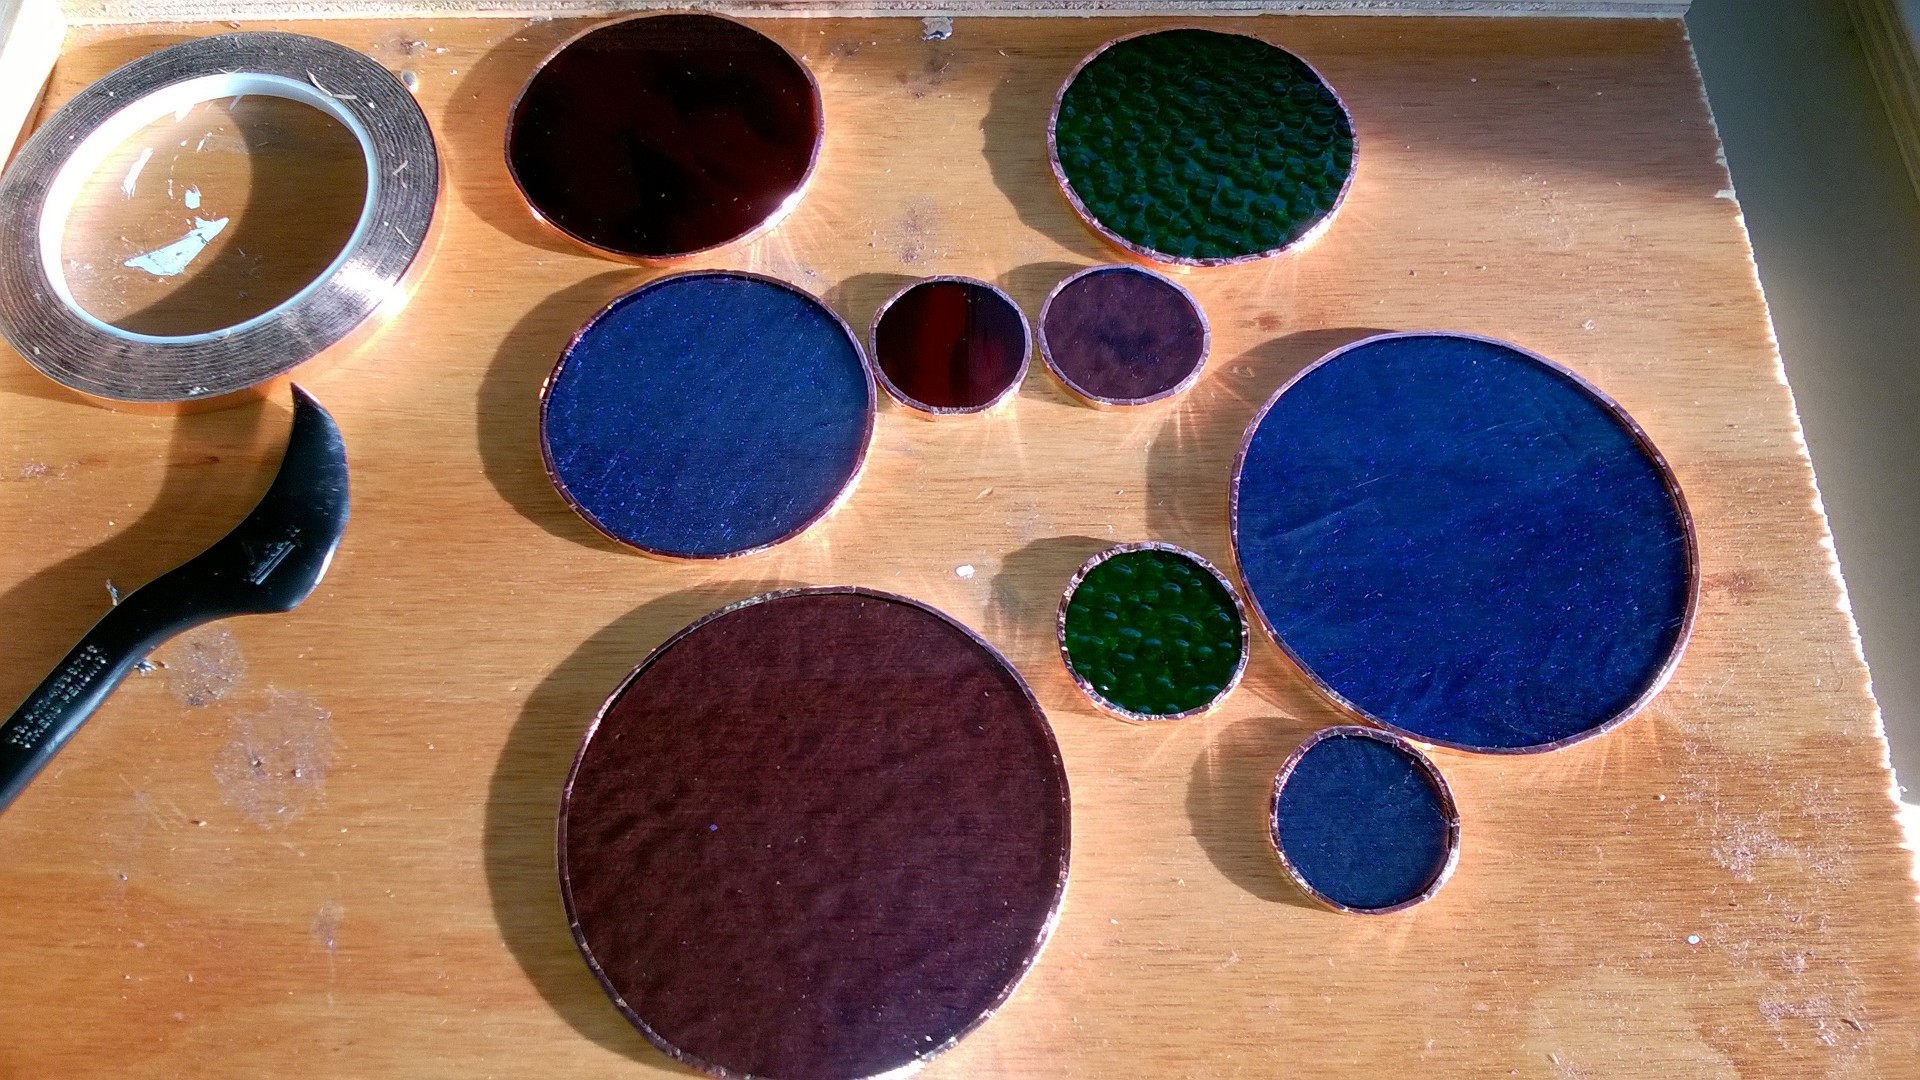
My 2016 Projects list includes “Create 3 difficult stained glass pieces”. I’ve been wanting to make a stained glass project involving circles for quite a while, so today I cut 9 circles of varying size and color:
I practiced cutting curves, which is hard, but got easier as I went along. I used my glass grinder to finish each circle. I didn’t have a pattern, I was just tracing circles using my circle templates & a Sharpie marker:
Then cutting the glass:
You might notice my workshop is no longer in the basement – stay tuned later this week for my workshop reveal 🙂
After cutting my 9 circles I sat on the couch and spent half an hour edging each one with copper foil tape. I was too tired today to solder the foil edges, so this is as far as I got:
Next up will be soldering the edges.
Happy Zombie Jesus Day!
RIP Aloha 🙁 10/1/2014 – 3/26/2016:


First thing I thought when I saw the photos — cutting circles, that must be difficult. Love the colors together. Should be gorgeous. Jo @ Let’s Face the Music
It’s not too bad when you have a glass grinder! Without a grinder, I think it would be very very hard! I just cut as near to a circle as possible (by cutting straight lines intersecting the edges of the circle until there weren’t any more to cut) and then ground down the rough edges 🙂
Poor Aloha. 🙂 I’m excited to see the mobile, though.
Me too! I hope I can make one LOL
What a great project. I can’t wait to see the final results when we’re back.
Thanks! I hope it comes out well.
Those are beautiful perfect circles!!!
Thanks, Ab! I thought you’d be proud 🙂