Replacing the ugly 1980’s can lights in the master bedroom has been on my “to do” list for quite a while. Two weeks ago I picked up 4 super cheap [$10!] Tross LED track lights at IKEA which I thought would be perfect. Hubby agreed. Last week I installed one of them:
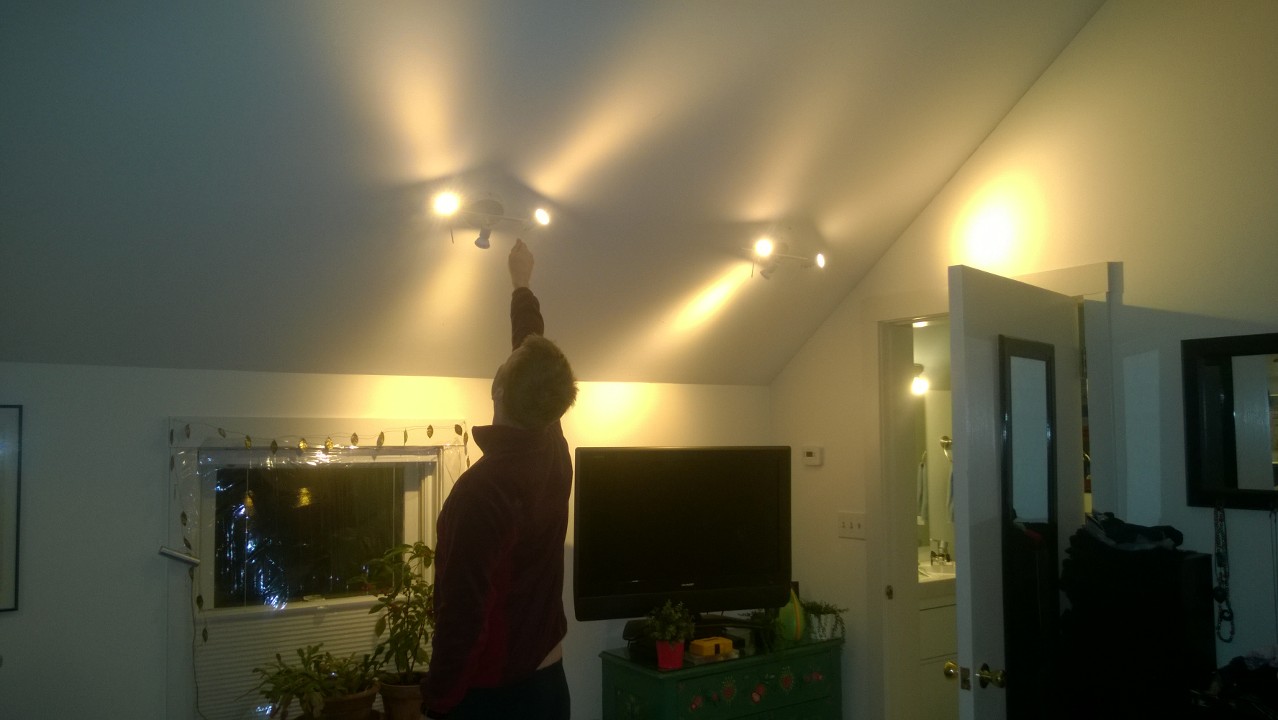
We loved how it looked! So yesterday after work I installed a 2nd one [that’s hubby fine tuning the LED directionality]:
They are soooooooooo much brighter than the old cans – they’re even causing the two remaining cans to cast shadows on the ceiling [15′ up]:
Say goodbye old cans – you two are next!!! *shakes fist*
Since the light I replaced yesterday is low to the ground [like the first install], and the two remaining lights are 15′ from the ground, I decided to photo document this install to save myself from having to do it while perching dangerously high on the ladder.
STEP 1: Turn off power at the basement breaker box!!!
STEP 2: Set up ladder:
STEP 3: Admire view of river from ladder:
STEP 4: Unscrew light base from ceiling to expose electrical box:
STEP 5: Test wires with Voltage Tester to make sure there’s no juice:
Blue light means we’re good to go! Juice-free.
STEP 6: Remove old plate:
STEP 7: Disconnect wires:
STEP 8: Unpack new light and review instructions:
STEP 9: Help yourself to some seasonally appropriate jelly beans to keep energy levels up – very important!
STEP 10: Dig through random screw collection for electrical box screws since new light didn’t come with any and old light’s ones were useless:
STEP 11: Screw new plate to ceiling making sure ceiling wires protrude through middle hole:
STEP 12: Connect ceiling wires to new light’s wires and affix electrical tape as an added measure of secure-ness [when I was replacing the ceiling fans I realized our old ceiling wires are very stiff and without tape it was nearly impossible to shove them back up into the electrical box without them pulling apart]:
STEP 13: Tuck wiring back into electrical box:
STEP 14: Screw new light base to ceiling with supplied screws:
STEP 15: Unpack IKEA LED bulbs [made for this and other styles of their lights] which have 2 prongs on the end that slide and twist into the track light sockets:
STEP 16: Turn power back on at breaker box and admire cool new UFO invasion-ish track lights:
The old can lights are currently on the closet floor:
Bonky helped me inspect them this morning. Here’s the difference between the old LED spot bulbs and the new IKEA bulbs:
We’ve jumped from 130 lumens per light to 600 lumens per light [200 lumens x 3 bulbs per light]. That means we’ll super charge our bedroom with 1880 more lumens than the old setup. Woohoo!!! And if it’s too bright, we can always remove an LED bulb from each track light.


New lighting can give such a lift. Great DIY. Jo @ Let’s Face the Music
Thanks, Jo!
Let there be light! It makes up all the difference.
omg are you busy! Great job!