In case you missed it, here are the previous links for this now-completed project:
When hubby and I decided to replace the ceiling fans in our house, we chose the Minka-Aire Wave model. We liked the sleek design, the fact it had no light, and the fact it was controlled via remote. We bought 3 from Amazon, in white, silver, & koa wood [#affiliate]. This post refers to the Minka-Aire F843-DK Wave in Koa.
When I installed the bedroom ceiling fan and the girl cave ceiling fan, I was more concerned with getting them up and wired correctly, and less concerned with documenting the process for my blog. But with the living room fan install, it was all about the documentation. Maybe that’s why it was the hardest, longest install!!! OMG.
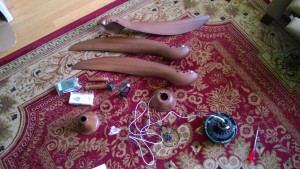
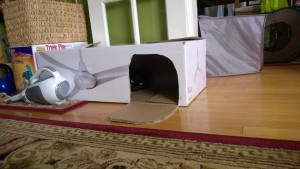
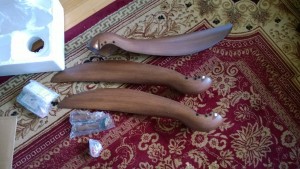
STEP 1: Open the box, remove the parts, & lay them out on the floor:
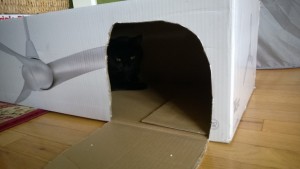
STEP 2: Cut a mouse-hole in the box transforming it into a cat cave [it took Darwin about 30 seconds to discover the cave and move in – notice his eyes floating in the darkness in the 2nd pic!]:
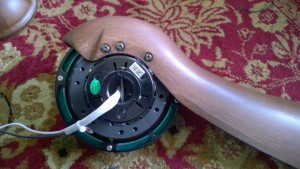
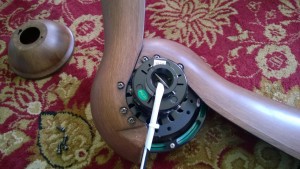
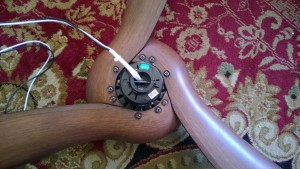
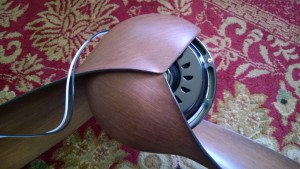
STEP 3: Attach fan blades to top of motor:
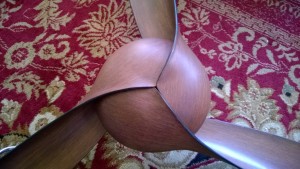
The underside of the motor becomes increasingly obscured as each new blade is attached. When the fan is fully constructed, all you see from the underside is a cool, flower-like pattern made from the blades overlapping:
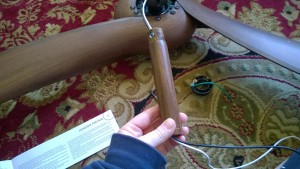
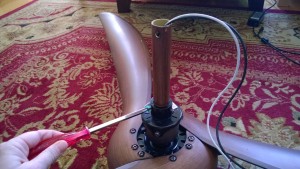
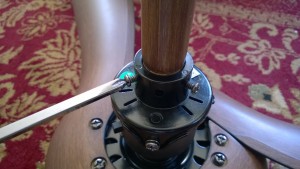
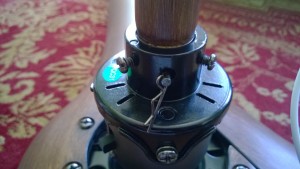
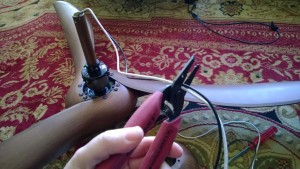
STEP 4: Attach and secure downrod per instruction manual:
This 6″ downrod came with the fan. I had to order a special 3 foot downrod for the master bedroom fan install, and a special 2 foot downrod for the girl cave fan install. The fan motor comes with 4 feet of wiring, to accommodate just about any downrod you’d need. I snipped off most of the excess after the downrod was screwed in:
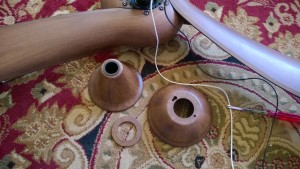
STEP 5: Slide the motor cover and ceiling cap onto the fan:
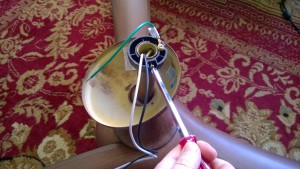
STEP 6: Attach the hanging mechanism to the end of the downrod [which slides into the ceiling mount]:
The fan is now ready to be wired and hung from the ceiling!
STEP 7: Turn off power to the fan at the basement breaker box!
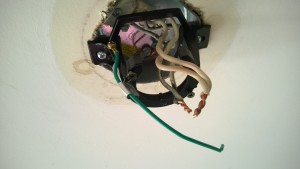
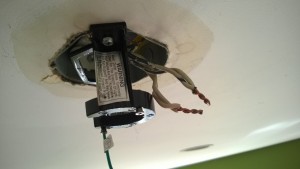
STEP 8: Pull old, stiff wires out of ceiling electrical box, wiggle black ceiling mount up and around them, and screw into electrical box [here’s a tip – save the electrical box screws from when you removed the old fan – I found that out the hard way with the bedroom fan install! The screws that came with the fan screwed into the box fine, but pulled straight out when I attached the fan – they were like 1mm too small, so once weight was applied, they failed – yikes!]:
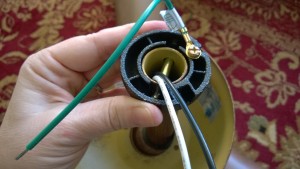
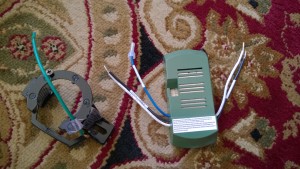
The fans we bought don’t have hanging cords or switches on them. The only way to turn them on and off is by remote control, so each fan comes with a green remote receiver that looks like an alien bug with lots of legs:
One side of the remote receiver gets wired to the ceiling and the other side gets wired to the fan motor [the blue wire is for fans with lights, so I ignored it].
STEP 9: Wire fan to ceiling. With the other 2 fans, I was able to successfully wire one side of the green remote receiver to the ceiling wires, cap them with wire nuts, wrap them with electrical tape, and shove them back up through the ceiling mount and into the ceiling box. Then I’d haul the fan up the ladder, slide the hanging mechanism [at the top of the downrod] into the ceiling mount, slide the green remote receiver in on top, and wire it to the fan motor. Then it was just a matter of sliding the ceiling cap up the downrod and securing it at the ceiling.
With the living room fan, I had to do it all backwards. I twisted, capped & taped the new wires to the old wires about 10 times, and EVERY TIME I tried shoving the old wires back up into the ceiling box, the new wires would pull free. Resulting in a lot of growling, hissing, swearing, and laying on the couch in a catatonic state waiting for the frustration meter to return to green. I ended up having to start from scratch and re-attach the ceiling mount to the ceiling with the old wires sticking out behind it [instead of down through the center]:
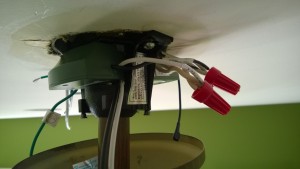
Then haul the fan up the ladder, slide the hanging mechanism [at the top of the downrod] into the ceiling mount, and slide the green remote receiver in on top. THEN wire the remote receiver to the ceiling wires, cap them with wire nuts, and wrap them with electrical tape. Here they are capped, but not yet taped:
Then wiggle the green remote receiver out far enough to shove the capped and taped wires up into the ceiling box before sliding the ceiling cap up the downrod and securing it at the ceiling. Same end result, just a different way to get there… holy cow.
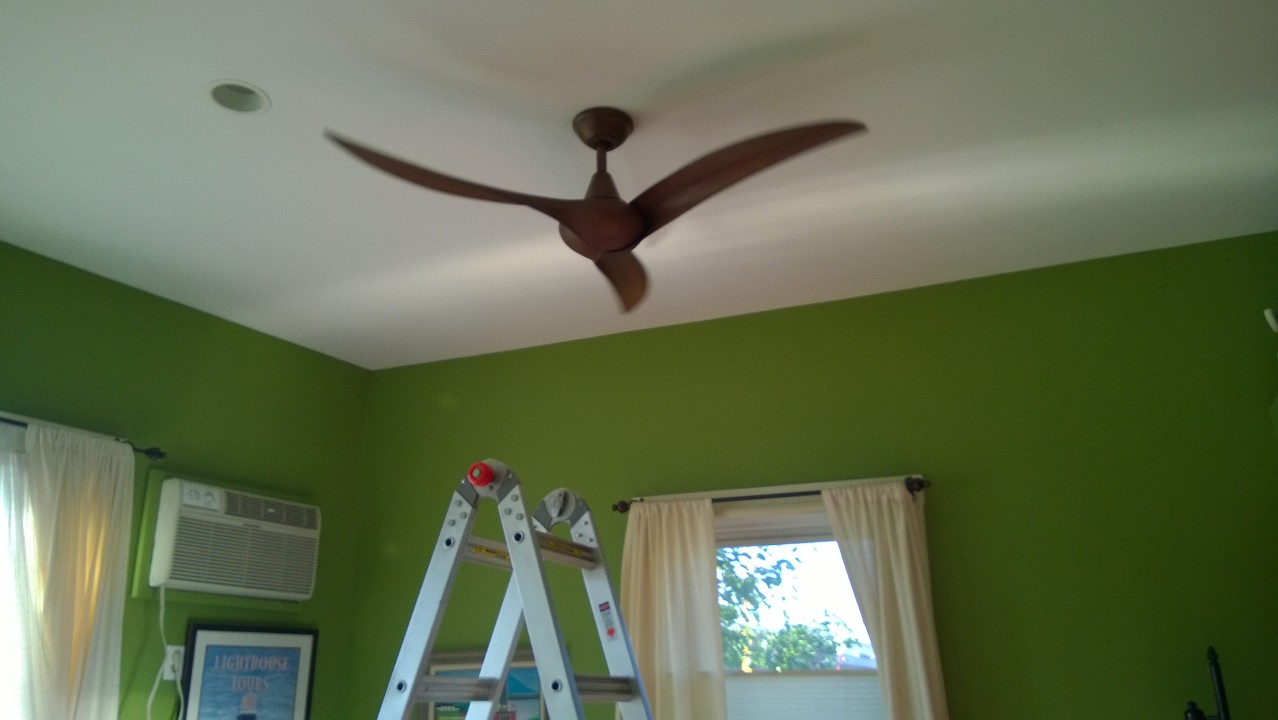
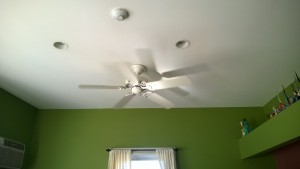
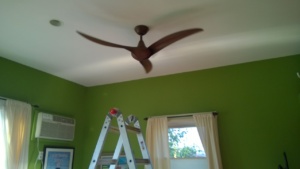
The frustration was all worth it, as the new fan looks like a work of art compared to the old, white monstrosity:
All that’s left to do is figure out how to get each of the 3 remote controls to control specific fans. Right now, one remote controls all 3 fans! So when hubby turns the living room fan on, poor Birdie gets a windy wake-up call in the girl cave. Hubby says I need to program the little buttons on the remote with the matching little buttons on each green remote receiver, which means getting back up on the ladder for at least 2 of the fans, removing the ceiling cap, prying the receiver out of the ceiling mount [without it pulling the new wiring apart], shoving the little buttons around to match the configuration on the remote, and putting everything back together. Ugh. However, from everything I’ve read online, these fans have “smart” receivers, and will automatically associate with the configuration of the remotes. So we’re obviously doing something wrong… ponders


You amaze me that you can do this stuff! (I don’t do electrical.) This is a beautiful fan design. Love Darwin in the cat condo! Also, why are the screws that come with anything always crappy?? We automatically go to Ace to buy decent ones.
Thanks! I hate crappy screws. It’s one of my biggest pet peeves! I do the same thing! I have quite a supply now of decent ones.
Your fans are all beautiful; way more up to date than our traditional fans!
Thanks! I just thought our original ones were so ugly.