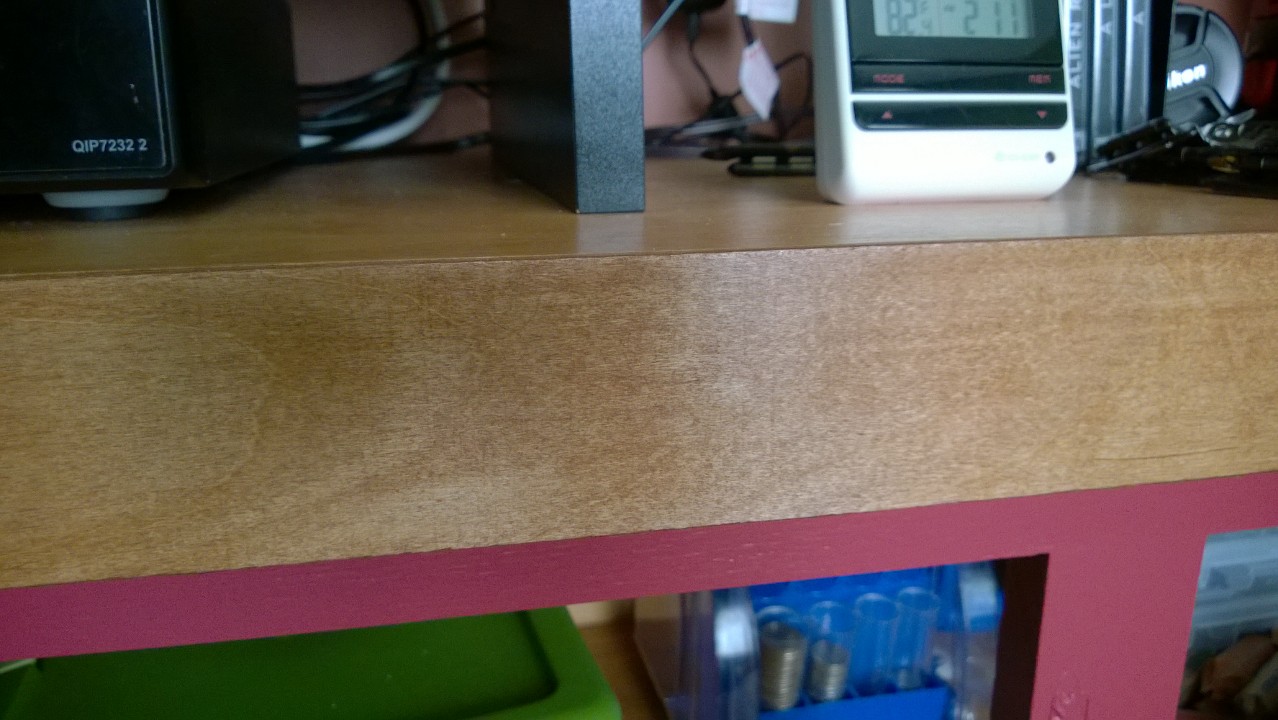
AKA the 6th coat’s the charm!
So yeah, I’m STILL struggling with the living room cupboard overhaul. After briefly thinking I was done, I decided it looked like crap and started over. The only thing I liked from my first attempt was the stained plywood top. Hubby helped me decide on a new color for the base and doors [Benjamin Moore Night Flower – same as the laundry room] to replace the white. And I bought my first sheet of Luan plywood [⅛”] to create a thinner “lip” for the front edge of the top. It’s plywood-colored on one side and sort of pinkish on the other:
The hardware store cut me a long, thin strip of luan for the lip, and then cut the rest into smaller pieces I could easily toss in my car. I have since stained the plywood-colored side and sealed it with 2 coats of polyurethane:
When I hold it up to the cupboard top it looks awesome:
So that is quite promising. However, painting the cupboard base and doors has been another story…
The original title of this post refers to how many coats of raspberry paint it’s taken to cover the white paint on the doors and cupboard base *face palm*. On Saturday I called my parents to ask for advice on the *embarrassing* amount of paint [11 coats…] I’d already put on the doors and base [2 coats of STIX primer, 2 coats of BIN primer, 2 coats of white paint, and 5 coats of raspberry paint]. I wanted to know if I should add another coat of raspberry, or just throw in the towel and try to sand the 11 coats off and start fresh. My mom said I’d probably put the coats of raspberry on too quickly, without waiting for the previous coat to cure. I usually wait at least 24 hours between coats, but I got antsy 2 weekends ago and put 3 coats on within 4 hours. The paint can says to wait at least an hour between coats, but I think 3 within 4 hours was a little rambunctious… I was just so annoyed that I could still see white! Since then I’ve put 2 more coats on – each coat gets closer to full coverage, but is never 100%.
In terms of sanding, my mom said the paint layers, being relatively fresh, would probably gunk up my new power hand sander, and Dad agreed. Dad suggested I try one more coat, but instead of using latex wall paint, I should get a pint of Benjamin Moore latex enamel in the same color, which would give better coverage and a nice seal. After I hung up with them, I was torn between walking over to Benjamin Moore for latex enamel, or laying on the couch watching TV. I decided to think on the paint issue overnight [aka the couch won].
When I woke up yesterday I decided to try ONE more coat of raspberry wall paint before trying latex enamel. It worked! OMG!!! *insert stunned silence*. Finally [FINALLY!] all traces of white were covered [you couldn’t actually see white bleeding through after the 3rd coat, but there were lighter spots where you could tell something wasn’t quite right]. So now I can breathe a huge sigh of relief, and pledge to use latex enamel next time I paint furniture. And to NEVER use wall paint on furniture again!
As you may remember from my post 2 weeks ago, I only painted half the cupboard raspberry to make sure it looked good before committing to the whole thing. So the right side and doors now have 6 coats of raspberry, and the left side and doors have 3. I plan to paint the remaining coats on the left side and doors after work this week. I’m hoping the paint will be cured enough by the weekend to hang the doors and put the lip on. Here’s what the finished right side looks like [I propped the doors up for photos this morning]. In person it’s much deeper raspberry and much less fuchsia:


Success finally. I think about 12 months from now all those layers of paint will finally be cured!