So, as with most DIY projects, installing the cupboard top didn’t go quite as planned. The first issue was the top not fitting the space anymore. I know I measured correctly: 88⅝”. And I know they cut it correctly because I measured it when I got home. I think the humidity made the wood swell [it’s been CRAZY humid here for the past 2 weeks]. *Grumble*. So, I decided to sand 1/16″ off the edge, with a sanding block. After about 5 minutes hubby pointed out I’d be there all day if I continued with that method [at the top of my “tool wish list” is a power sander!].
So I decided maybe planing it would work better. I remember watching my Dad plane the bottom of doors when I was little. Except I don’t own a plane. So I walked over to the hardware store and bought myself a cheap block plane. I practiced on a scrap piece of plywood and quickly realized the plane was splintering the edge. CRAP. I looked up “planing plywood” on YouTube and realized splintering is one of the big issues… So hubby suggested I take the whole piece down to the hardware store and see if they’d cut 1/16″ off for me. Great idea! So I lugged it out to the car, rammed it into the back of my Honda, and headed out.
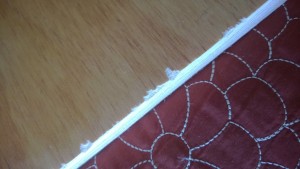
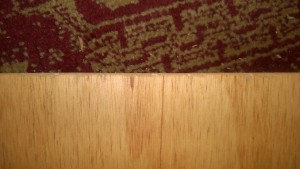
When I arrived, a kid came out to see what I needed. I showed him the plywood and asked if he could shave 1/16″ off and he was like “sure – no problem!”. However, instead of using the big table saw in the middle of the wood shop, or the wall saw [I don’t know what it’s called, but it’s awesome and it’s like a table saw on the wall] he used a small circular saw on a side bench. He put my plywood stain-side down, didn’t measure, and hacked some off the edge. Then his boss ran in and yelled that he was using the wrong saw and doing it all wrong. When he flipped the plywood over, the edge was all splintered… *face palm*. Here’s a terrible picture of the chipped edge [once I got back home], and an after shot once I’d repaired it with tinted wood filler:
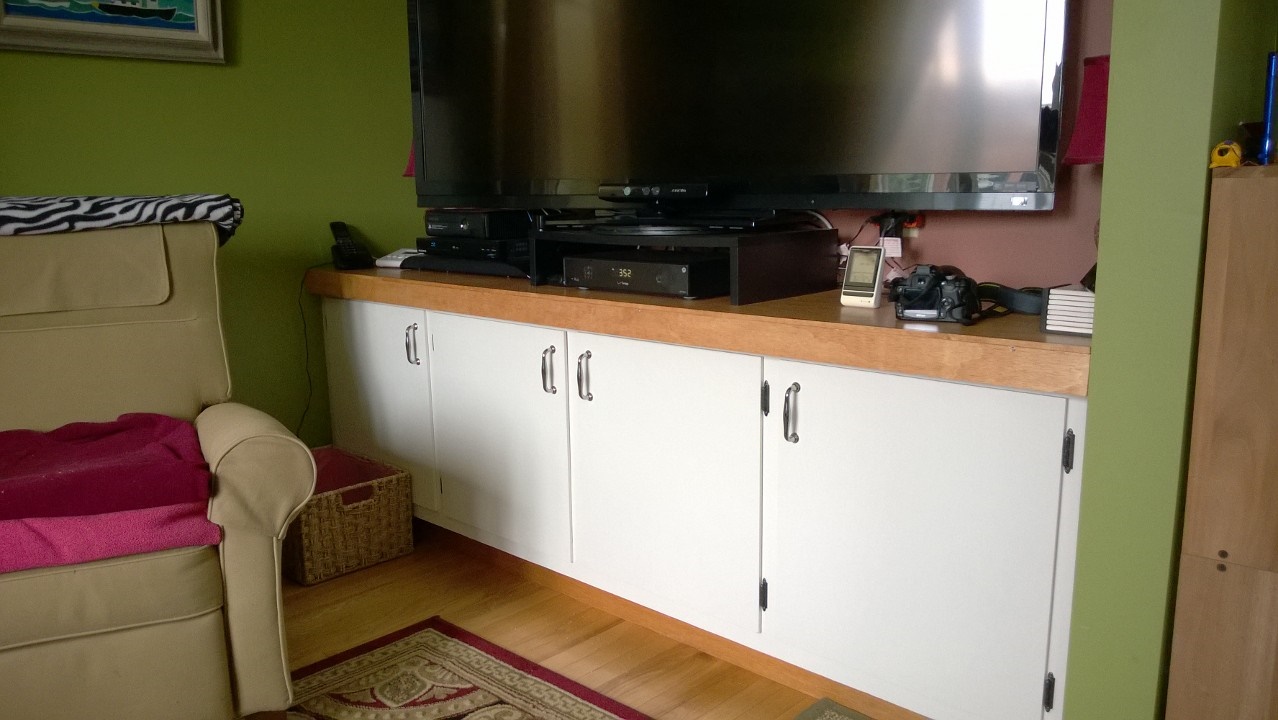
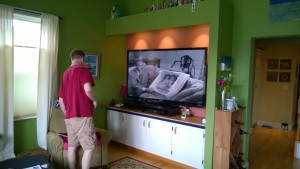
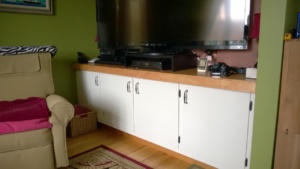
Not perfect, but whatever. No one will ever notice. So, once that debacle was taken care of, we were able to slide it in over the ugly blue laminate top [we put the TV on the floor first, and shimmied the rest of the electronics up and over the top as we slid it in]:
Looks awesome! We love it.
Next step: adding the front piece [aka the “lip”] to cover the edge of the blue laminate. I used my trusty hack saw to shave 1/16″ off the end [it didn’t fit the space anymore either], then nailed the thin strip of pine Dad recommended over the ugly plywood edge. Hubby held the lip steady while I secured it to the top piece with my cordless drill & 4 screws:
We liked how it looked, and I was ready to call the project done… I’d even half-written this blog post! Until I woke up this morning and decided 2 things:
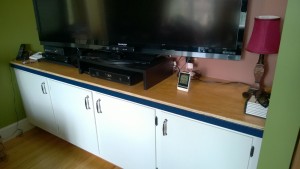
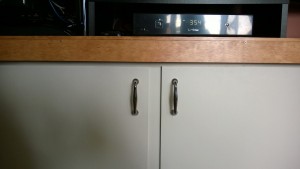
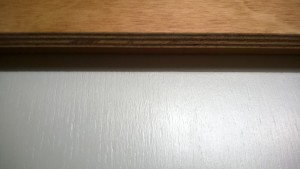
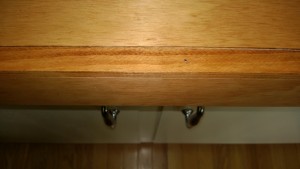
[1] The lip is too thick – it sticks out from the cupboard too far and looks like the roof of a fast food restaurant or 1970’s lawyer office *WOOF* [the first pic is the view from below, the 2nd pic is the view from above]:
I’m thinking a ⅛” piece of luan veneer [stained to match the top] would be a much better solution than the ¾” piece of plywood. I don’t know why I didn’t think of that before! It would solve the problem of hiding the ugly plywood edge of the cupboard top, and would be thin enough to provide a more finished look.
[2] The cupboard body is too white. Hubby and I tossed some ideas back and forth – I suggested a deep, eggplant purple, but hubby [god, I love him] suggested a burgundy red or deep raspberry. I was like “you mean deep raspberry like… the laundry room?” and he was like “yeah, it would pick up the colors of the lamp shades, pillows and other accents in the room”. Score! I love a project involving paint we already own. I think it will look awesome too. Stay tuned!
Ali, I can’t wait to come visit next month (we just confirmed our house rental) and get the up close and personal tour of everything you’ve been doing!
Ya, it didn’t occur to me until yesterday [when Mom mentioned it] that you guys would be coming by the condo! So exciting! You can see our new deck! [blog post about that coming soon]. Can’t wait to see you all!!!
Wow! Nerve of steel, Alison, to be confronted with every obstacle known to mankind, and still truck on. And the end result will be, as always, absolutely perfect! Great job!