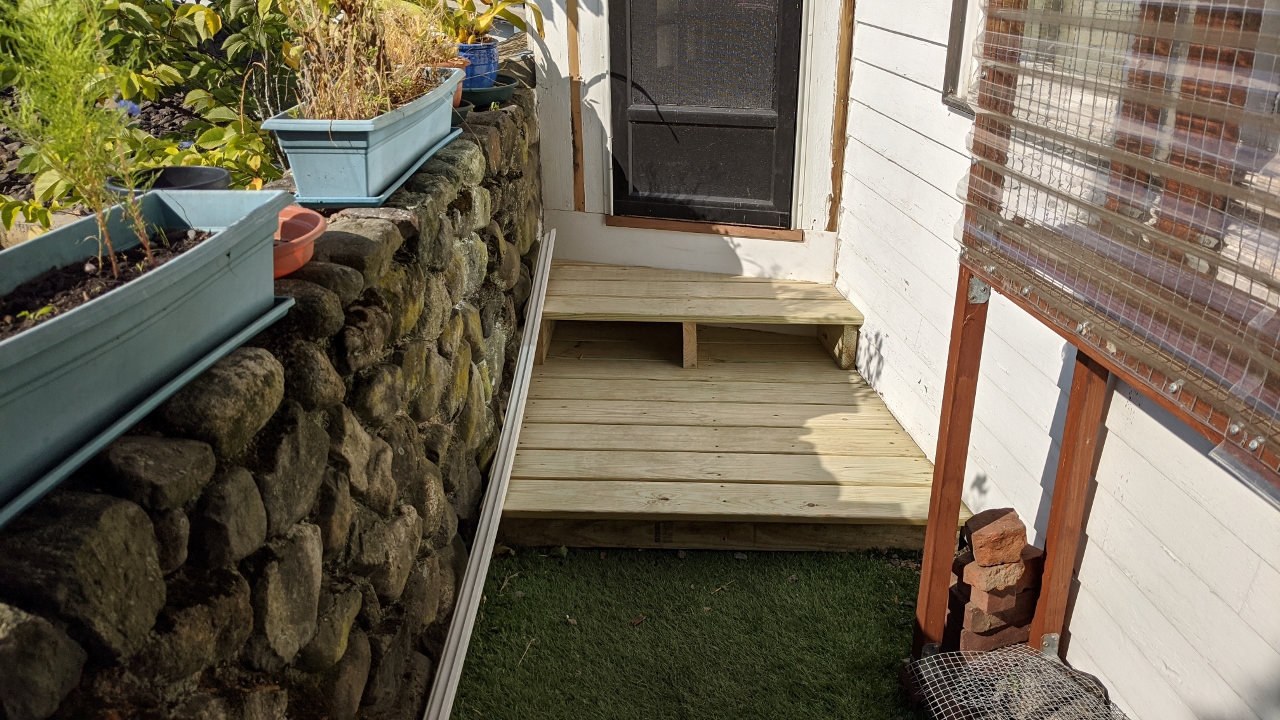
This was a job that exceeded my abilities, so we hired it out to the same local handyman who built our front stoop & who installed the condo building’s new basement bulkhead a few years ago.
In Part 1 I explained how I found a ton of rot behind the existing steps when I pulled them away from the house. And critter holes. Which probably explains why I trapped and released about 30 mice from the basement this summer! Part 2 catalogues the steps our handyman took to seal the foundation, replace the door sill, pour a cement foundation, and build the new steps. They look beautiful!
First he removed the old steps & the hardware cloth I’d stapled to the house to prevent the critters from getting in, and smoothed out the area:
Then he poured a cement slab and let it dry overnight:
Next up was opening up the foundation and removing all the rot:
It was cool to look into the side of the house to the basement:
Our handyman removed a lot of rotten material:
He temporarily boarded the area over, then came back the following day with a PVC panel which he attached to the house. I thought that was very interesting! He said it is critter proof:
A few days later he built the bottom step, and extended it out to fake grass like I’d asked:
Then he added the top step and the trim on either side of the door [in this pic the trim is still laying on the ground. I forgot to get a final photo]:
I love it! Huge improvement! BEFORE and AFTER:
Next summer I’ll be able to stain them. Or leave them like they are to weather.


Hope you are critter-proof now! Isn’t it amazing to see inside your walls? I always marvel when we expose material that hasn’t seen the light of day for 107 years!
It’s really cool! We’re not 100% critter proof, there’s been evidence of mice in the basement recently – they might be ones left over from when the walls were open. But I believe it’s much better than before!