As part of the doorknob/hinges project, and the backdoor overhaul project, I fixed our crumbling, neglected back slate steps this summer. I had never heard the term “repointing” before. To repoint is “to repair the joints of (brickwork, masonry, etc) with mortar or cement” [c/o dictionary.com].
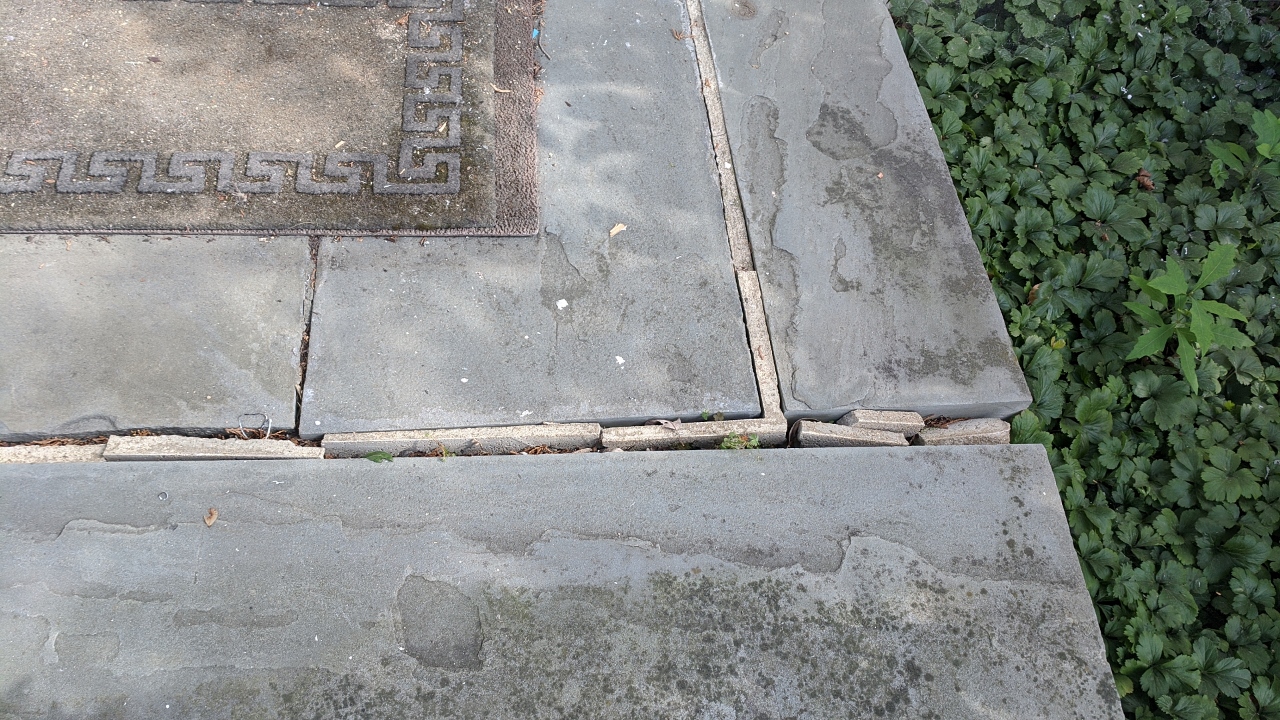
When our back door became usable again in early July, I quickly realized the back steps would need some TLC:
The old cement/mortar was all cracked & separated from the slate tiles:
I pulled out the chunks I could and used a piece of wood to dig out as much dirt and plant material as I could:
I also got rid of the nasty old doormat, which had an even nastier, older one underneath it. I hosed out the cracks on the top step:
After doing some online research, I found this awesomely helpful [and funny] article written by Devin at DevineEscapes.com. He said to use a Type S mortar, so I bought 2 small [10 lb.] bags of Quikrete Mortar Mix, which I found at a local hardware store:
I’d never used Quikrete before but knew from reading other DIY blogs that it was easy to mix and use:
I basically followed Devin’s entire method, but instead of a trowel I used my rubber gloved hand to push mortar into the cracks and crevices. I used a sponge to get as much off the slate as I could. I remember from tiling the front hall what a NIGHTMARE it is to get dried mortar off slate.
Here’s a pic of the top step after finishing, and another of the steps the next morning after the Quikrete had dried:
Next up was tackling the lower step. It was very easy to pull the whole step away from the base:
I tried tapping the existing mortar with a hammer and chisel to remove it, but it was on SOLIDLY. So I decided to keep it rather than risk harming the slate. Instead I cleaned up the area by hosing out a ton of dirt, debris, & plant material:
Then mixed up the 2nd bag of Quikrete. Just add water & mix thoroughly:
I found it easier to mix the 2nd batch with my hand:
At first I glopped a ton of it into the entire crack, but when I tried to push the step back, there was WAY too much mortar. I had to scrape out most of it and just leave a thin line of mortar mooshed up against the base:
Once the step was back in place, a thin, narrow piece of slate had flaked off. I washed the area then added a thin layer of mortar and pressed the piece back down:
Perfect:
I brushed off as much loose mortar from the lower step as I could [it’s very sandy], and called it a day:
The steps already looked so much better! And safer:
Stay tuned for Part 2 where I scrub the algae, moss, & lichen off, and weather seal them.


I need to do this on our front porch and walkway.
Great to hear from you Jessica! I hope you and Douglas and the boys are all doing well. I’m sure you guys have been super busy between parenting in the time of COVID and also with your house. As you now, it’s amazing what a big difference a small change can make.
Your non-stop energy level never ceases to amaze! Repairing those steps has been a lot of work,
but it was worth it – they’re looking REALLY good!
Thanks! I love sitting out there now.