Today I worked more on the chameleon mural. I started by taking the brown from yesterday and dividing it into 3 parts. I added white to part, black to another part, and left the remaining original sealed in the Tupperware. Then I added highlights & shadowing to the branch:
I started with the shadows:
Here’s a closeup of the shadows and also a closeup of the eye which I outlined in Sharpie using one of my circle stencils [you can see the original eye location below it]:
I flipped the canvas’ upside down to add the highlights to the underside of the branch:
I usually paint on the floor. This is the first time I’ve painted standing up and it’s actually pretty nice. I’m using the left end of my workbench as an easel:
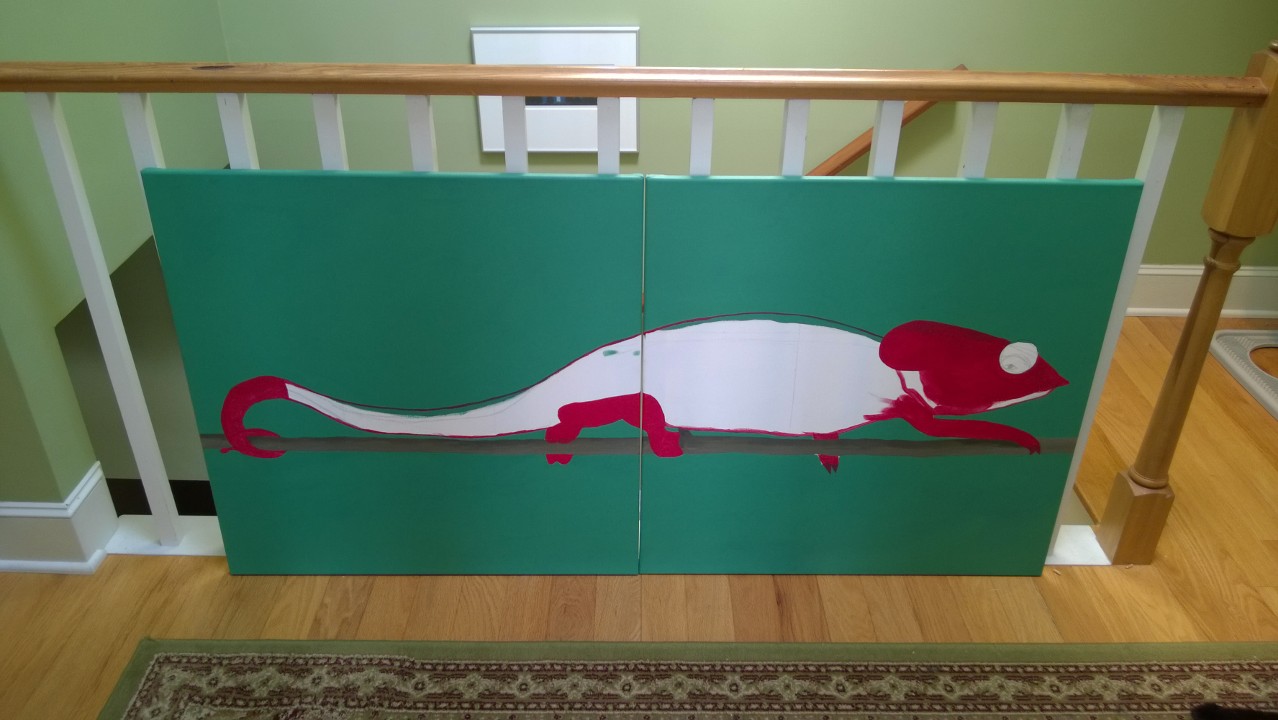
The main color of the head, legs, & end of the tail in the picture is bright orange, but I’m using red instead. When outlining the head & body I also enlarged both a bit so the chameleon doesn’t look so scrawny. Here’s what I’ve done so far. The red is a first coat – it will have highlights, shading, etc. before I’m done. Once I start painting the body [in blues, pinks, & yellows] things will really speed up:
Here’s an example of why it’s a good idea to save your major colors in Tupperware until the painting/mural is done. As I was painting one of the feet I realized I need to fill in the background a little more around it, which I’ll do tomorrow:
The darker part of the foot was originally green background. For the really detailed parts, I just painted background & tree branch over the whole area and will do detail work on top of it with the appropriate color[s].


