
Progress so far:
Last March I cut some stained glass circles:

In July I soldered a metal frame together, soldered in the circles, then screwed the metal frame into a black wooden frame:


Then I cut more circles and soldered them into a 2nd frame:


Accidentally, I discovered how great the 2 frames looked when layered together:


Today I spray painted some braces & screws black:


Then clamped the frames together, drilled some pilot holes, attached 2 braces [at opposite corners], and added hanging hooks:


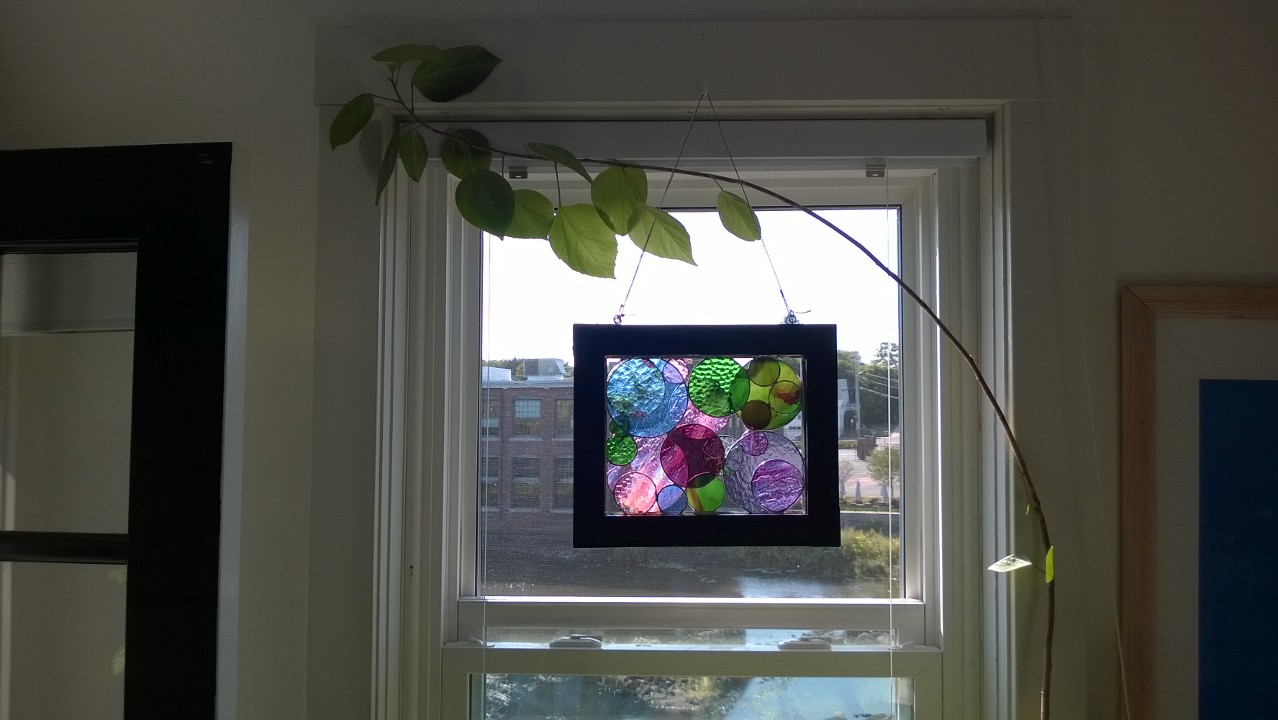
I added some hanging wire & some silver tinsel cord [figured if one fails, the other will survive], and hung it in the bedroom window:


Love it! Next up will be creating a 2nd layered frame of circles for the adjacent window.
Beautiful! Something so attractive about stained glass and you’ve made a masterpiece which now you need two of. When I need two of something I always make them factory fashion or I’ll never finish the second one. Jo @ Let’s Face the Music
i will start the 2nd one this weekend 🙂
I love your stained glass projects. You really make me want to take a class.
You totally should – it’s so easy once you know the basics and have the right tools & supplies! It’s a very cool medium to work with. I need to try a mosaic soon like what you did with your foundation.
This is SO beautiful! Love it!
Thanks! I will be starting a 2nd one soon.