So yeah, today I got to experience electrocution. And it was about what I expected. It felt like someone snapped a rubber band across my finger tips. Hubby describes it as a “painful tingling sensation” which is about right. I remember my Dad getting zapped a few times growing up. He’d always whip his hand away from the outlet with a “gah!” sound, and that was about what I did. I’ve always been curious to know what it felt like, and now I know!
Let’s back up a bit. This afternoon I decided to change out the outdated dimmer switches in the living room for more modern versions. They’re very similar to the timer switch I installed in the master bathroom last month. One of the living room dimmers was the “push in and turn kind” [I broke the dial off when I first moved in – oops], and one was the “slide up and down” kind. I bought 2 LED replacement dimmers about a month ago, but hadn’t installed them yet. Here’s what the switch plate looked like up until today:
After turning the breaker off in the basement, I removed the switch plate cover and tested to make sure the power was off with my voltage tester. Blue means all clear!
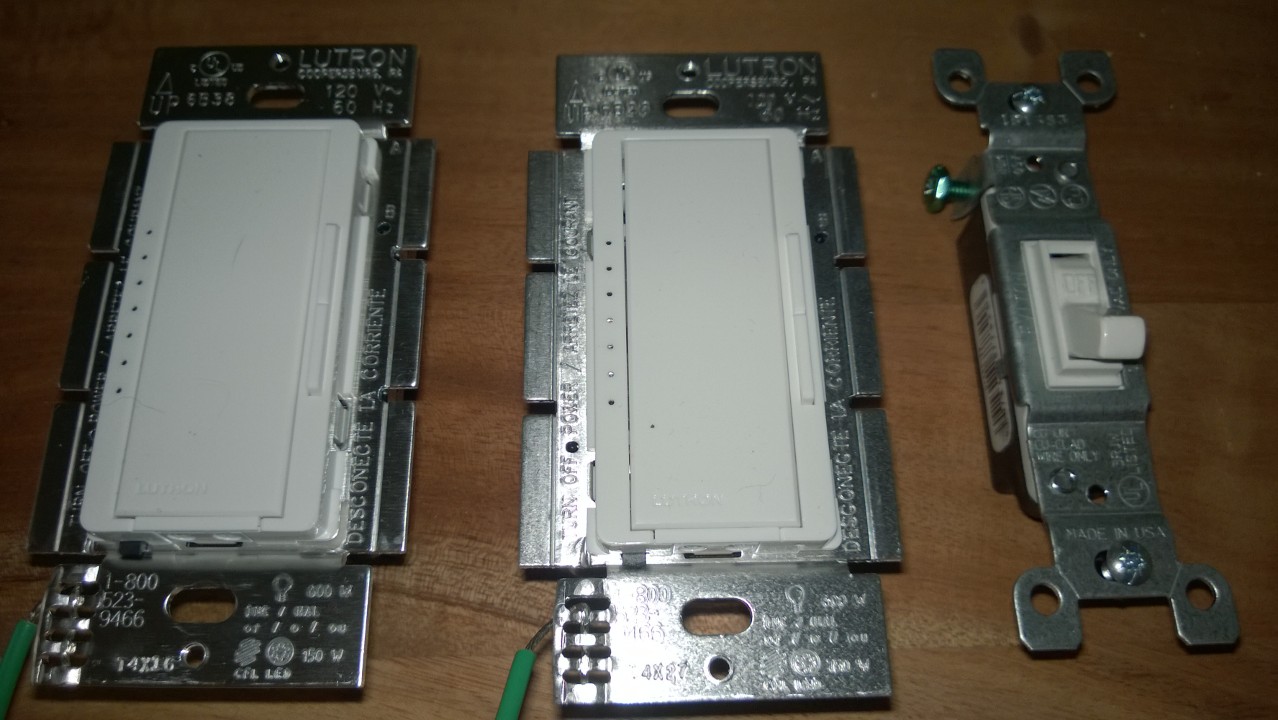
Here’s what the new dimmers and new white switch look like – swanky!
I unscrewed the old switch and 2 dimmers from the electrical box and pulled them away from the wall:
Holy crap that’s a lot of wires. Most were bundled at the back of the box, included the copper ground wires… I’ve never seen that before.
The light switch [which did nothing before, and still does nothing] wiring looked like this:
If you’ll notice in the first picture, the bottom screw is tightened around a middle section of black wire and not the end of a wire. I’ve never seen that before, either! I’m not worrying about it, since it’s not a switch we use. When in doubt, copy the old wiring configuration, and that’s what I did:
Next I tackled the outer dimmer, since the wiring looked straightforward:
2 black wires pig-tailed to 2 black wires. Easy! I removed the pigtails [my new dimmer switch doesn’t have wires already connected to it like the old one did], curled the ends of the old copper wires using the hole in my wire stripper tool, and connected them to the 2 screws on the side of my new dimmer:
The middle dimmer was a different story. It had 2 red wires & a black wire pig-tailed to 2 reds and a black on the original dimmer:
Gah! I’m not used to red wires… I did some online research and figured out I should connect 2 of the 3 wires to the new dimmer, and cap off the 3rd wire. So [as a crapshoot, which ended up working!] I connected the 2 reds to the 2 screws on my dimmer:
And capped off the black wire:
Before screwing the new dimmers back to the wall I figured I should test to make sure I’d wired them correctly. I switched the power back on in the basement, ran back up to the living room, and tested the first dimmer. It worked perfectly! The large rectangle turned on the overhead lights and the smaller buttons brightened and dimmed them. Then, like an idiot, I grabbed the 2nd dimmer by the sides… and made contact with the edges of the copper wires. ZAP!!! It took me a second to process what had happened – “Holy shit! I just electrocuted myself! HA! Hey hubby, I just electrocuted myself!!!” poor hubby looks horrified
So yeah, I’m brilliant. After walking around the living room shaking my hand for a few minutes I [carefully!] grabbed the 2nd dimmer again and used it to successfully turn on the lights over the TV, brighten and dim them. Hooray! I headed back down to the basement, cut the power to the box again, ran back upstairs, and screwed the dimmers and switch back into the wall unit:
And yes, someone [me] forgot to buy a new switch plate cover that could accommodate 2 dimmers and a switch. I’ll pick one up at Home Depot tomorrow. For now I’ve encased it in electrical tape so the cats don’t accidentally stick their tails through the holes and zap themselves [the switch plate is right above the new cat platforms].
I feel like I’ve crossed into a new realm of DIY. Like I’ve earned the “Dangers of Electrocution” Girl Scout badge:
[I totally photo-shopped that – heh…]
PS – here’s what they look like at night:
The right one is slightly lower than the left one. I’m going to have to fix that before putting on the new switchplate cover [once I buy it].
Tomorrow I’m planning to install the living room ceiling fan. Hopefully that will go slightly smoother than today’s circus of fun!
At the time of the posting I had been unable to find a switch plate cover with 2 rectangular bays and one toggle switch bay. However, I found one on Amazon – Woohoo! Here’s how it looks [the dimmer switches look cool at night]:
Before I found the wall plate on Amazon [#affiliate] my Dad had a good suggestion, which was to replace the toggle switch with a wide toggle instead, thereby allowing me to buy a 3-gang switch plate cover with all rectangular bays:
Which are much easier to find. By the way, “wide toggle” switches are also called “rocker” switches, “decora” switches, or “quiet” switches depending on where you look… very confusing.


CAREFUL!!!!!!!
I always cringe when I see a red wire. Three way switch? Ugh. I always screw the work back into the box first before turning the power back on eliminating the zap factor. Great job, Dad
Wise words of wisdom. Thanks, Dad!