9 days ago I found a stack of spare tiles in the basement, belonging to our condo. I grabbed one and used it to replace the cracked tile in the master bathroom:
The grout in this area of the bathroom is a mix of original grout and replacement grout. The replacement grout has always been too dark. I used a grout-removal tool to scrape out the old mis-matched grout & a cold chisel and ball peen hammer to chip the remaining mortar chunks out:
It appears we have Schluter Ditra “uncoupling, waterproofing, and vapor pressure equalization” membrane underneath the tile. Once everything was cleaned up I used a little container of Tile Repair Mortar [which I found at Home Depot this weekend]:
I slathered it on the membrane and the back of the tile:
I smooshed the tile down firmly – instant improvement!:
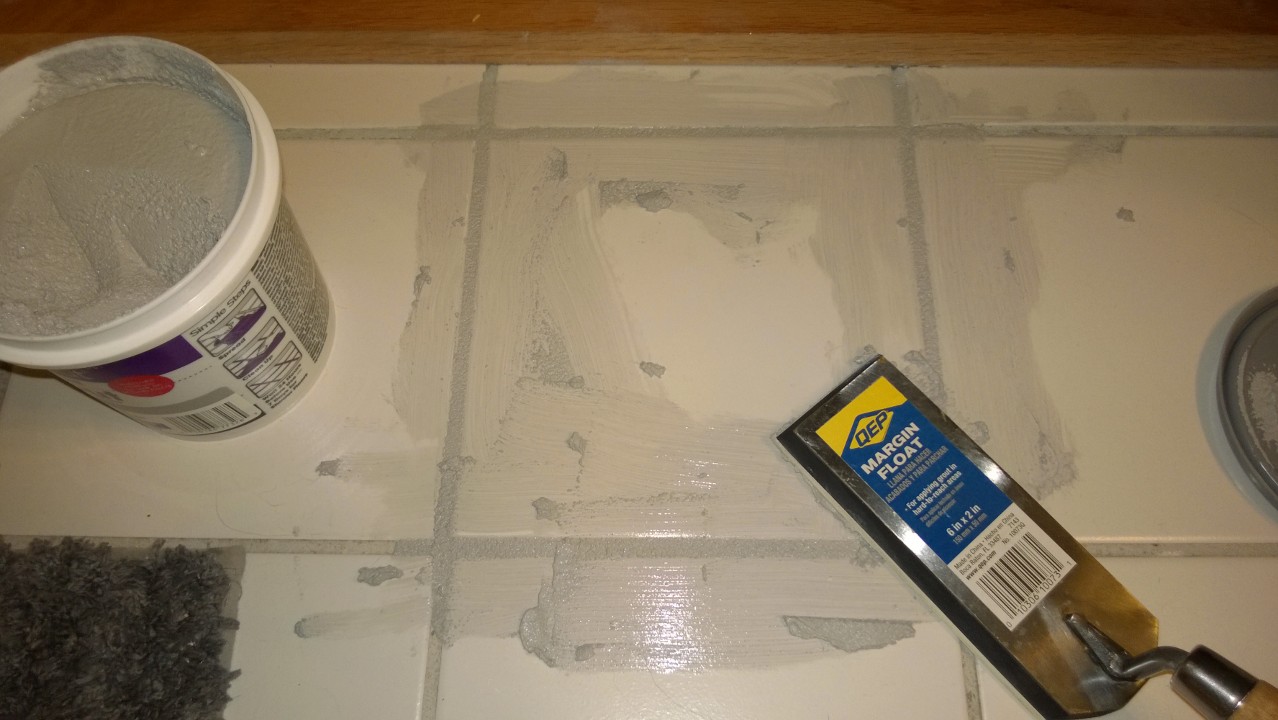
I let the new tile sit for a few days to make sure the mortar had time to set. While I waited I researched different types of grout. I decided to use PolyBlend “Simple Grout” in Delorean Gray, which is a light-weight, pre-mixed sanded grout:
I used a grout float to spread it around the replacement tile. Once I sponged off the excess it looked as good as new:
Once the grout dried I decided to try out the bottle of PolyBlend Grout Renew I bought last year. It comes in tons of colors and you paint it on over existing grout to re-hue and re-seal it. Score! The bottle suggests using a toothbrush to apply it, but I used a small paint brush:
I learned about this product on the YoungHouseLove blog, and it’s incredible what it can do [before & after]:
It’s it a little grey-er than the original grout, but it’s a lot closer than the dark grout was. I also touched up the dark grout lines in the laundry room [before & after]:


Hey Alison,
Excellent guide on removing and replacing a broken tile. I have so far never tried to DIY and fix a broken tile – always scary in case I do more damage than I fix … however it seems quite simple using the grout-removal tool you mentioned, will surely give it a try
Excellent flowers too, thanks for sharing
thanks,
– Pakhi
Thanks so much for the comment, Pakhi! It was so easy to replace the tile – you should totally try it!
Good husband! I got flowers last week too. Totally out of the blue. Must be something in the air.
SO ambitious, so talented!