Today was a busy day! OMG. And hot. Well, actually it was more humid than hot. But the humidity was so high that even with the AC on I sweated through 4 t-shirts – GROSS! But I got a lot done.
The first thing we did this morning was choose the color I was going to paint the wall. Yesterday after work I went to Aubuchon Hardware up the street from our house and brought home about 10 color samples. I taped 5 to the wall and we picked our favorite this morning. Here’s the old color [Lowe’s Olympic Blue Smoke] on the left and our new color [Benjamin Moore Blue Nose] on the right:
Very similar! I am a Benjamin Moore snob… so I wanted BM paint.
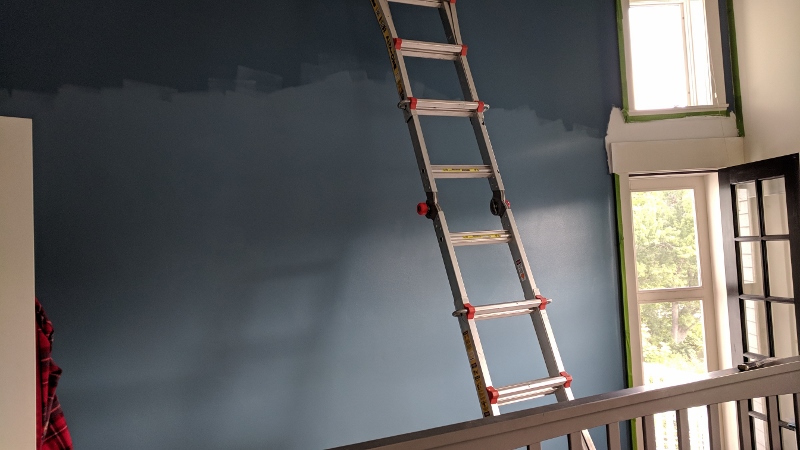
STEP 1: Repair the crack where the ceiling meets the wall. I have never used drywall paper tape before. I opened it up and was appalled to find out it’s not sticky on the back like the FibaTape I used in the girl cave. D’oh! I couldn’t for the life of me figure out how I was supposed to attach it to the wall. I had to watch a YouTube video to understand how to use it. Of course after watching the video I felt like an idiot because it’s such a simple process! I also had hubby help me put socks on the ladder feet so they would stop scratching the wall when I moved it around:
To repair the crack with paper tape I had to first smear joint compound on the wall, then lay a piece of paper tape on the joint compound, then use a putty knife to smooth out the tape and squeeze out any extra joint compound, then smooth more joint compound over the tape. Easy!:
It took about an hour to finish – I had to move the ladder to the left 4 times to do the whole crack:
I read online that I need to let the joint compound set overnight before I can sand and paint it. I was bummed out I couldn’t do more today, until hubby said “why don’t you go get the paint and start the wall today?” I was thinking I couldn’t start painting until after I’d sanded the joint compound, because of the dust that will sprinkle down. But after I thought about it I realized the paint will be very dry by tomorrow and I can just wipe off any dust before putting on a second coat. I love my brilliant husband 🙂
Lucky for me I had JUST enough joint compound to finish the job! It’s the same container I bought in 2013 for the girl cave:
STEP 2: Tape the wall. I began taping the edges of the wall, and discovered a mess above the door. The door to the deck used to be a window. But in 2014, when our deck was built, they put a door in. When I got up on the ladder above the door I found the paint was starting to peel off in big sheets. I am guessing they didn’t prime the drywall after installing the door? I used my putty knife to peel the paint off:
Then painted on 2 coats of primer:
And finished taping the wall:
I also taped down a piece of plastic to catch drips:
STEP 3: Paint! I got to try out the extension roller I bought a couple of years ago. It’s a piece of crap. Meh. But it worked enough:
I only did as much as I could reach from the floor. It’s going to be beautiful! Tomorrow I’ll sand the joint compound up at the ceiling, then finish painting and hopefully put the bedroom back together.
During one of my breaks today, I went outside with Darwin and while he enjoyed eating grass in the garden, I dug a hole to bury Franc. We still miss him SO MUCH. It was very hard to say goodbye, but it was time:
That pic reminds me I need to re-stain our stupid stoop. I didn’t realize it would need to be stained every freakin’ year!


I can’t believe you accomplished so much in one HOT day. Now the worst part is over, and painting the wall is instant gratification. Your master bedroom is gorgeous and the view from there is the frosting on the cake.
I finished painting the wall today! I’m so tired. I can’t even summon the energy to post about it.