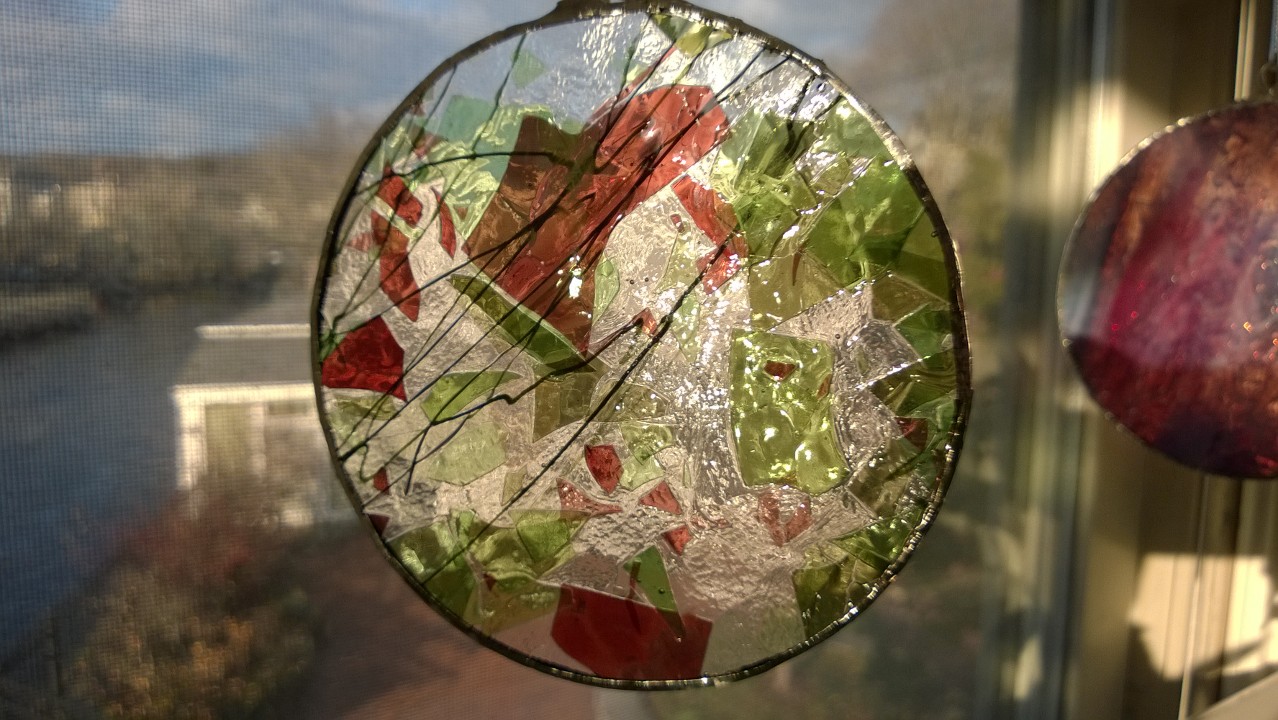
AKA CHRISTMAS GLASS PROJECT 🙂
Last year for Christmas & my birthday hubby bought me packs of stained glass from Delphi. Each kit came with a variety of different colored and patterned stained glass sheets. Some are really cool and some are quite unique. I have 4 sheets of what I call “Christmas glass” – it’s clear, red, and green. I decided to do a Christmas project with it this year.
On Tuesday after work I traced a large circle with a Sharpie onto a piece of Christmas glass. I had my safety glasses on from the get go naturally!:
Then I used a metal ruler & my brand new “pistol grip” glass cutter [#affiliate] [which I LOVE!!!] to score a straight line down the glass as close to the circle as possible [less waste = more glass for future projects nods]:
Then I used my breaking pliers to snap the glass in half. Here’s a closeup where you can see the white score line, the tip of my breaking pliers lined up with the score line, and part of the circle outlined with Sharpie:
A gentle squeeze with the breaking pliers snaps the glass in two. In case you’re not familiar with scoring, it creates a slight split in the surface which encourages the glass to break along the score when squeezed with pliers, snapped with your hands, or gently dropped:
Next up was cutting the circle out of the remaining piece of glass. I used my pistol grip cutter to freehand a curved score line hugging the edge of the traced circle. I only went halfway around, which is pushing it in terms of getting the glass to break along the curve versus just cracking the whole circle in half! Don’t want to do that. I used the breaking pliers to gently squeeze each end of the score line – not enough to break it, just enough to start a tiny crack going on each side. Then I held the glass about 3″ above my work bench and dropped it. The impact broke it along the entire score line, revealing the first half of my circle!:
Then I scored and broke the remaining 2 corners, leaving me with a rough circle:
Next up was using my glass grinder to carefully grind down any rough areas and bring the circle to life. “Before” on the left, “after” on the right:
Then I repeated the process 5 more times. And on a total whim decided to spice things up with some “sunset glass”. That’s my name for it anyways. Uroboros Glass Studios calls it “65-299” and for some reason have discontinued it! Why oh why oh why??? sob! It’s so beautiful:
Thankfully I found an online store selling it so I ordered 3 more pieces phew. Well, this is the 2nd time I’m trying to order it – the first online store came back a day later and said “sorry, we don’t actually have any of that, it’s been discontinued”. GAH! I can’t bear the thought of future projects without sunset glass!
Once the sunset circles were cut & shaped I brought all 8 circles downstairs and spent an hour on the couch copper foiling the edges:
That’s as far as I got on Tuesday.
On Wednesday after work it was solder time! After donning my respirator I painted flux onto the foil edges of the circles:
While my soldering iron heated up to 460°:
I soldered the top, the bottom, & finally the edges. Then washed them in the sink with warm, soapy water to remove any extra flux & solder residue and laid them out to dry:
Then hubby & I went to the gym. After returning home & showering, I headed back into my girl cave to create hooks for each circle. I use pre-tinned 16ga copper wire for all my hooks:
The pre-tinning turns the copper wire silver and also helps it adhere better with solder. Win win!
I cut 8 equal lengths of wire, used 2 types of pliers to twist them into hooks, then cut the ends off to make them smaller and more even:
It didn’t take long to solder the hooks onto each circle. I used 2 blocks of scrap wood to hold each circle upright. Soldering requires two hands – one to hold the hook [with pliers so you don’t burn your fingers] & one to solder the hook to the circle. It would help if the wooden blocks were narrower and taller. But you do what you can with what you have. The hooks came out perfectly:
I love how the circles look with the sun shining through:
I hung the sunset glass circle in the same living room window as my spider web:
I just hung the Christmas glass one in the laundry room [but the sun has already set so I can’t get a picture yet].


I did not know the work with the woodpart.
I burn my fingers constantly.
Gute Idee, liebe Grüsse
The wood works very well! I need to find some better pieces of scrap wood for my projects.
Liebe Grüsse!
Neat glass; great job. Jo @ Let’s Face the Music
Thanks, Jo!
So beautiful! I just found a stained glass class in my town, but I don’t think I can take it.
why not? too busy? that would be awesome if you could take it! i think you’d be really good at stained glassing!
These are so pretty!
Thanks, D’Arcy!
WOW! Love, Dad
Thanks!
Amazing creativity! Your new circles are just beautiful! Great job, as always!
Thanks!