After repairing the mortar on our back slate steps, it was time to clean and seal them. There were years [decades?] of moss, algae, & lichen growing on them:
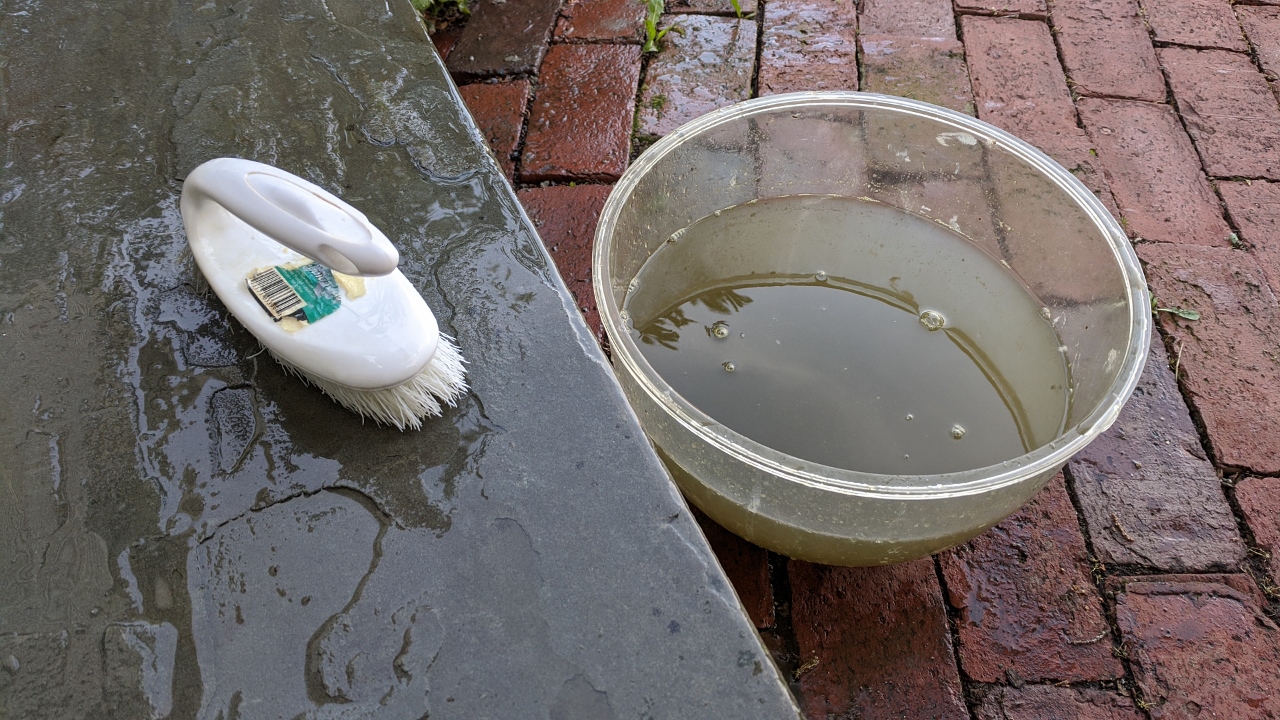
I used a scrub brush and bowl of warm water [no soap] and just worked away:
After about 4 changes of warm water they were amazingly clean:
The following day I sealed them with the same sealant I used on the front hall slate tiles [Aqua Mix Enrich N’ Seal] [#affiliate]:
It really brought out the colors of the natural stone:
And added a weather proof protective layer:
I read that you don’t need to seal outdoor slate steps, and the sealant can in fact make them more slippery in bad weather, but I really wanted them to “pop” instead of looking so old and faded! Unfortunately the sealant also made old mortar stains “pop”:
So. Much. Staining:
I blame whoever originally mortared them.
I read up on how to remove staining on slate tile and discovered Aqua Mix sells a product called Nano Scrub [#affiliate]. I tried using it:
But it didn’t really do much. I think because the mortar stains are so old. Thankfully the steps still look good:
While using the Nano Scrub I noticed some of my Quikrete joints were cracking:
I think because the 2 days I spent using it were both above 90°. The Quikrete bag said the mortar worked best below 90°. Oh well… I went back to the hardware store and bought a small tube of Quikrete Mortar Repair [#affiliate]:
I used the whole tube sealing the cracked joins:
It kind of has a rubbery texture when dry, so the following day I sanded the Mortar Repair down, being careful not to harm the stones:
Stay tuned for Part 3 [the final part] where I use Polyblend Grout Renew to darken the Quikrete from cement-color to a more natural grey, and actually start using the steps!


Working on anything that old is never easy, but when you’re finished, those steps are going to be beautiful!
It was totally worth the time [about 4 weekends total] to fix and refresh the back steps. They are now [hopefully] safe and protected for a few more decades.