
This project started WAYYYYY back in September 2018. It entails my mission to replace all gold colored & brass hardware in our house with silver colored. It has morphed into a MUCH larger project than I anticipated, but it’s OK because I love the results!


It has also spawned 3 side projects: [1] Adding a deadbolt to the bedroom/deck door, [2] Overhauling our laundry room outer door [stay tuned for a future post], & [3] Overhauling the back steps leading to the Riverwalk Bridge [stay tuned for a future post]. These 3 side projects have made up the bulk of my Summer 2020 DIY accomplishments and I look forward to sharing them with you!
In mid-June I spray painted another set of hinges from the 4 upstairs doors [hinges #23-26/42]: girl cave, bedroom, master bath/bedroom, & master bath/hallway. I’m doing one hinge from each door at a time:


Once they were dry I re-attached them to the 4 upstairs doors. They look awesome! Girl cave & bedroom:


Master bath/bedroom, & master bath/hallway:


I spray painted them on both sides this time, unlike June 2019 where I only sprayed the front. I realized my mistake when I noticed the backs were a half metallic/half brass checkerboard. CRAP:

This June I fixed all 4 by taping paper to the doors surrounding each hinge and spray painting them in situ:


Much easier than removing the hinges and trying to get them back on the doors. I usually refrain from spray painting inside, but with all the windows open and a strong River breeze the smell dissipated almost immediately.
In May 2020 our new neighbor Henry moved into the condo Kathy used to rent. He mentioned in passing that he’d re-keyed his doorknobs & deadbolts so he only had 1 key for his 3 doors. I was like “WHAT??? YOU DID THAT YOURSELF? WITHOUT A LOCKSMITH? HOW!!!???” So he told me about Baldwin Smartkey doorknobs [#affiliate] and deadbolts [#affiliate]. LIFE CHANGING. It takes literally 30 seconds to key each one so they open with the same key. I immediately ordered 4 doorknobs and 4 deadbolts from Amazon in Satin Nickel.
I started by replacing the doorknob [#10/14] and deadbolt [#1/5] on our front door:


So pretty! They’re very solid, too. And heavy. VERY good quality! They’re $35 each on Amazon which is a steal for the convenience. The one time we had a locksmith come and change our locks it cost $500. We’re still bitter about that.
Then I replaced the ugly yellow gold colored doorknob [which has NEVER WORKED] [#11/14] and deadbolt [#2/5] on the laundry room outer door with Baldwin Smartkey ones. In addition to being ugly, the old ones were very corroded on the outside from the saltwater that comes upriver to the dam.
OLD:


NEW:


Aren’t they beautiful? I still need to clean the outside of the door. Since we’ve literally never used it in the 9 years I’ve lived here, it’s a disaster. The old doorknob could only be locked & unlocked from the inside so it never made sense to use it… It was a cheap P.O.S. that should have been replaced years ago. In fact, I bought an exterior doorknob about 6 years ago to replace it with and never got around to it! The WEIRDEST part is the doorknob I bought 6 years ago was a Baldwin Smartkey! What are the odds? I have since spray painted it from gold to Metallic and installed it on the bedroom to deck door, but I’m getting ahead of myself.
While I was replacing the laundry room outer door’s doorknob and deadbolt, I noticed how hard it was to even OPEN the door. You had to really push it. And this was one reason why:


Completely nasty, rusted out hinges.
It took FOREVER to remove each rusty hinge. A few screws came out with my drill, a few more came out with a screwdriver, a few more came out when I used the rubberband trick, and a few more came out after I sliced into them with my Dremel:


The remaining ones were embedded so deep I actually bought some screw boring tools to help:

They didn’t help. Hubby was finally able to muscle them out with a screwdriver. Thanks, hubby!
And, OF COURSE, once I got the hinges out [one at a time, so I didn’t have to remove the door] the holes didn’t align with the new hinges. YAY! Not Yay. UGH. The door is metal so I had to go the hardware store and buy some metal drill bits [here’s the 2nd one I bought, the 1st was too small]:


This door was so much work already! But I prevailed and replaced all 3 hinges [#27-29/42] with Baldwin brass satin nickel ones:

It now opens SO MUCH BETTER because new hinges & correctly aligned. The upper corner of the door used to hit the frame when you closed it, so you’d have to really shove.
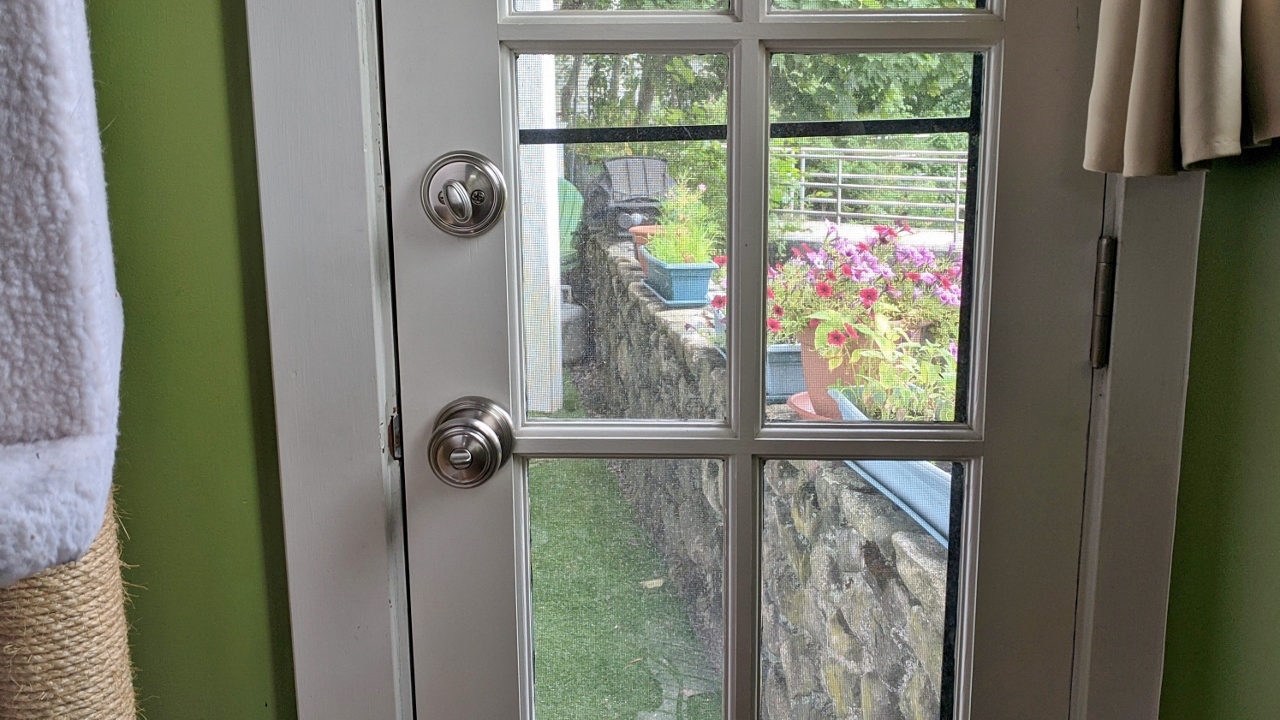
Next up I replaced the doorknob [#12/14] and deadbolt [#3/5] of the living room yard door with Baldwin Smartkey ones:

I used the doorknob from the yard door to replace the ugly gold colored one from the cellar door [#13/14]. I spray painted the cellar door’s original deadbolt [#4/5] Rustoleum Metallic:


Our condo [just our unit, not the building] has 4 outer doors, 1 basement door, 3 bathroom doors, 2 bedroom doors, 1 laundry room inner door, 1 front hall inner door, & 2 French inner doors. As of this writing I have replaced all 14 doorknobs, all 5 deadbolts, and 36 of the 42 hinges [12 were original brass hinges that I spray painted], which means I only have 6 hinges left to replace!
Stay tuned for PART 4!
Let’s see, we have six doors, one slider and 24 hinges…what are you doing next week? Just kidding, great job! ❤️
HA! I’m glad we don’t have a slider. That would be a lot of work to change out the hardware.
What you’ve done is impressive and it all looks fantastic – but just reading about it is exhausting!
One key fits all doors is THE BEST ; it’s what we have here and it makes life so much easier.
I love having one key for all four outer doors (of our condo, not the building). It’s amazing!