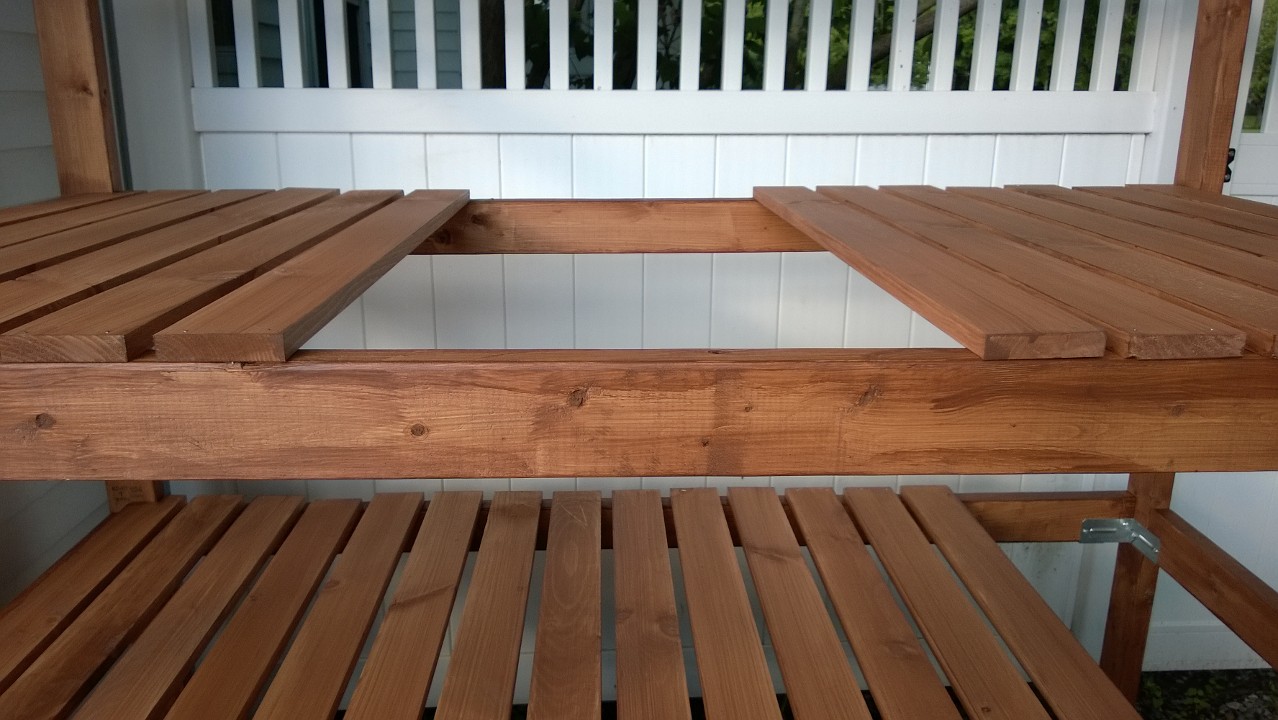
Since I was rained out yesterday, I decided to attach the shelving to my enclosure today after work. First step was notching the 5 slats that abut the enclosure [and staining the edges]:
Then, before the stain had even dried, I nailed the 5 notched slats to the enclosure frame. After they were in place, I laid out the slats along the bottom level, using additional slats [placed on their sides] as spacers [the middle has 2 spacers b/c of how things lined up]:
Then I got to nailing:
After an hour, the shelves were DONE! Here’s the top and middle shelves:
And the bottom level with the double-wide space in the center:
The shelving slats are far from uniform length… that’s my bad… I kind of winged it with the cutting. They should be 40¾”, but some are as short as 39¾”. So I made sure on the front of the enclosure the boards are lined up evenly:
But along the back, they’re all over the map:
I don’t think that will show once the cushions are placed on the shelves.
All that was left was to get the seal of approval from Bonkers, who was howling at the screen door to the yard the entire time:
Of course, being a cat, he also had to check out UNDER the enclosure:
Next step will be chicken wire! Also, I’ve decided to place the door on the side of the enclosure – it will take up the entire side, top to bottom. It’s what my parents suggested, and after a lot of thought, I’ve decided it will give me the most access to the entire enclosure.


