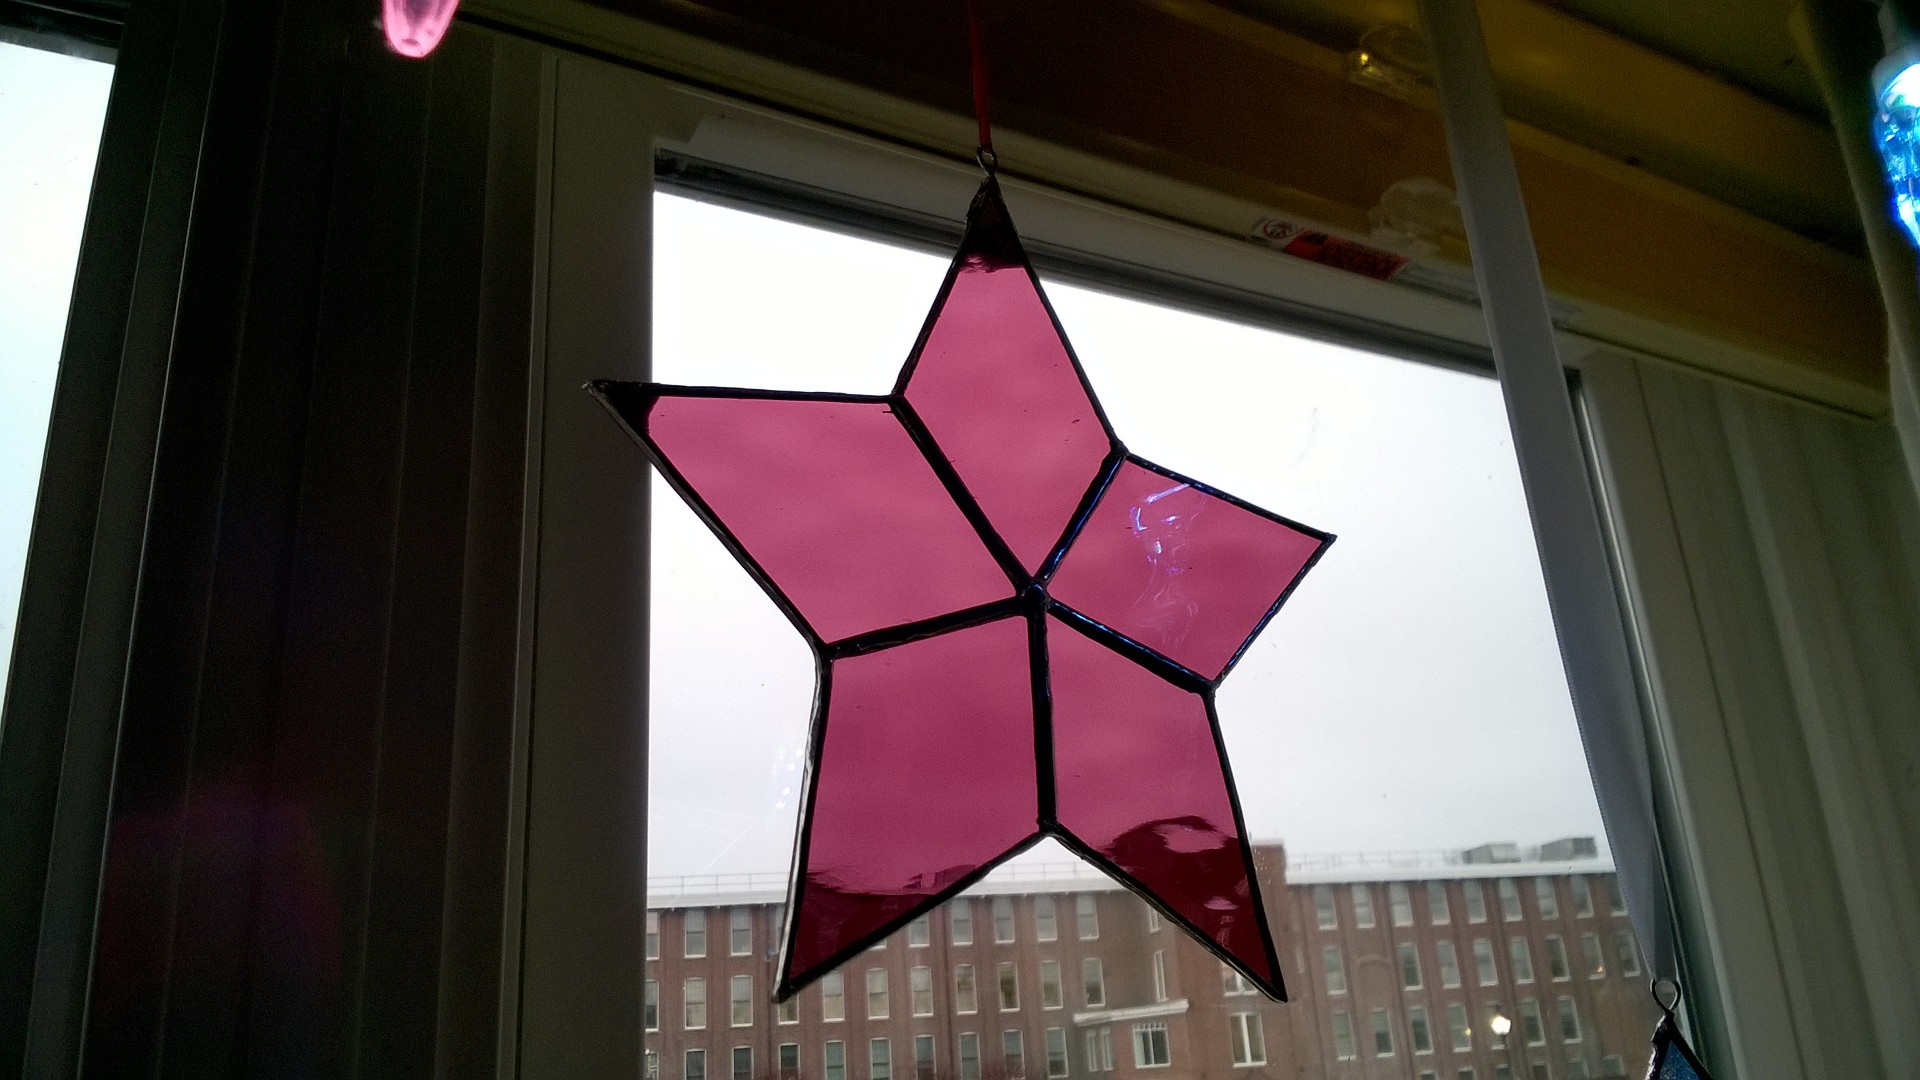
I’m on a roll! Holy cow. I made a raspberry star 2 nights ago before bed, a garnet/blood red star yesterday morning, and a smaller, clear glass polka-dot/bubble wrap looking star yesterday afternoon:
The clear one was for hubby’s boss’s wife. We went to a surprise party for him at his house and I decided to make a star for his wife [who I’d never met] as a hostess gift. She loved it 🙂
I ran into a glitch with the raspberry one I made 2 nights ago. I got it cut, foiled, soldered, and hooked:
But I didn’t like how the hook came out. I tried gently removing it by heating up the solder holding it to the star, but instead of just the hook, the solder and foil peeled away from the glass too. D’OH!!! I have never run into this before, so I decided to just wing it and wash, re-foil, and re-solder that section:
I put on a better hook, and now it’s perfect!
Total time for the raspberry star = 1 hour, 45 minutes. I don’t know if you can tell from the pictures, but the pattern all flows the same direction this time, not willy nilly 🙂
Yesterday morning I made the garnet/blood red star, which only took 1 hour, 20 minutes. Once I had the pieces cut, I laid them out to make sure they fit together before foiling the edges. I noticed that piece 4 was slightly wider than piece 5:
So I ground the edge down on piece 4, then washed each piece and got the star ready for copper foiling:
20 minutes later they were foiled and sealed:
Then it was time to liberally paint “flux” onto the foil seams and solder the pieces together:
I’m not sure what “flux” is, but it’s a clear, greasy liquid that helps the solder bond to the copper foil. And let me tell you – it burns like a MOTHER if you get it into any cuts on your fingers! I had 2 small paper cut type glass cuts and when the flux hit them I thought for sure I’d nailed myself with the molten solder. MAN! But, 25 minutes after starting with the flux, the soldering was done, and a perfect hook was perched on top of my star:
The pattern in the glass all faces the same direction with this star too!
THEN, after lunch yesterday, on a whim, I decided to make a smaller version for hubby’s boss’s wife. It’s about ⅔ the size of the larger stars:
It only took 45 minutes from start to finish! Woohoo! I love how the light reflects through the polka-dot/bubble wrap pattern:
And then today I made 3 more! 2 bubble wrap glass small stars, and 1 bubble wrap large star. Here’s a pic of one of the small stars, and a closeup of the bubble wrap glass:
I LOVE the bubble wrap glass!!!
I am SO addicted to making stained glass stars right now! OMG. It’s so much fun because each step is totally different: cutting, grinding, foiling, fluxing, soldering. And crafting and attaching the hook at the end is a total challenge! And then there’s the element of danger, since it’s easy to cut your fingers when you work with glass, and the whole molten metal element of the soldering is a bit mind bending. So many things going on! It’s SO different than painting, which has been my primary art form for decades. I’m totally loving stained glassing. And, I have to admit, making stained glass stars is super easy… Compared to my 32-piece spider web, the 5-piece stars are a breeze.


Stars are beautiful motives.
Sterne sind schöne Motive.
liebe grüsse
Danke, meine Schwester!
liebe grüsse
Sounds like you are having a lot of fun. I love the stars.
Thanks, Jessica!
Wow! You really are on a roll! But don’t go so fast you forget to be careful with that molten stuff!
I won’t 🙂