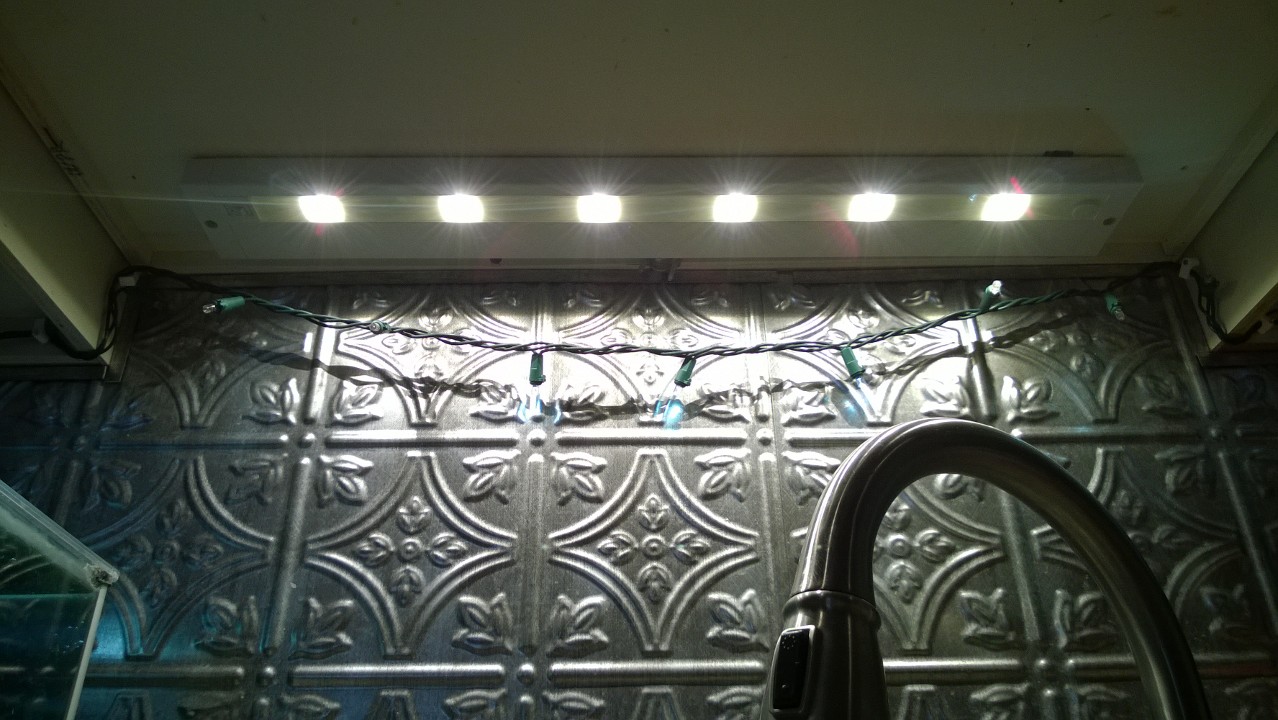
This item is #7 on my 2015 Projects list. The LED light over our kitchen sink has been acting up for a while. The 3 LED bulbs would flicker, go out, come back on, etc. – very annoying. We removed the plastic cover so we could fiddle with the misbehaving bulbs easier, but the whole thing was definitely in need of replacing:
I wasn’t sure how it connected to power. Most replacement over-the-sink lights seem to plug into an outlet. Which confused me, since ours appeared to be hard-wired, just like the example in my AWESOME electrical book from Santa hubby. Last week I removed the light to see exactly what I was dealing with, and make sure there wasn’t some hidden outlet I wasn’t aware of.
First I turned off the power to the light at the basement breaker box. Always the most important step!
Then I unscrewed the 4 visible screws:
Allowing me to then pull the two pieces of the light fixture apart. Once they were separated I could see 2 more screws connecting the top piece to the wall:
I unscrewed those and pulled the whole fixture away from the wall. I could then [finally] see that the light was powered by an electrical cable coming in from behind the wall, with 3 wires inside it: a ground [copper], hot [black] and neutral [white]:
I loosened the screw holding the copper ground wire in place on the light fixture:
Then was faced with a type of wire-nut I’ve never seen before:
I couldn’t figure out how to unclip the wires from the little black boxes, so I just snipped them with wire cutters instead. Then put wire nuts on the white and black wires, tucked them and the copper ground up near the ceiling, and called it a night:
Over the weekend hubby and I went to Home Depot and bought this LED replacement:
I like that there’s 7 LEDs that don’t ever need replacing [they’re embedded in the light vs. being removable bulbs]. Hubby liked that the light bar is dimmable. And I have to say, now that it’s installed, so do I! Despite being advertised for $99.97 online, it was $86 in the store.
It was VERY easy to install! Just pop the back compartment off:
Connect the black, white & ground [green] wire to the electrical cable coming out of the wall:
Pop the back back on, secure the light to the underside of the cupboard above the sink with the included screws, and done!
Here’s the dimmer dial:
This morning I came downstairs and hubby had turned the dimmer dial way down. It gave a nice, low, ambient glow to the otherwise dark kitchen. Much better than being greeted by bright lights! I wish I’d thought to take a picture… maybe I’ll get one tomorrow morning and update this post.


Well done. We talked about putting lights under our cabinets before we tiled the backsplash, but it never happened.
There’s a lot of nice plug-in under cabinet lighting, too – and they connect to each other in a long string (up to like 7 lights) so you only need to plug the first one into an outlet.
It must be ESP. I am changing my shop overhead fixture. When I hit the light switch it would crackle, pop and sputter. Not a good sign. I discovered the aluminum terminal screws had oxidized and caused a real bad situation. New, proper fixture works great. Luv, Dad
Very nice light – love that it’s dimmable.
Me too! It goes way down to almost nothing, and way up to super bright! It’s way brighter than the old one – we were worried it wouldn’t be bright enough but it’s awesome!
We need to replace (all or some of ) the lights in our kitchen. I can use your expertise in choosing the replacements!
Cool! I would love to help pick some new lights 🙂