I just added this project [and 2 others] to my 2015 Projects list.
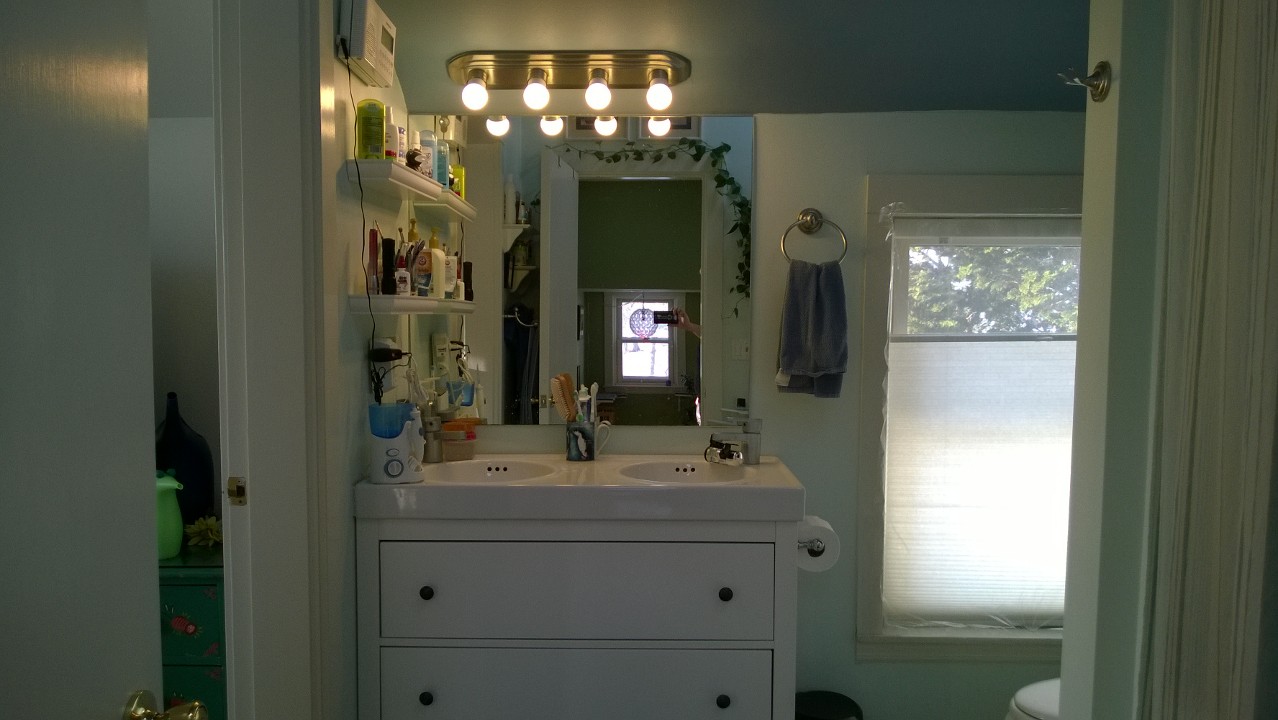
While hubby and I were at Home Depot on Saturday, picking out the new light for over the kitchen sink, we decided to check out bathroom vanity lighting. There’s nothing wrong with the light bar over our bathroom sink… except that it’s ugly and old:
After looking at all Home Depot had to offer, we couldn’t agree on which style to get. I favored the more ornate selections and hubby fancied the more art deco styles. Then he spotted this $16 brushed-nickle light bar:
I’m not a huge fan of round-bulb light bars, and most of the point of looking at new vanity lights was to get away from the round-bulb light bar, but for $16 how can you go wrong? It’s an improvement over the old one, and will tide us over until the day we find a replacement we both like [of course, the way these things usually go, is this will end up being our permanent vanity light, and that’s OK too]. I like the beveled edges, and the brushed-nickle finish is much less of an eye bleeder than the shiny chrome. Plus it takes the same LED bulbs as the old one, saving us from having to buy new ones.
Once we got home, and after I’d installed the new kitchen sink light, I headed up to the bathroom. I had no idea how the old fixture came off the wall – there were no screws. Hubby stepped up, unscrewed the bulbs, then pulled the little metal cuffs off:
Which released the top part of the fixture from the part housing the wiring:
Well I’ll be damned. Then he turned the job over to me.
First step, as always: TURN POWER OFF AT THE BASEMENT BREAKER!
Once that was done, I unscrewed the fixture from the wall & disconnected the wires:
Since our new fixture is smaller, I decided to touch up the paint first, for a more seamless look:
Then I connected the black, white & ground [green] wires to the electrical cable coming out of the wall & secured the new light to the wall with anchors. As a side note, the supplied anchors were CRAP. They pulled right out of the wall as soon as I screwed the fixture to the ceiling! Thankfully I was in a position to catch it when it fell. And thankfully I have a large supply of better quality drywall anchors! Then it was just a matter of attaching the fixture cover, securing the new little metal cuffs to it, and screwing in the LED bulbs from the old light bar. Done!
And here’s a sneak peak at the project I’m currently working on:
Replacing the ugly 1980’s-ish can lights in the master bedroom with the sleeker [$10!] track lights I got at IKEA last week! They’re so much brighter. And I love how hubby arranged the bulbs so one points down and 2 point up! He’s so clever 🙂 One down, 3 to go! Stay tuned for a status update later this week!
I will end this post with a photo essay of Darwin and Birdie in the alcove the other evening. Darwin discovered one of the catnip sacks I’d tossed up there for Birdie, and got smashed on the ‘nip while Birdie watched:
After getting some herbal courage, he slowly made his way towards her:
He decided he’d better chill for a bit before commencing his approach:
After a tense standoff, with a few choice hisses and growls from Birdie, Darwin surprised her by leaping straight by her head and landing on the red-bracketed shelf, whereupon he sauntered down into the cat tree:
Well done, Darwin!


Alison, thanks for following my blog! Now I’m following you. I just spent the last hour reading yours–it’s hilarious, and we obviously share a love of cats and critters! Looking forward to reading more …
Thanks, D’Arcy! Yours cracks me up, too! I love your “wolf eel” cat LOL!!!
You have been so productive these days! Good for you. I feel very behind, but I am sure that the projects will pick up again soon.
Love your cats. They are so sweet.
Great job with the new lights.
And regarding Darwin, he’s always the coolest of the cool!
He really is. Lately he’s taken to hissing at Bonkers. We’re not sure what that’s about.