In case you missed it, here are the previous links for this now-completed project:
Back in February, when I posted my last recessed lighting post, I had spray painted 2 of the living room recessed lighting trims with off-white spray paint. Last weekend I finally got off my butt and did the rest!
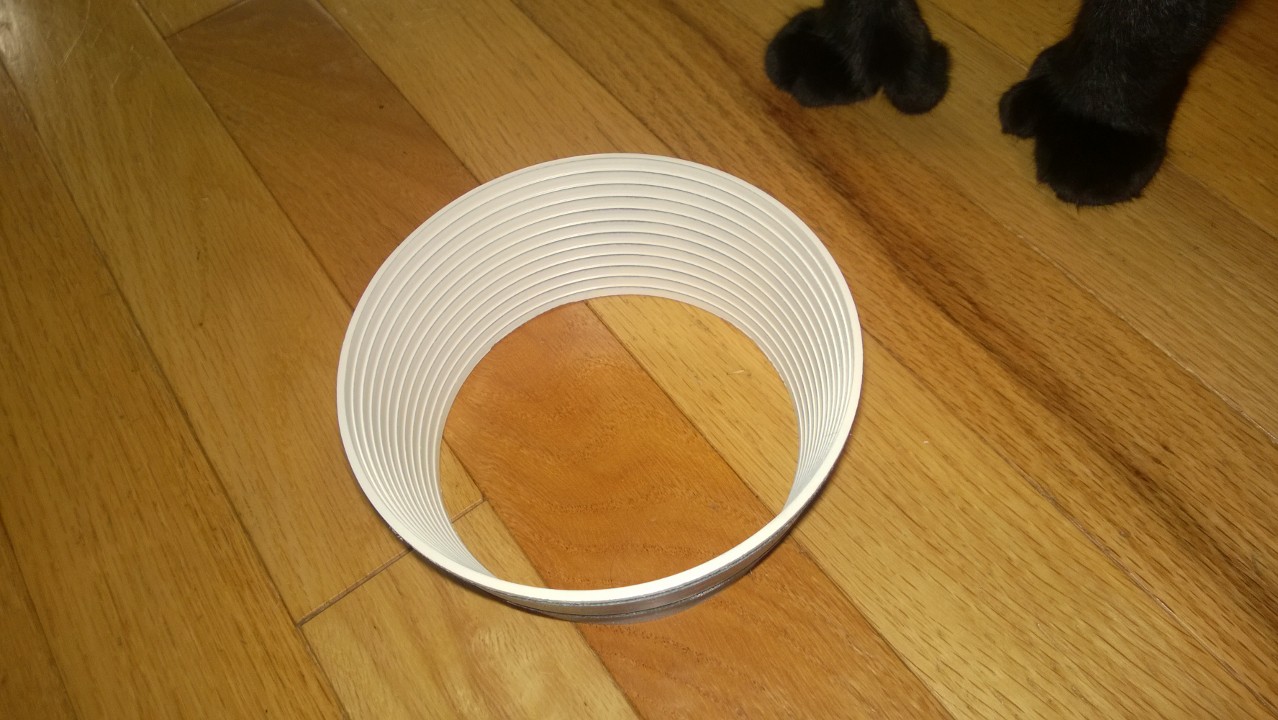
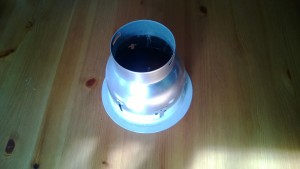
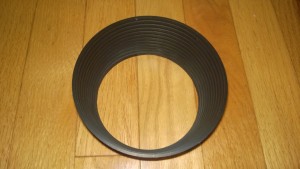
I also learned something EXTREMELY helpful this time around! You can just use your fingers and pop off the little metal ring from each recessed light – you don’t have to un-clip and take down the entire trim piece – major time saver! As an example, here’s a full trim piece [ring-side down] vs. just the little ring:
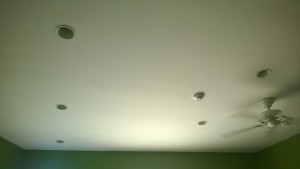
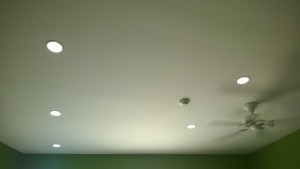
Now the living room is done:
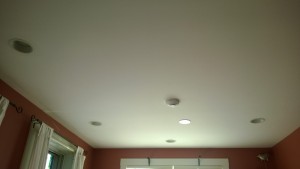
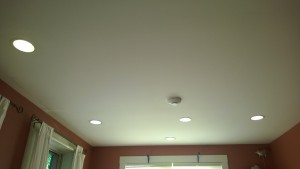
The dining room is done:
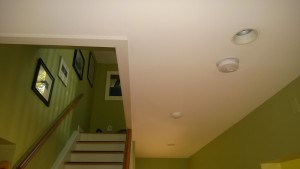
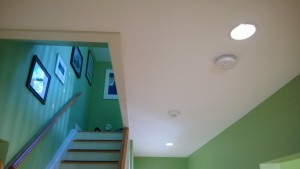
The downstairs hallway is done [the wall color looks so different when the flash goes off!]:
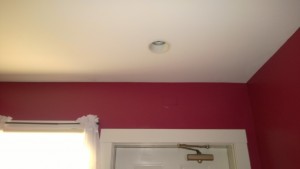
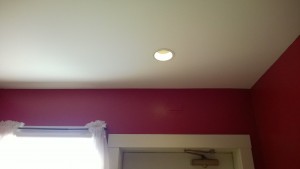
And the laundry room is done:
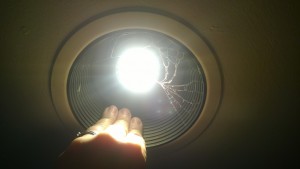
Here’s a picture of me demonstrating how easy it is to pop off the little ring – just apply a tiny bit of pressure and pull down:
[Last Christmas there was a full-spiral spider web in the laundry room light – now it’s just a dusty remnant – it was so pretty!]
Good info, as always. And a great job, as always!
That info about a little clip is really helpful. We have several recessed lights that need serious help; maybe this will spur me on!
If you want to take down the whole trim piece, there’s 2 little clips you have to reach up and push to disconnect it from the ceiling. If you want to take down just the little metal ring piece, just use your fingertips, apply a little pressure, pull down and it will pop off.