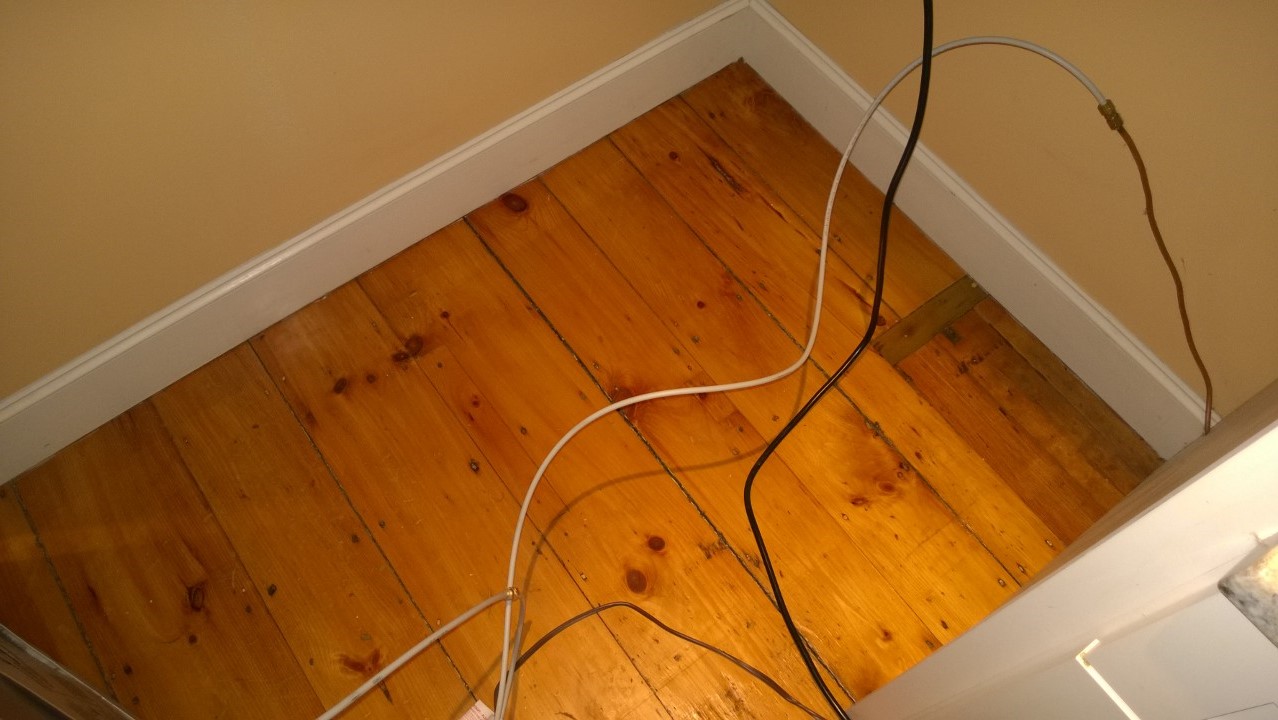
Hubby came home from work at noon today to replace the water filters throughout the house. He had one left, under the kitchen sink. Apparently even though he’s replaced that one many times, this time was different. Before he’d finished unscrewing it, it blew off and water shot out like a hydrant! He called me at work in a panic, asking how to shut the water off – he’d tried all the levers under the sink and nothing worked. But then he found a hidden one and thankfully that did the trick. He was able to replace the filter and turn the water back on. But by then the kitchen floor was flooded. Thankfully our kitchen floor is wide pine boards from the 1800s with nothing underneath – you can look between the boards down into the basement. So the water mostly poured straight down between the cracks and drained out via the basement sump pump hole. Phew! But I came home from work anyways to make sure everything was dry. I pulled the stove away from the wall and found a puddle, which I dried. And I aired out everything under the sink and finished drying that area. Then I pulled the fridge away from the wall and found this:
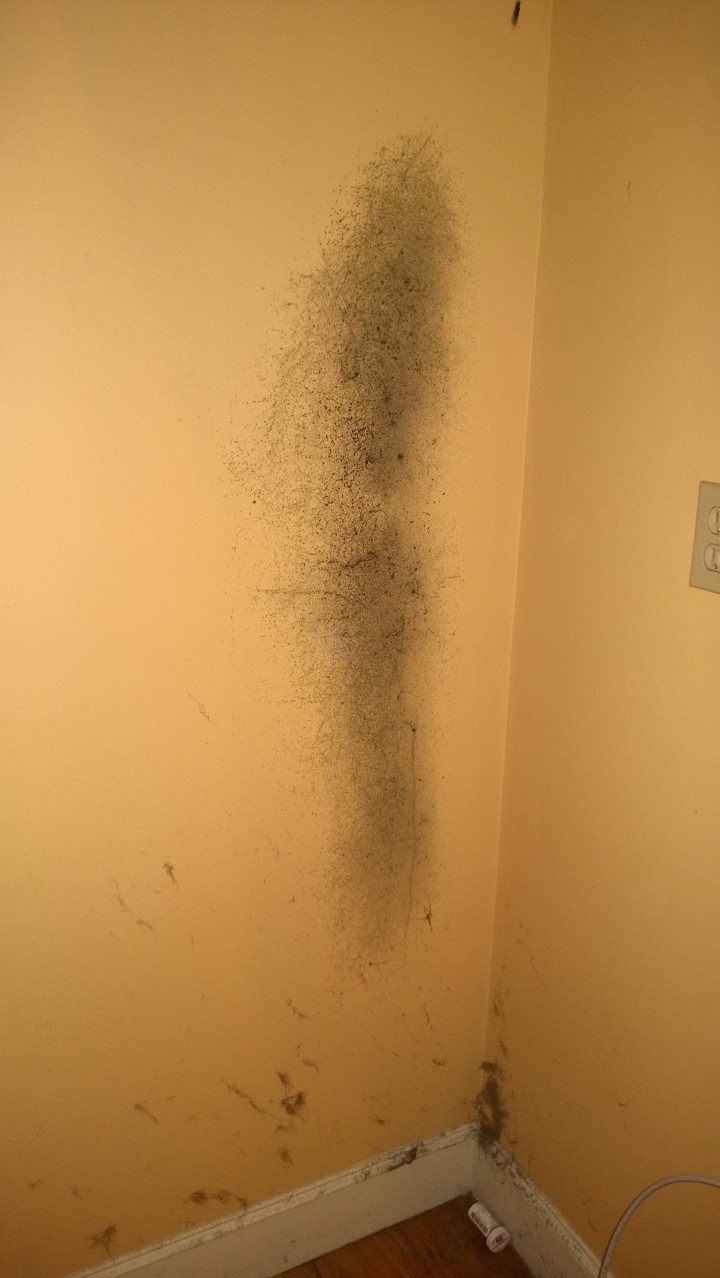

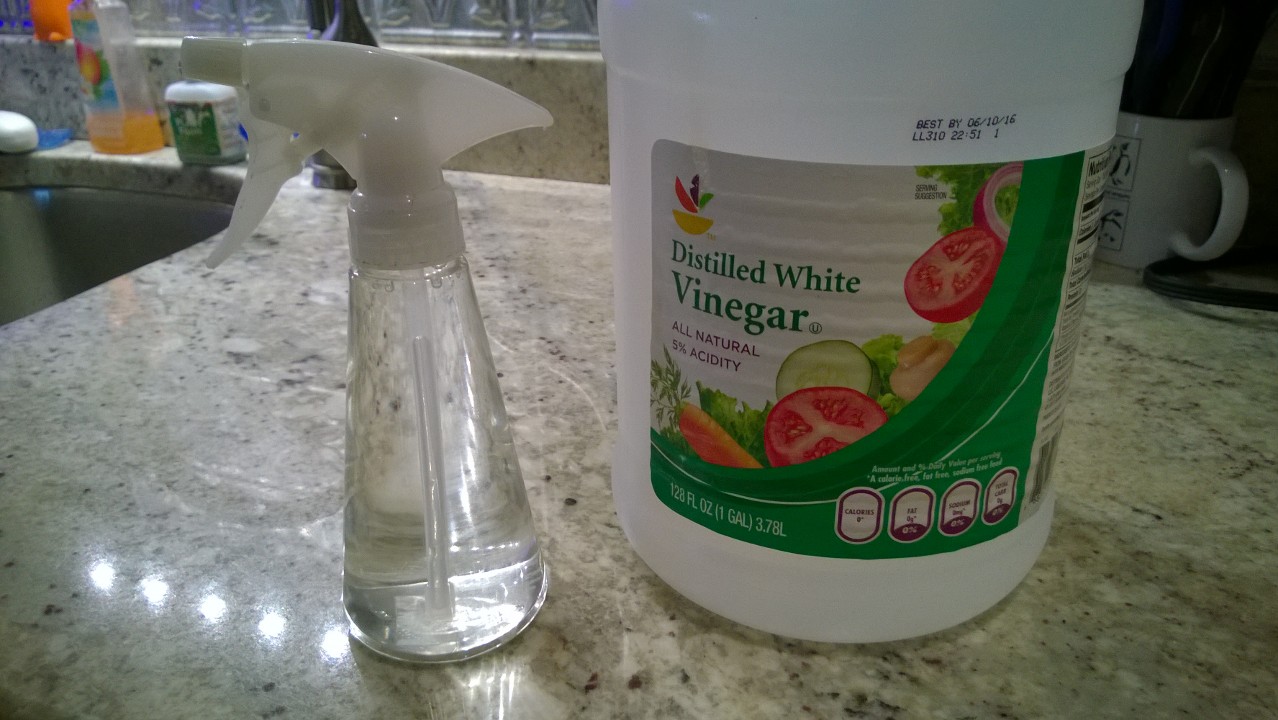
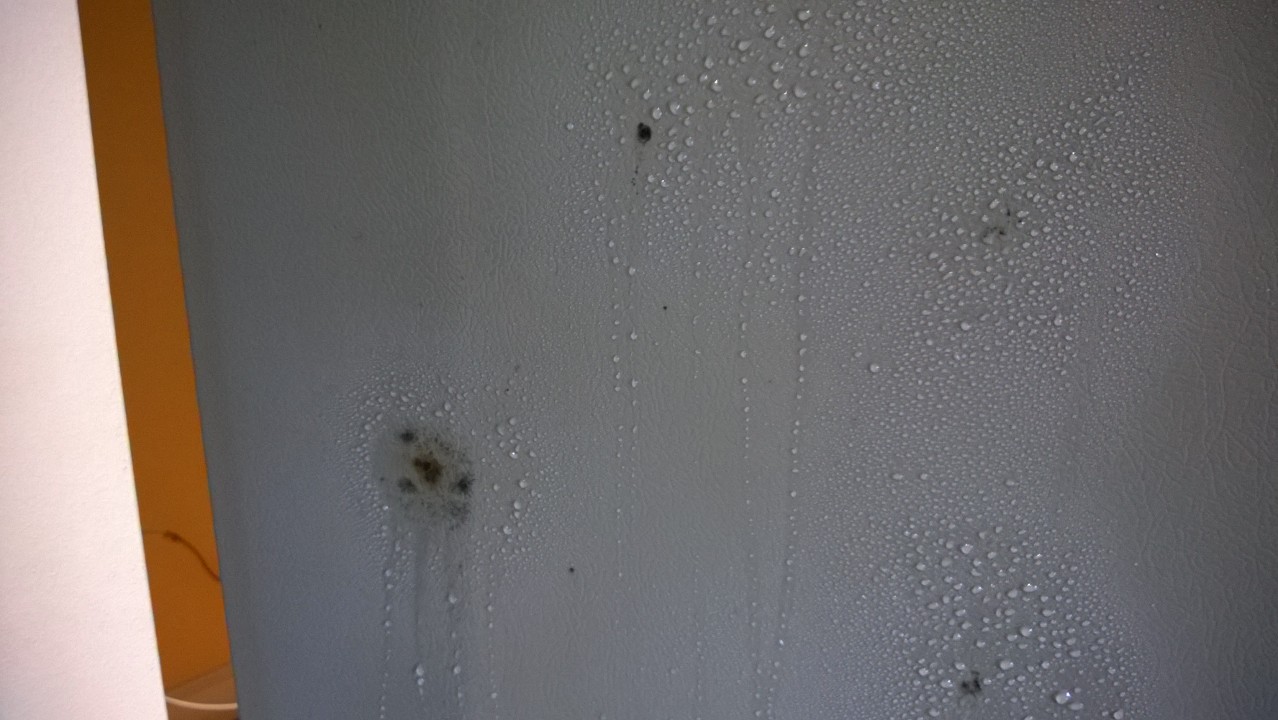
A large colony of black mold along the left side wall. I immediately ran up to the girl cave and grabbed my respirator which I wore for the remainder of the afternoon. I’m prone to asthma, allergies, and breathing issues and I don’t need anything making my lungs worse. I googled “getting rid of black mold” and found many helpful articles. It seems that for painted drywall, white vinegar is an excellent option. Spray it on, let is sit for an hour, and wash it off. I did just that. Bleach will kill mold on non-porous surfaces like ceramic, but for things like drywall apparently vinegar is preferred. I also sprayed the side of the fridge which had some mold on it:
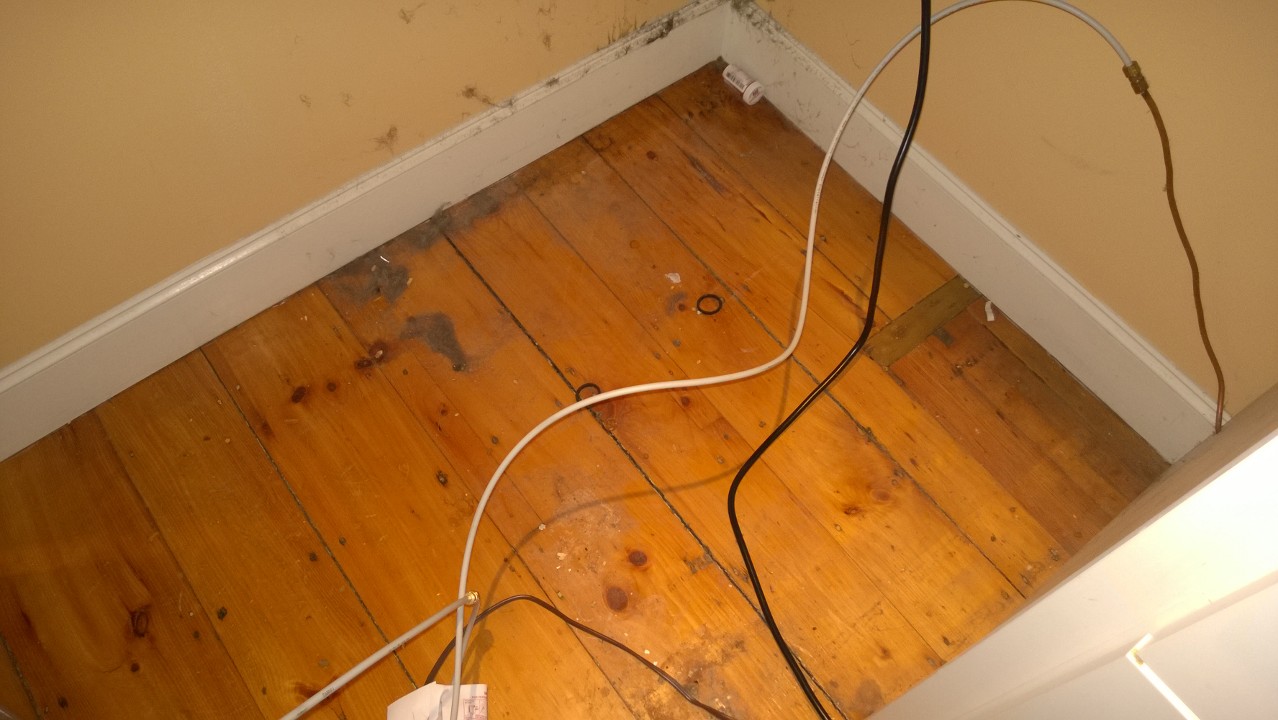
After the hour was up, I started by vacuuming and washing the floor – much better:
Then used warm, soapy water to wash the wall – HUGE improvement:
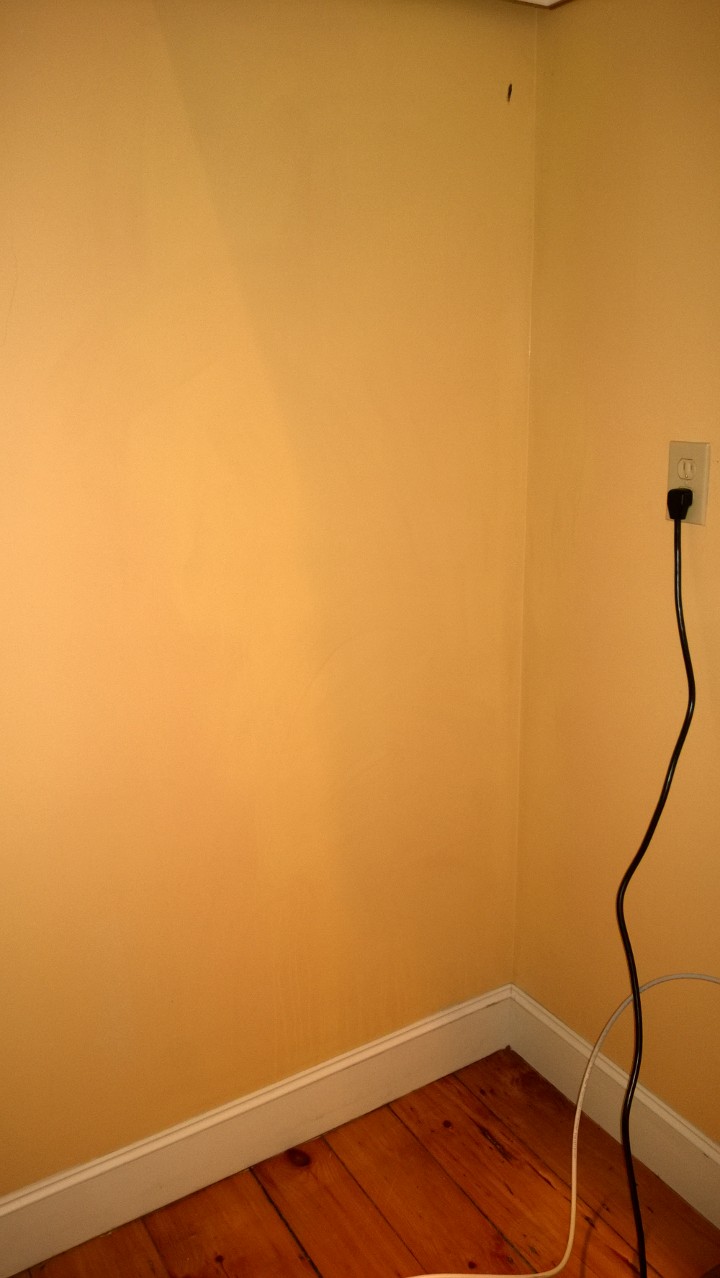
Just to be on the safe side I also filled a spray bottle with bleach and gave the wall a good spray. After 10 minutes I washed it off. The bleach removed the final haze of darkness from the wall. I <3 bleach.
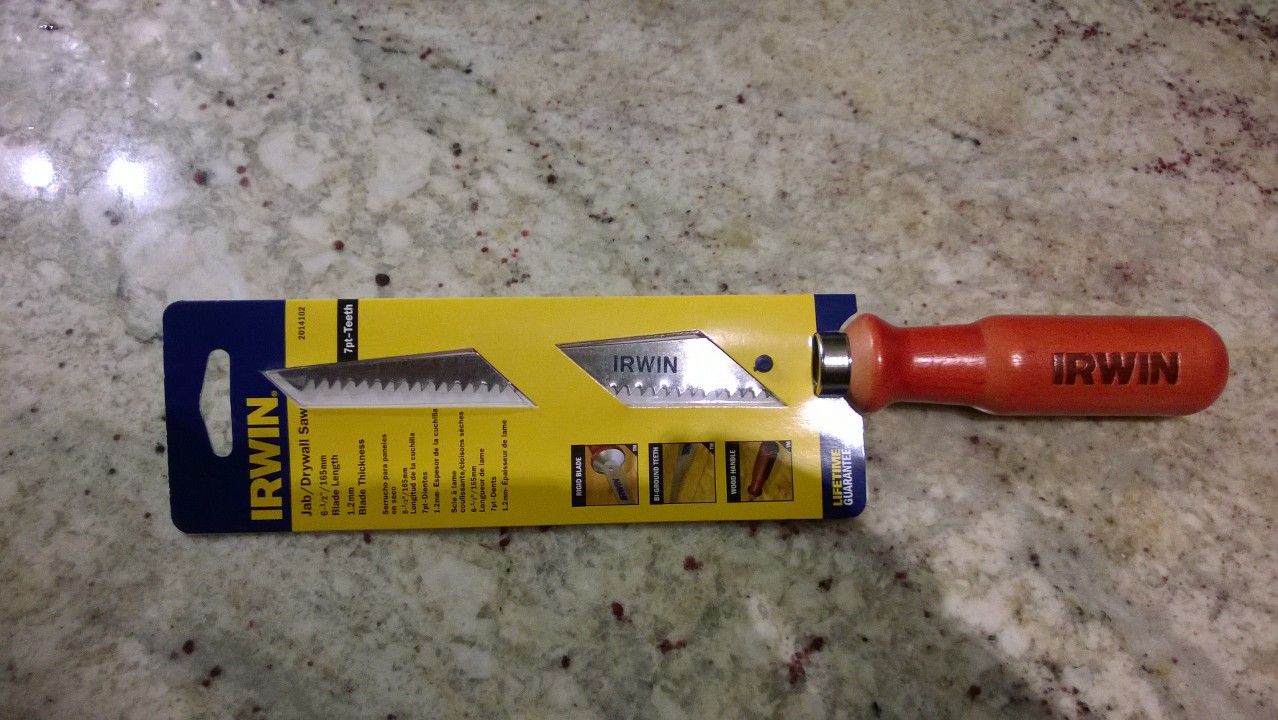
Meanwhile, I had posted the pics on Facebook and my boss Jim asked if perhaps something inside the wall was leaking or damp, causing moisture to accumulate and mold to form. I hadn’t even thought about that! The 3rd condo in our building is a one room studio, which was renovated last year. The kitchen is directly behind that wall. I got to worrying that maybe there was black mold inside the wall… that would be a complete nightmare! I drove up the road to Aubuchon Hardware and bought myself a $5 jab saw/drywall saw. I learned how to use these at the Basic Home Repair class I took at Whittier Technical School a few years back – soooo glad I took that class! Just place the tip of the saw against the drywall then give it a few good bangs with your palm until it breaks through:

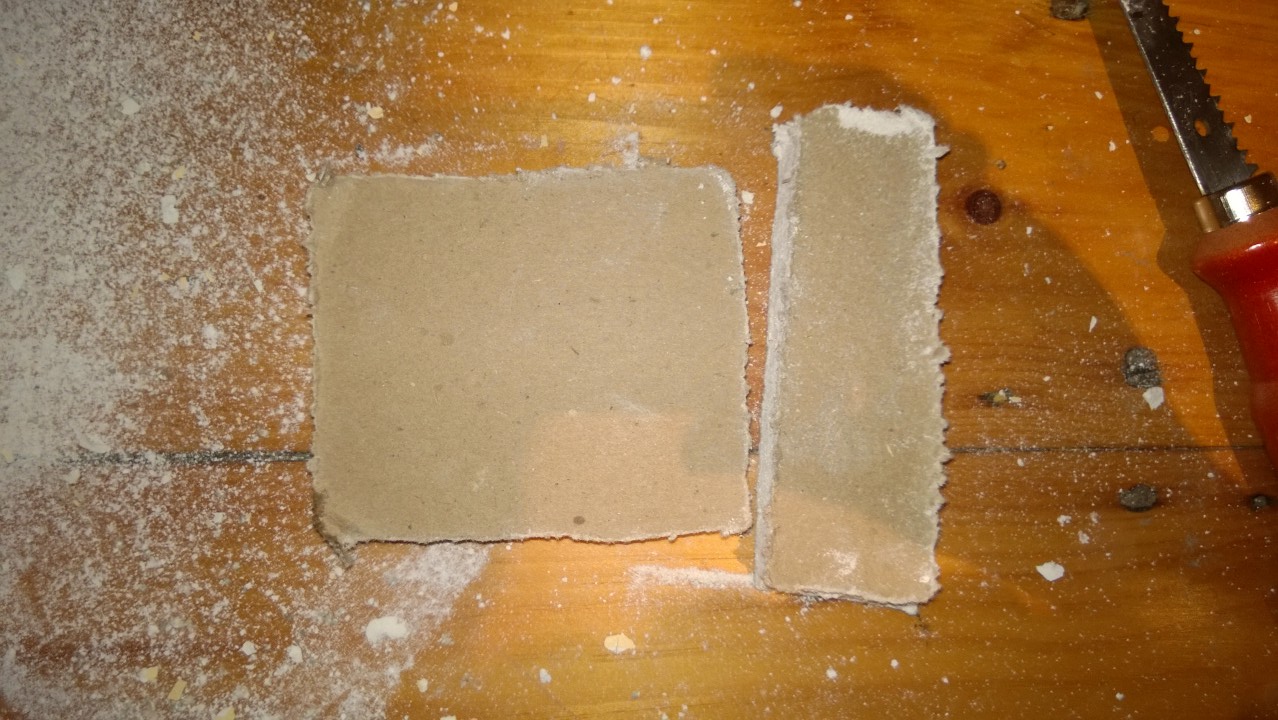
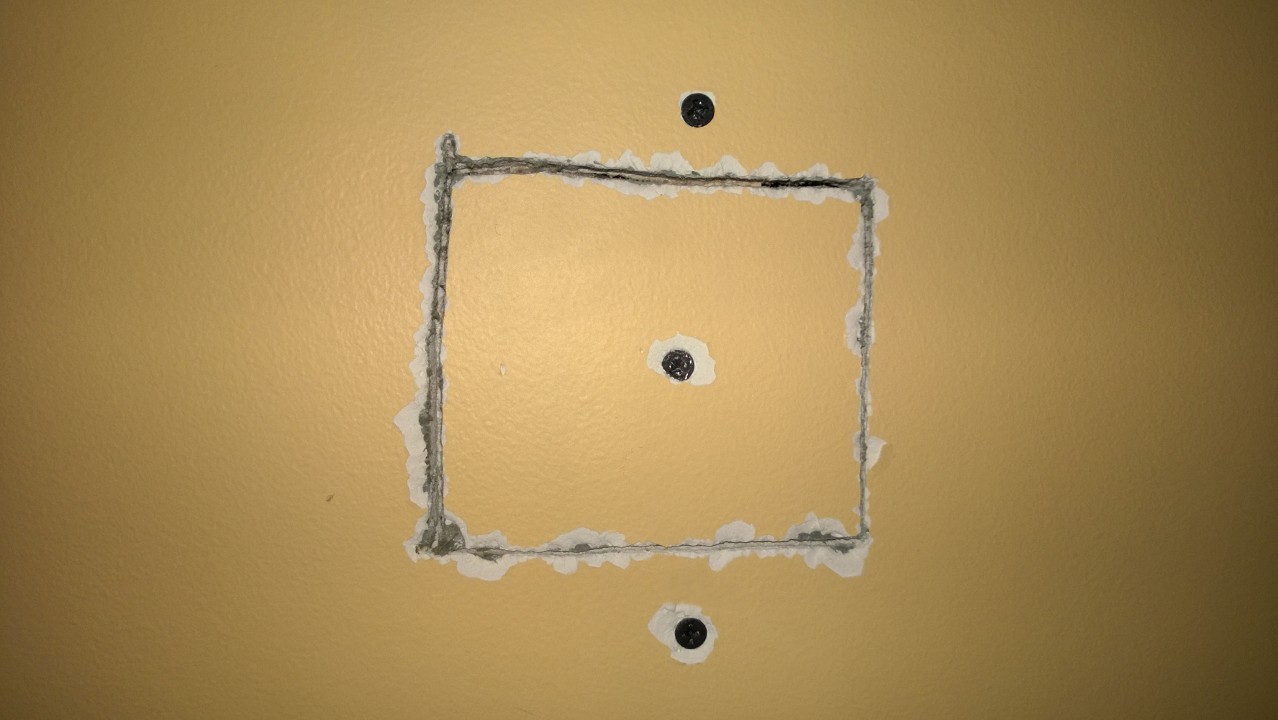
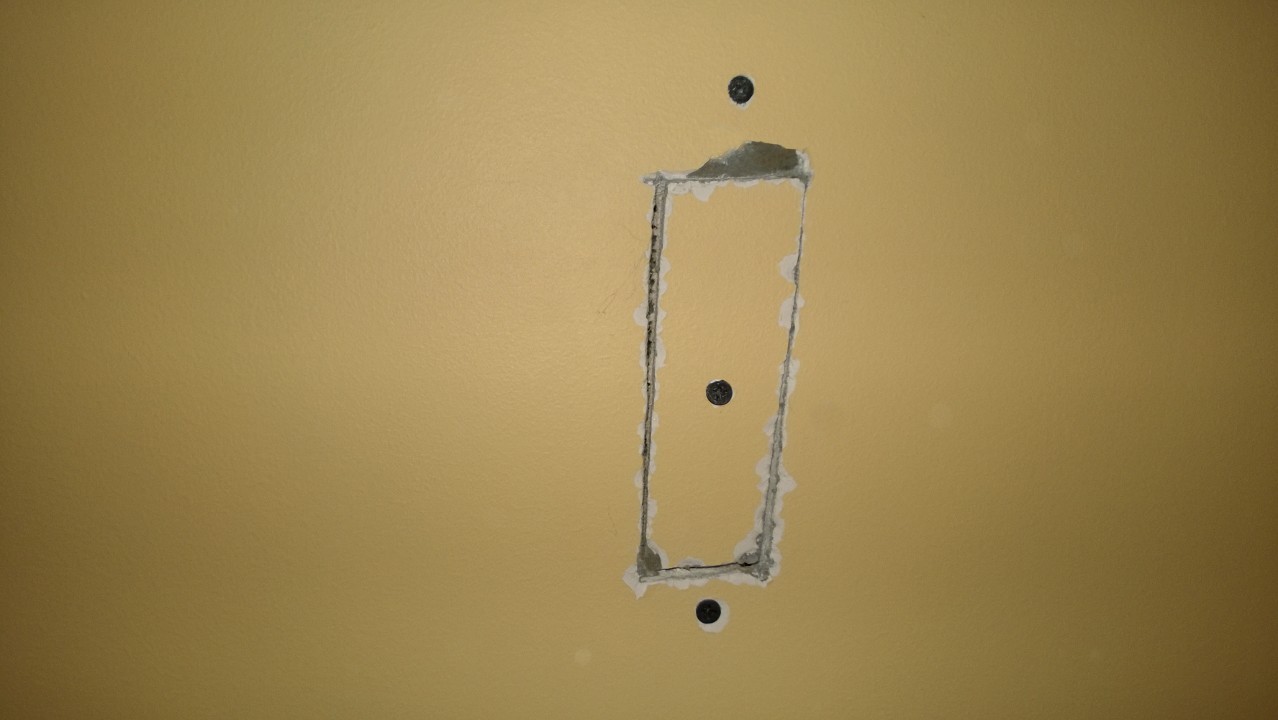
I ended up cutting 2 holes in the drywall where the mold had been:
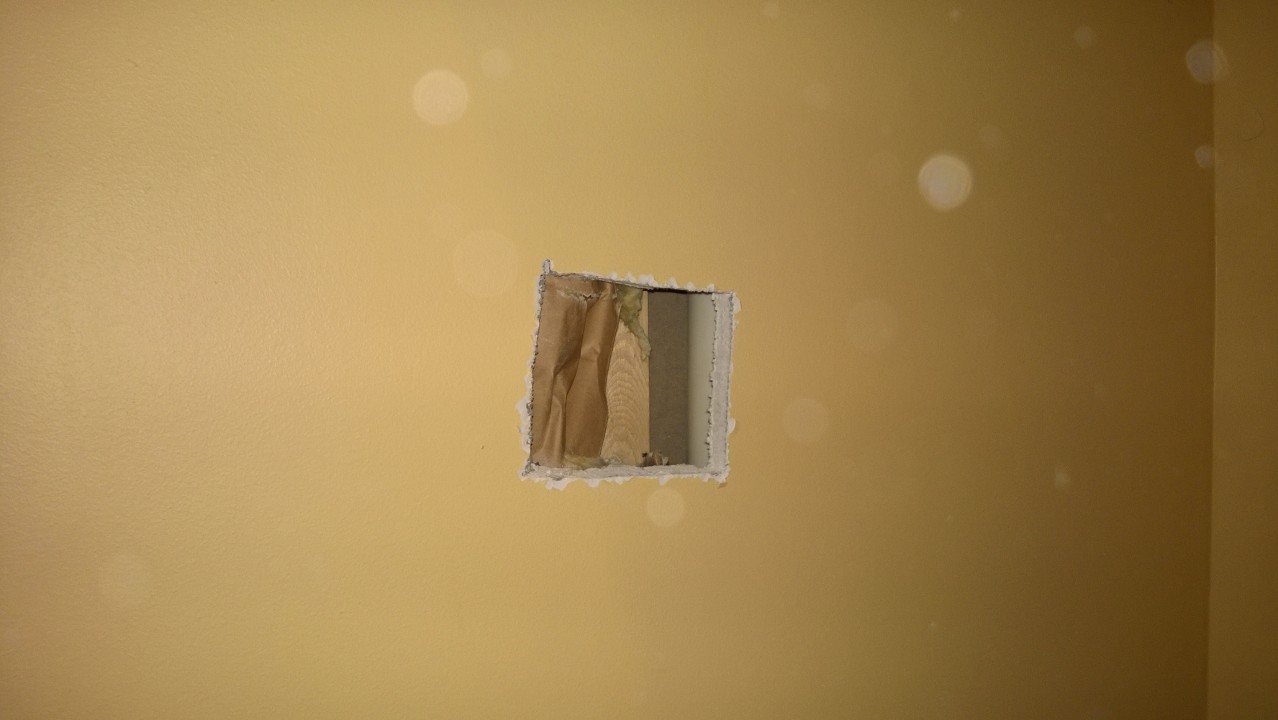

THANKFULLY the back of both pieces of drywall were totally clean & dry. No mold in sight!
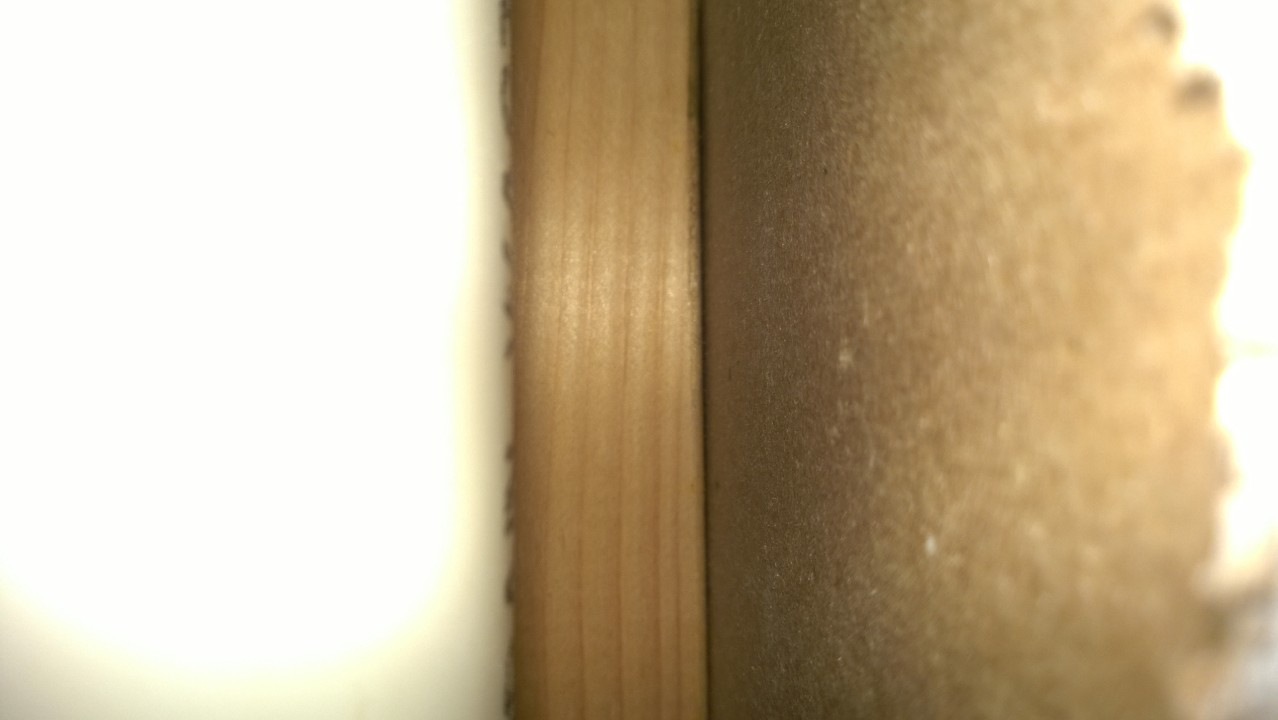
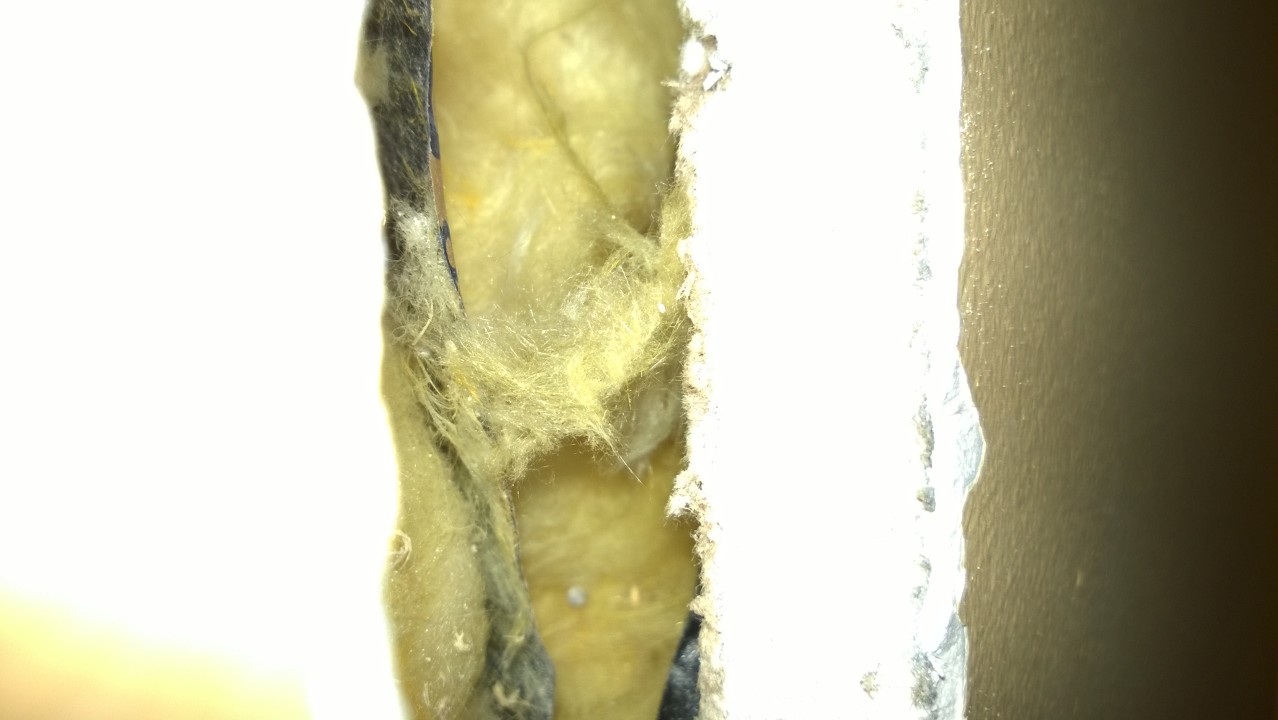
Huge relief. I stuck my phone through the holes and couldn’t see any signs of mold in there either.
Top hole:
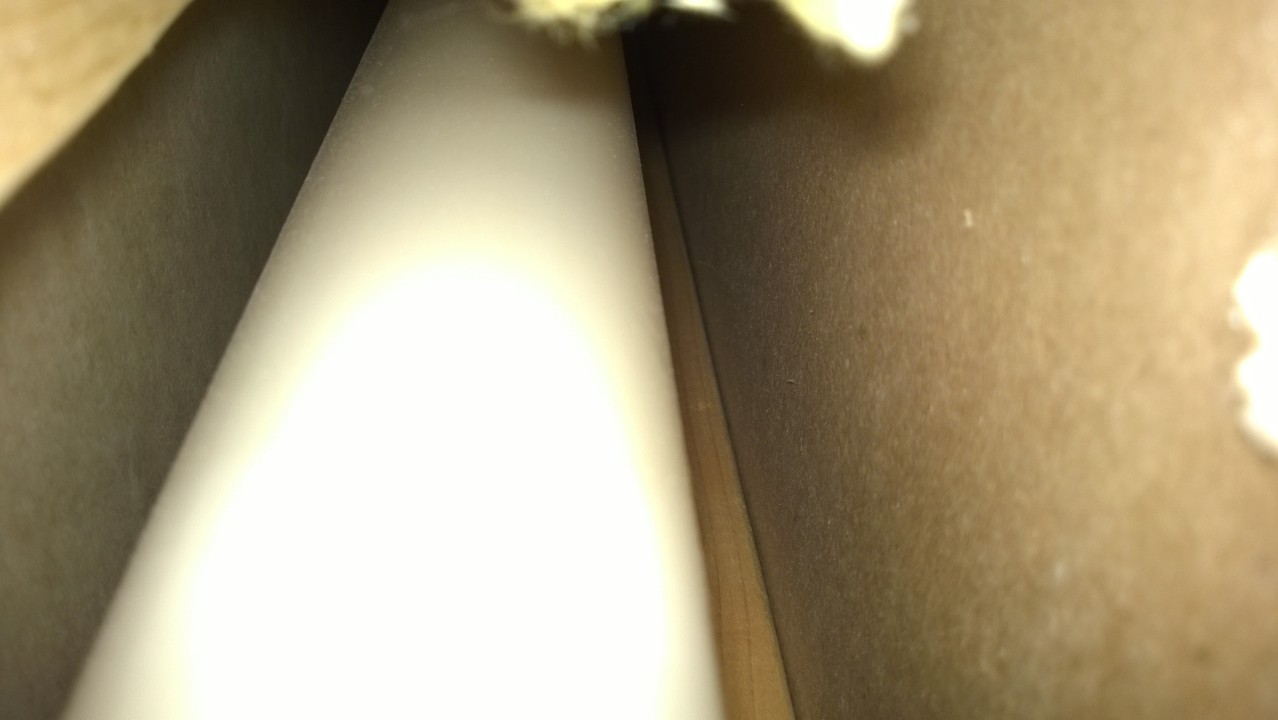
Bottom hole:
PHEW!!!
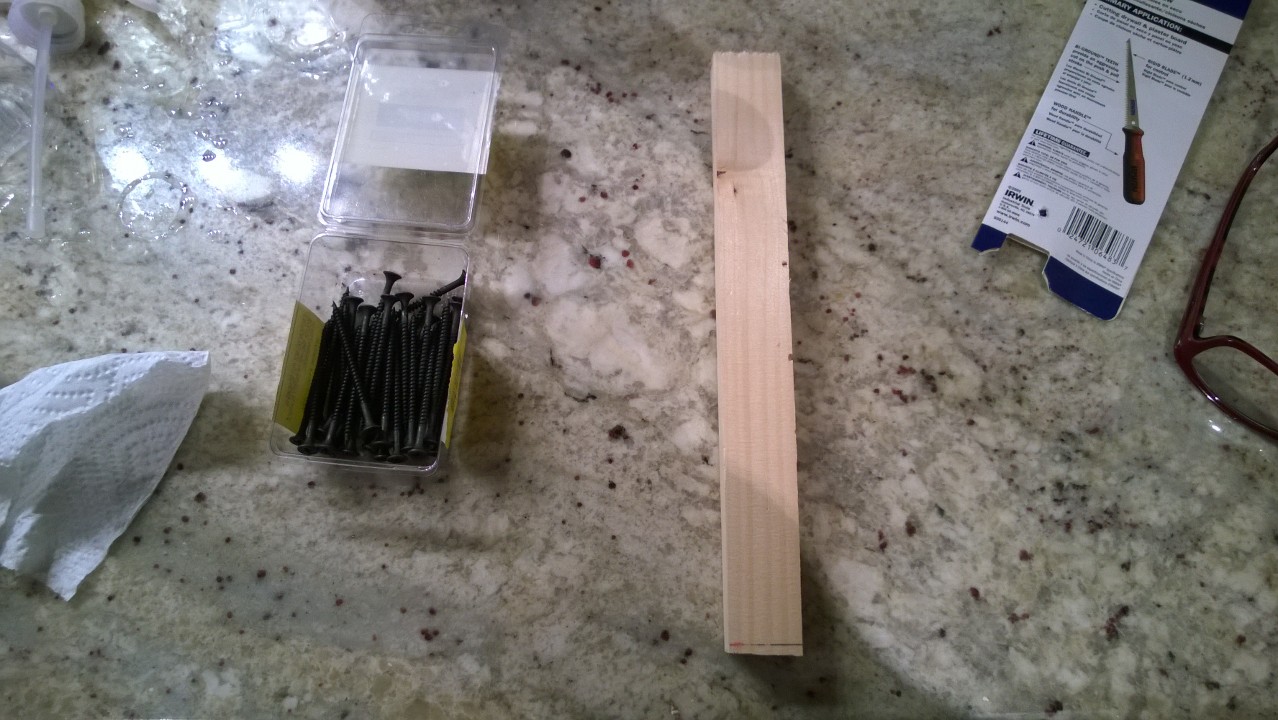
Then I cleaned up the dust and set about patching the holes. I had to make a 2nd trip to Aubuchon Hardware for drywall screws. We used these a lot at Whittier Tech too. I knew enough that a substitution would only cause headaches. When I got back with the screws I went down cellar and cut a few strips of scrap wood with my table saw to use as braces inside each hole [you need something to screw the drywall pieces back into]:

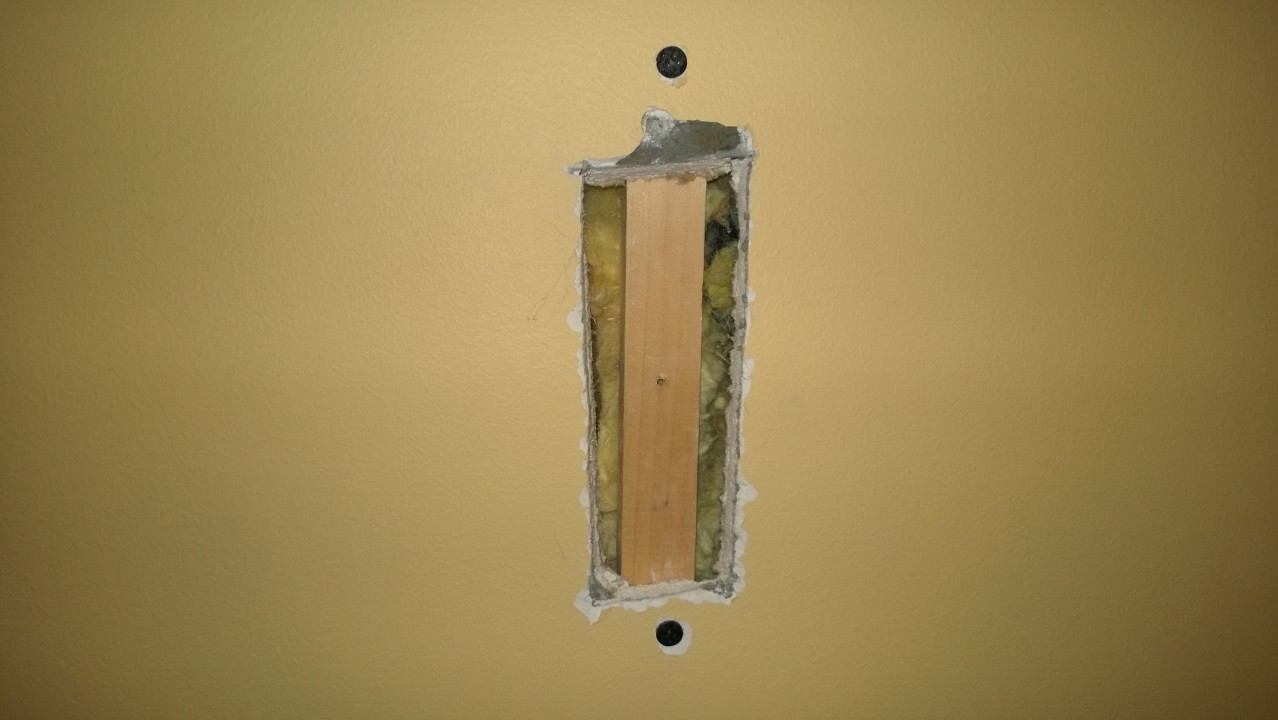
The top hole was easy to patch because it was big enough to hold the brace in place while I screwed support screws above and below it. Then it was just a matter of placing the drywall square against the brace and screwing a final screw in the center:

The bottom hole was a bit trickier – I remembered a trick I learned on DIYDiva.net and screwed a screw into the brace to hold it in place while I drilled the screws in above and below it [it reminded me of those puzzles with the knobs little kids hold to put the pieces in place]. Then I screwed the rectangular piece to the brace:
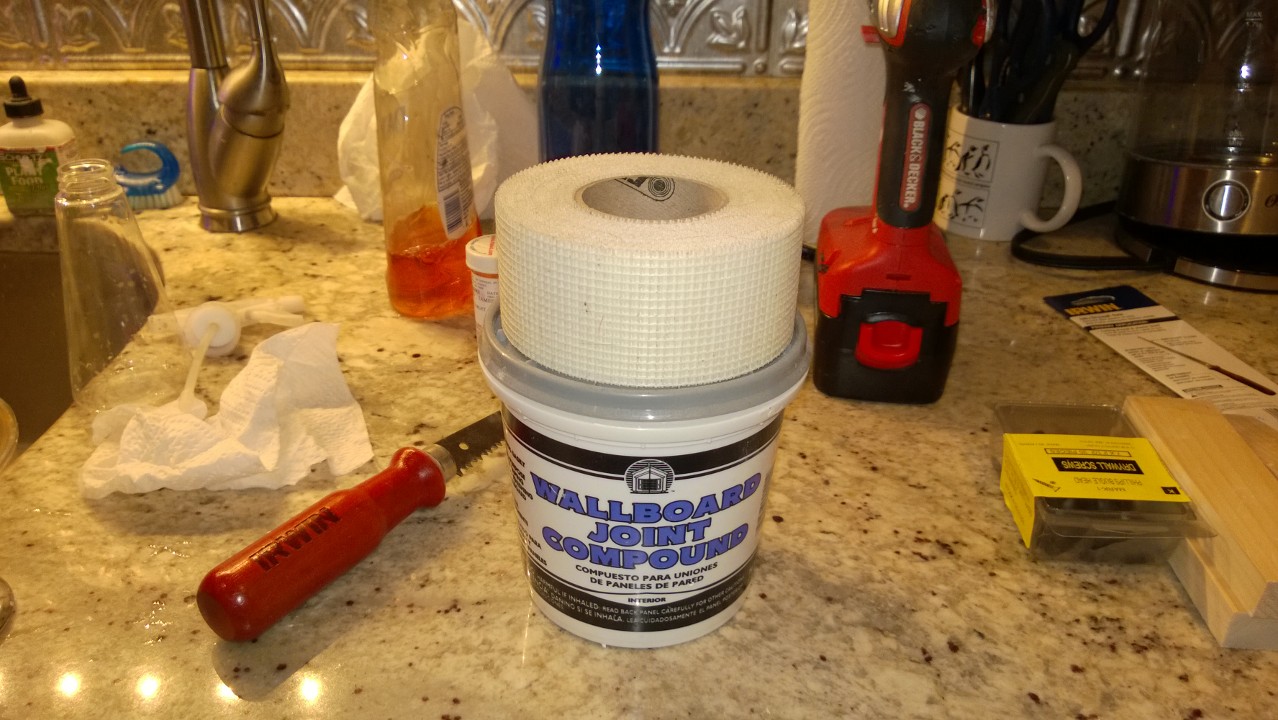
Then it was just a matter of getting the drywall tape & joint compound from my VERY FIRST DIY PROJECT:
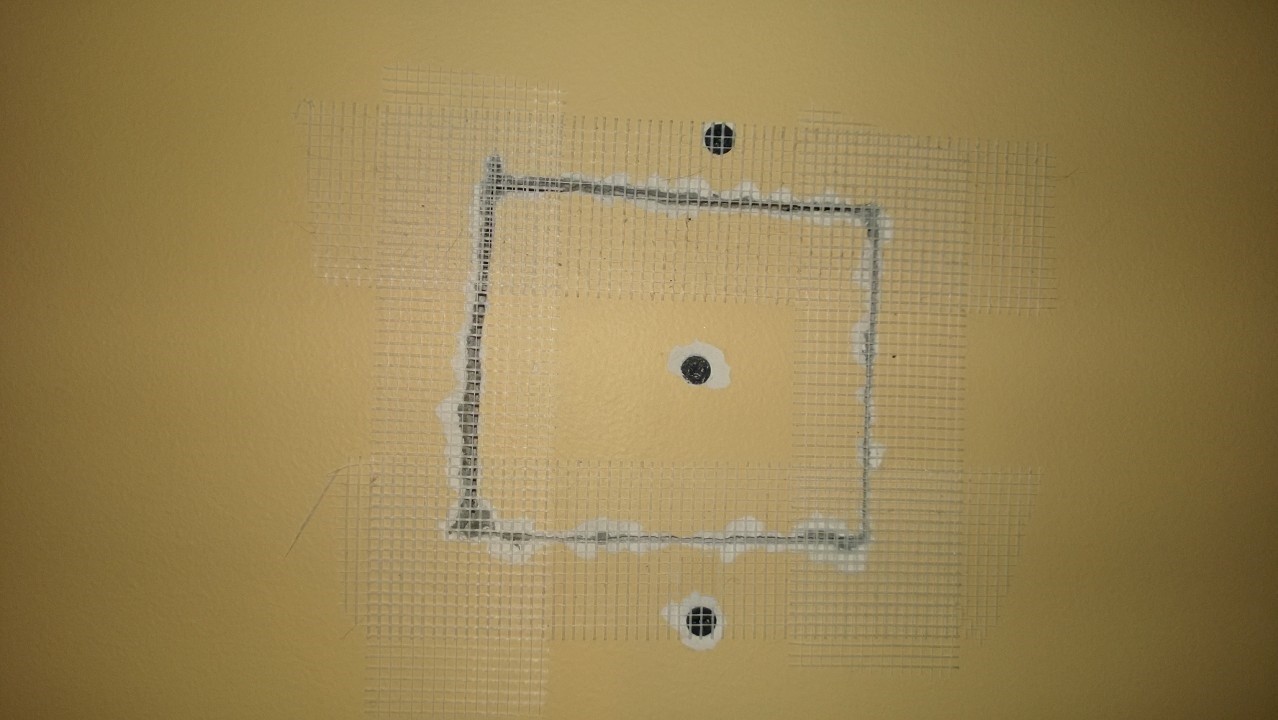
And taping and mudding the edges:

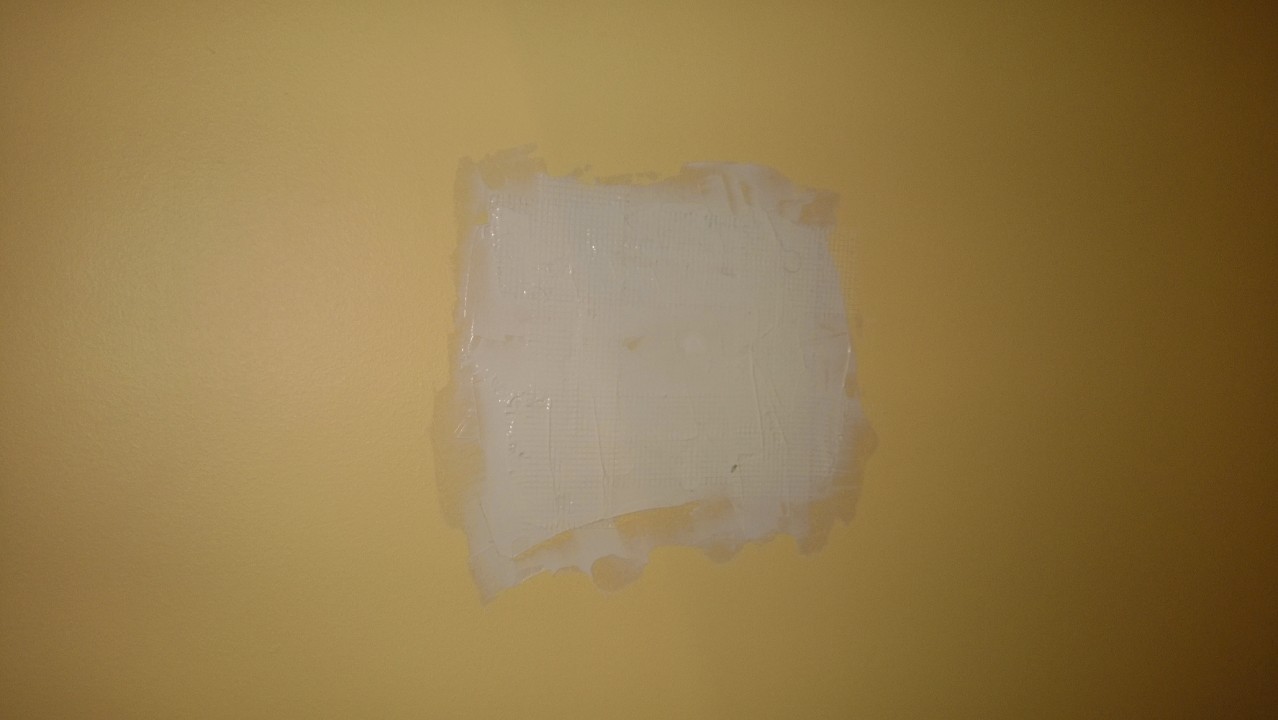
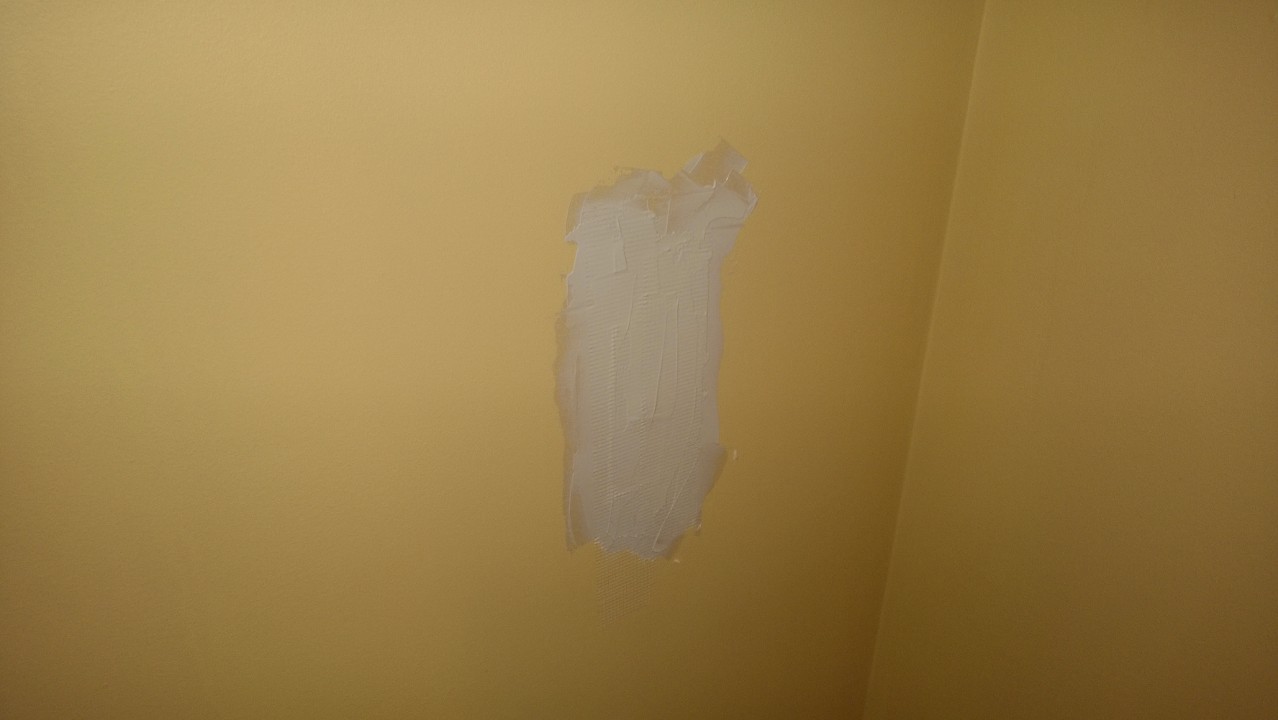
Tomorrow after work I’ll sand down the dried joint compound and apply a 2nd coat. Then repeat the process on Friday. Then paint 1 or 2 coats of paint over it this weekend. Then keep an eye on the wall every few months and try to figure out what could be causing the moisture issues!

This definitely was NOT how I planned to spend my afternoon!!! The entire process from start to finish took 4 hours. Exhausting!
That job is 120%. Like how systematic and safe you were in your attack. Jo @ Let’s Face the Music
Thanks, Jo! Can’t take any chances with black mold.
Well done.
Gut gemacht.
Liebe Grüsse
Danke!
Clever girl!
Thanks, I’m glad it’s behind me now!