
For one of hubby’s Christmas gifts I ordered a TV-B-Gone Kit from Amazon [#affiliate]. From Wikipedia:
“TV-B-Gone is a universal remote control device for turning off a large majority of the available brands of television sets. It was created to allow people in a public place to turn off nearby television sets. Its inventor has referred to it as “an environmental management device”. Although it can require up to 72 seconds for the device to find the proper code for a particular television receiver, the most popular televisions turn off in the first few seconds.”
It does not damage TVs, and if you press the power button a 2nd time, the TV(s) will come right back on. It’s basically a universal remote. Unfortunately, since these devices are questionably legal, you can’t buy a complete device, you have to build it yourself. They literally send you a little bag full of parts:


Which you dump out on your table and go WTF!:


I have never built anything electronic before. The website says you need a soldering iron. I assumed I’d be able to use my stained glass soldering iron. Nope. Way too big. So I ordered an electronics soldering iron & special electronics solder from the Adafruit website. It also says you need a multimeter, which thankfully I already have from when I tore apart our dryer a couple of years ago [I never ended up needing the multimeter].
I got the multimeter, the solder, & the soldering iron all spread out on my workbench:

Thankfully their website has VERY detailed instructions with pictures. I brought my laptop up to the girl cave and started the build. You pretty much push the pins of each component through the correct [and labeled!] ports on the motherboard, flip the motherboard over, solder the pins into place, then snip off any excess pin wire. I had no idea how hard/different electronics soldering would be from stained glass soldering. So… much… detail! Ugh!
I did my best, and got the first few parts attached. The first step was attaching the on/off button. It’s that little black square thing in the upper left:

I was pretty happy with my soldering work [4 silver balls in upper right corner]:

I got better as I soldered the next few pieces on – my solder spots got smaller and sharper. Some of the parts that have long legs, you have to snip them off after soldering:

But then I had to attach some tricky parts, with much closer-together soldering holes, and I kind of messed it up and some of the solder covered 2 holes:


After attaching the battery case [with the red and black wires], you’re supposed to insert batteries and the green light is supposed to blink. Nothing happened when I put in the batteries, and [thankfully!] I realized the batteries were starting to get warm to the touch. I couldn’t get them out, so I ran down to the kitchen with the device and used a knife to pop the batteries out. By then they were so hot they hurt my fingers! OMFG! One Amazon reviewer said her battery compartment got so hot it smoked and started to melt. Holy crap. The consensus is that if your solder balls are too close together, you did it wrong, and it can cause the over-heating issue. D’OH!
I resorted to a stained glass trick Abbie taught me. Brush on some FLUX, then use the soldering iron to heat up the solder where you want to remove it. The flux acts as a super conductor and the solder melts & slides right off whatever you’re working on and onto the workbench. Worked like a dream!
BEFORE & AFTER removing excess solder. Each silver ball is supposed to be centered on the copper circles, not overlapping into a different copper circle:


SO once again I was ready to test the green light. I was very nervous about the batteries overheating again so I kept my finger on them but the batteries stayed cold and the green light started blinking!!!:


I was so excited I even took a video:
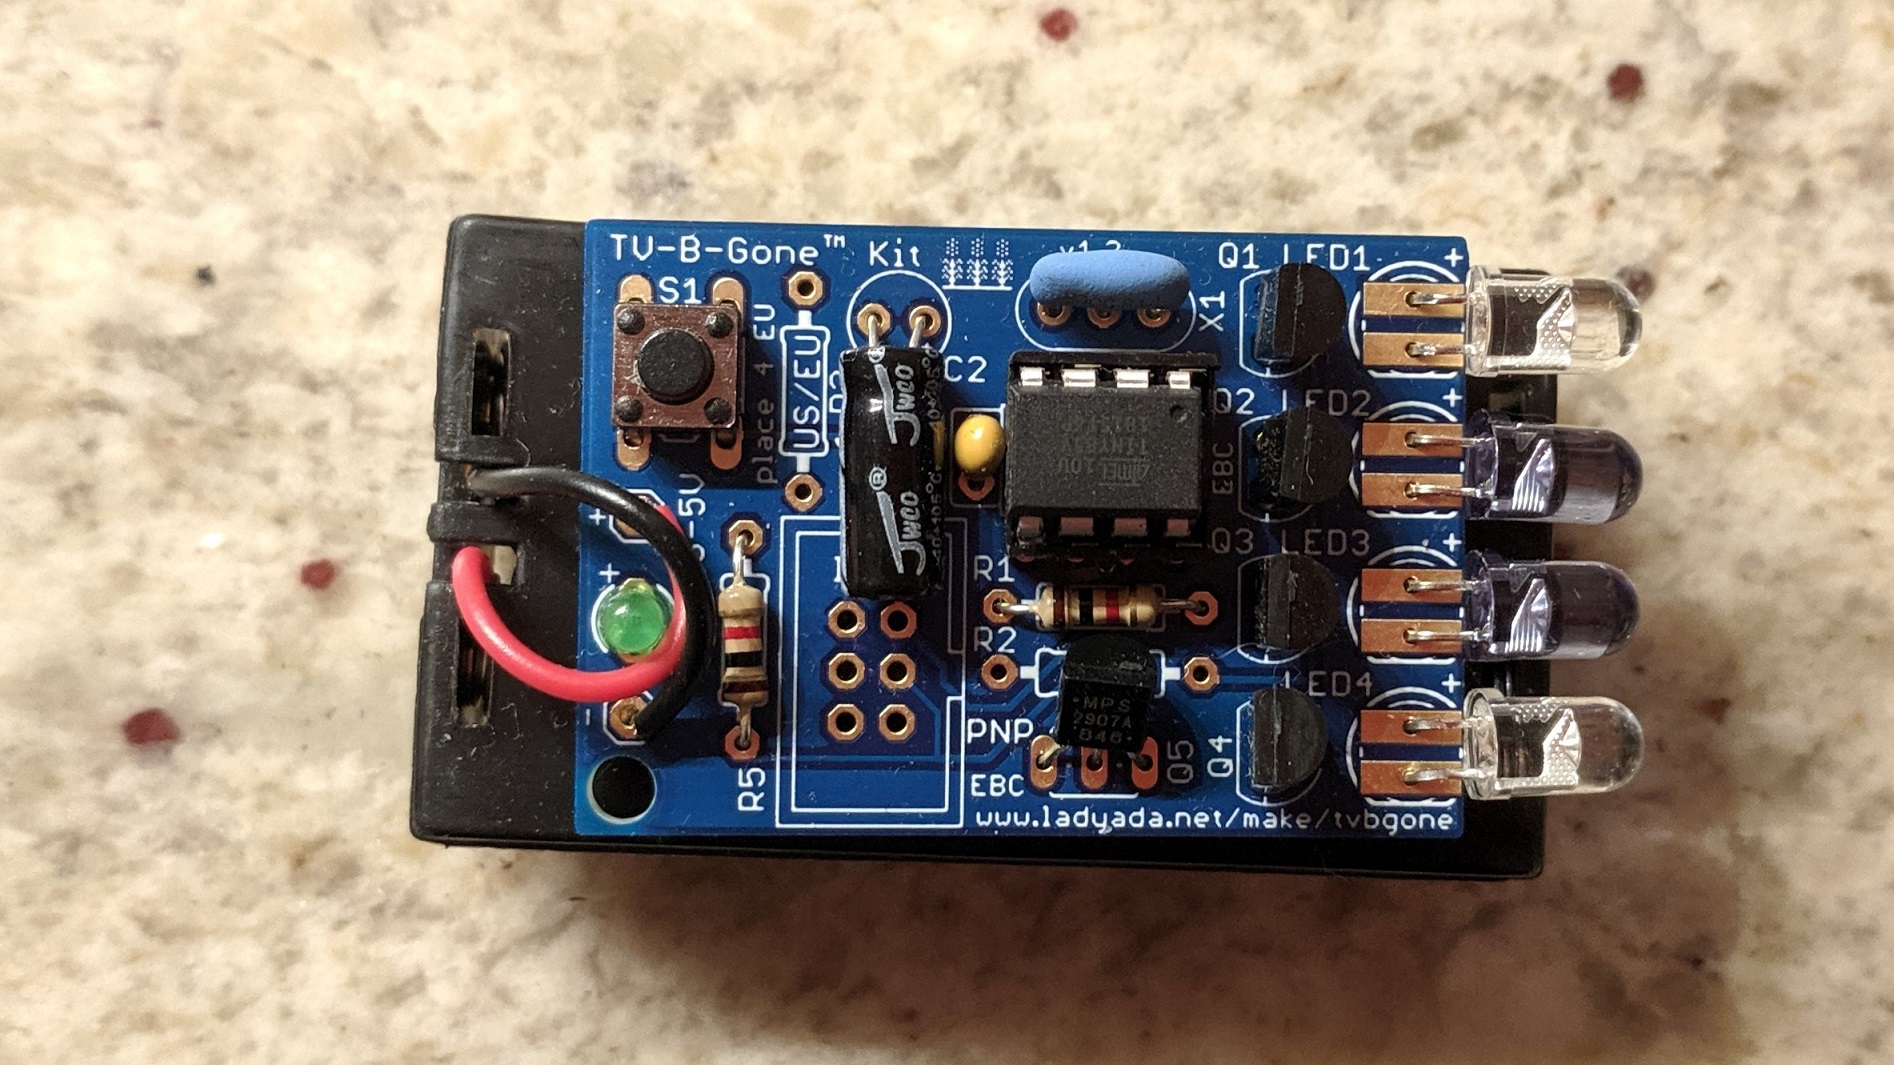
After that it was pretty easy to finish the build. I kept following the directions on the Adafruit website and after about 20 minutes I was done! I made sure my solder dots were nice and tight:

There was one more test to do after I was done with the build: see if the 4 infrared LEDs worked. I didn’t know this, but digital cameras can “see” infrared, even though we can’t. The instructions said to go into a dark room, press the TV-B-Gone’s “on” button, then look through your phone/camera at the LEDs. 3 of mine were on and one was unfortunately not [naked eye vs. camera eye]:


But 3 out of 4 isn’t bad! There’s really nothing you can do to fix it, so oh well. Each LED apparently controls a different set of TVs, so my first TV-B-Gone build wasn’t perfect, but almost! Finished product:


I brought it to hubby and once he realized what it was he was overjoyed! Hooray!!! Now when there’s politics on the TV at the gym, he can make it go away [99% of the time the TVs show sports].
I had ordered a 2nd TV-B-Gone kit “just in case” – for $22 you can’t really go wrong. I built the 2nd one right after giving hubby the 1st one. It only took about 20 minutes [compared to about 2 hours to build the first one]. Woohoo!
And the best part is that all 4 infrared LEDs work on the 2nd build:


Now hubby has 2 TV-B-Gone’s in case one gets confiscated. If both get confiscated I’ll just build him a 3rd one 🙂

