
Poor Bonkers. So rickety, so muppet-y, so topple-y! The poor guy has loose joints, especially in his hips, so he can’t really jump very high or far. I’ve been carrying him out to the enclosure and letting him walk and sit on the top shelf [and rub his face on the chicken wire], but he’s too rickety to jump down to the middle shelf, even though he REALLY wants to. So I decided the enclosure needs ramps!
Yesterday after work I measured the enclosure to see how best to proceed with ramps. I decided to craft 7″ wide x 44″ long ramps from ¾” plywood. I went down to my workshop, measured the plywood, grabbed a freshly juiced up battery for the circular saw, and started cutting. After a few seconds the saw died. So I tried the other battery. Even worse. This happened on Monday when I was cutting the luan slats. I figured the rechargeable batteries just didn’t have enough juice for some reason. But now that it’s happened again, I’m thinking that after 2 years the batteries just aren’t holding a charge like they used to. Bummer!!! So I had to cut 88″ of ¾” plywood by hand. THAT was fun. It was so hot and humid yesterday! Thankfully the basement is much cooler than outside, but it was still humid, and it still sucked. Once they were cut, I chugged a huge glass of ice water, then brought them outside to stain:

Here’s how they’ll look once they’re installed:


It didn’t take long to stain them:


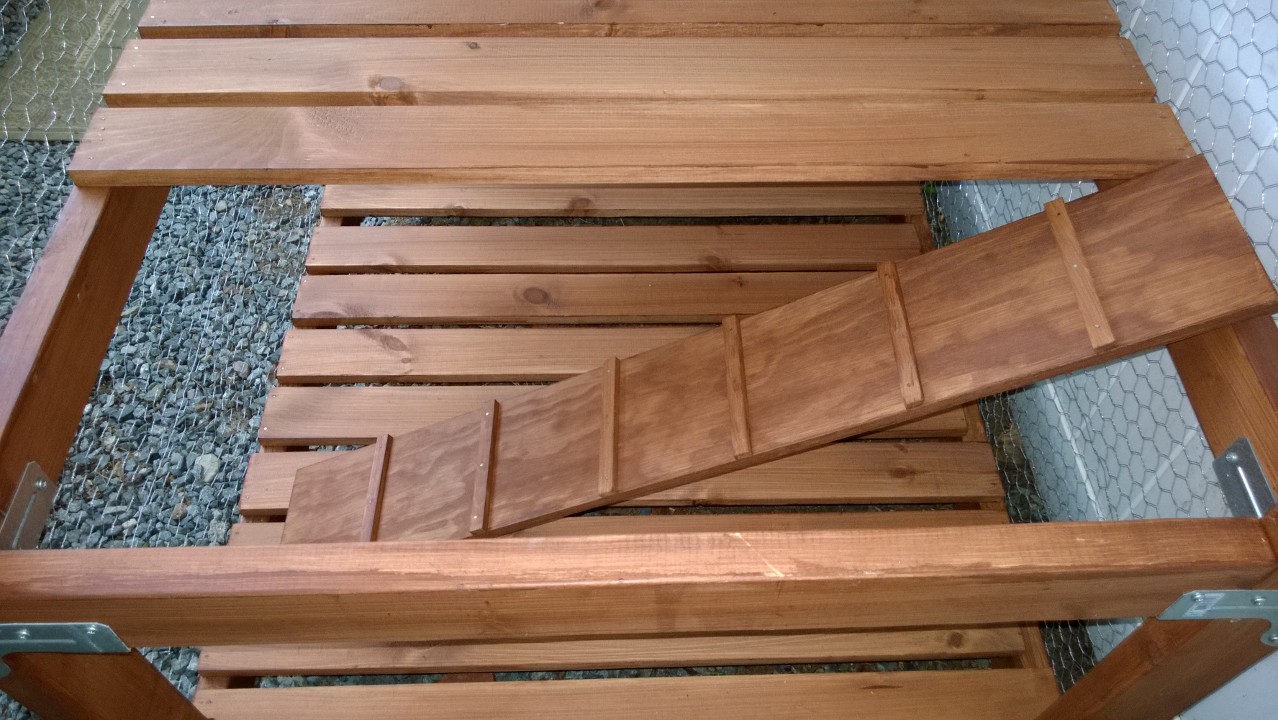
Today after work I cut treads for the ramps out of ⅜″ x ¾″ wood and laid them on the ramps to see how they’d look:

Then I stained them:

And – once they were dry – nailed them to the ramps:


They look awesome, I’m so excited!
Tomorrow after work I’ll attach them to the enclosure and let Bonkers try them out – I can’t wait to see if he likes them! After that, I’ll just need to build and attach the door, add the cushions, and the enclosure will be DONE! Except for the whole “how will it be attached to the house/window issue”, which will come after our new double-hung sash windows are [hopefully!] installed.
Bonkers will be SO excited!
IF he uses them! I hope he does – they’ll make his life much easier.