In case you missed it, here is the previous link for this now-completed project:
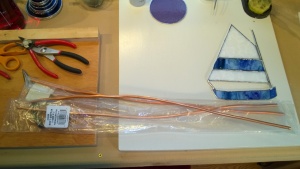
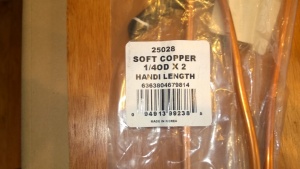
As you read in part 1, I ran into some issues with my first attempt at making a stained glass sailboat, including the bottom looking like a canoe, trying to work with solid copper wire, the entire boat falling apart because the solid copper wire was too heavy, and finally the entire thing falling apart [again] because I soldered the hell out of the seams to the point of insanely overheating them. Oops. So I started over by re-foiling and re-soldering the sail back together. Then I went to Lowe’s and bought some hollow ¼” copper wire [Home Depot doesn’t sell it that small]. They had 3 packs of 2′ lengths, so I bought all 3 figuring I can use it for future projects:
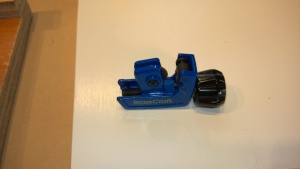
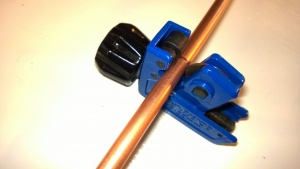
I also bought a tiny copper tubing cutter in the plumbing section – I learned about these in the DIY class I took at Whittier Tech a few years ago. I still have the piece of copper pipe I cut during that class! They’re so easy to use – just place the pipe between the blades, tighten slightly so the blades grip the pipe, then spin, tightening after each spin or 2, until the pipe is cut. It takes less than 1 minute:
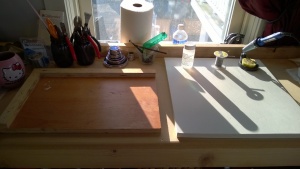
I used my hands to straighten the pipe as best I could which took about 10 minutes of slowly working all the bends out of it. As a side note, my painted plywood soldering board was NOT working out! It turns out solder sticks to paint and melts it off the wood. Yeah. Fun. So even though I loved the look of a white painted soldering board:
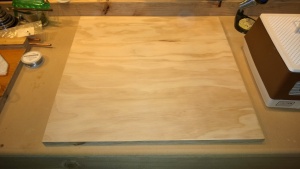
I’m back to a basic plywood board, which took less than 5 minutes to cut in the basement workshop – I LOVE having a table saw and spare wood handy! Plain plywood’s not so bad:
[I ended up cutting the white one in half to make Birdie’s emergency replacement platform last weekend].
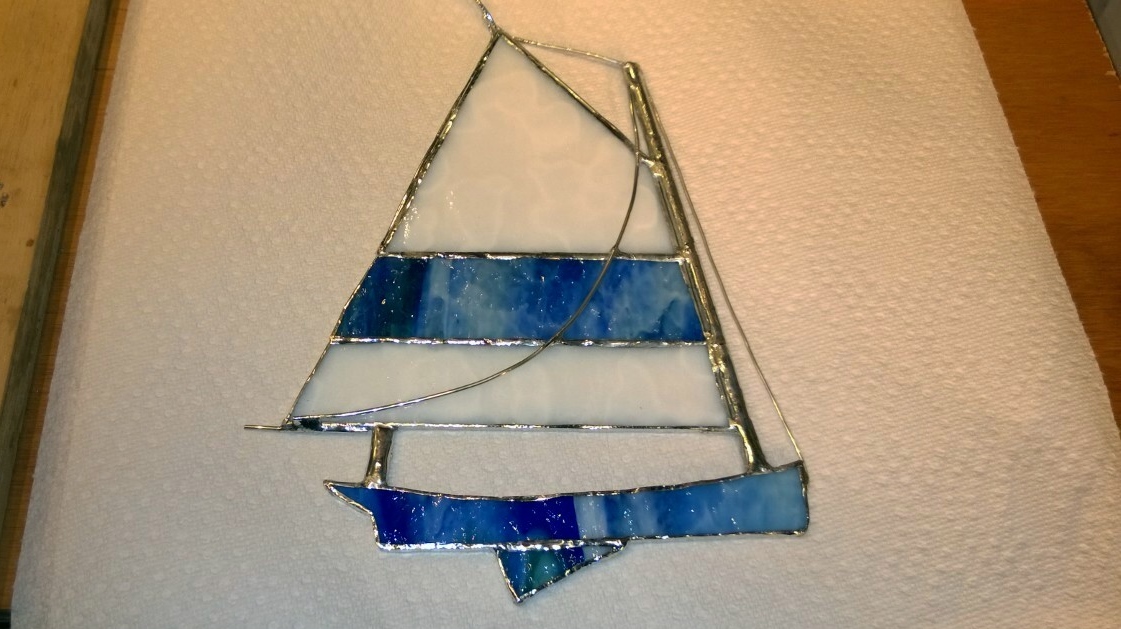
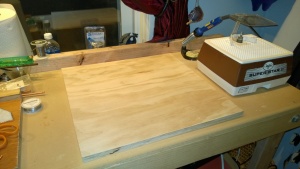
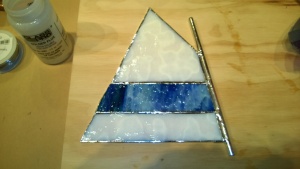
So anyways, once my new board was cut, sanded and placed on my girl cave workbench, I soldered the piece of hollow tubing to turn it from copper colored to silver colored. Copper conducts heat remarkably well. Soldering a hollow tube of copper was CRAZY. It must have heated up to 700° – it was smoking so badly I had to hold it out the girl cave window with pliers until it cooled off! Once it was soldered to the sail it was perfect:
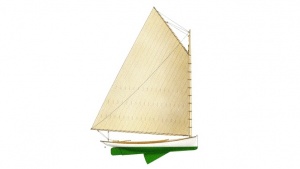
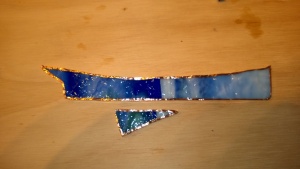
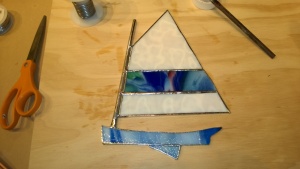
Hubby had mentioned earlier that my boat would look nice with a rudder/centerboard, so I found a new picture of a catboat on the Google and used it as a template to cut a new boat base and centerboard:
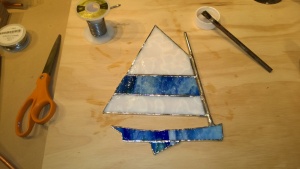
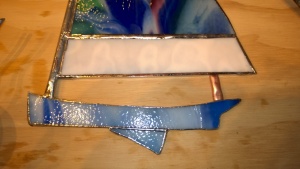
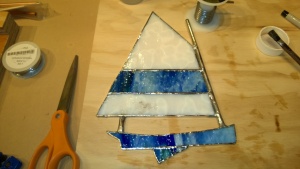
Then soldered them together and then to the mast. The copper tubing is cool to work with – I used fat pliers to gently squeeze the base of the mast so it would conform to the thin edge of the boat bottom. Here’s the front and back:
Then I cut a small piece of copper tubing to act as an anchor for the other side of the sail to the bottom, squeezed it halfway flat, and soldered it on:
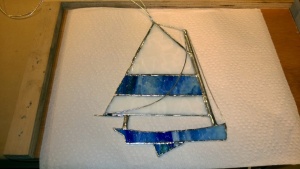
Then it was just a matter of cutting some thin pre-tinned wire to craft “rigging” for the boat, and I was done!
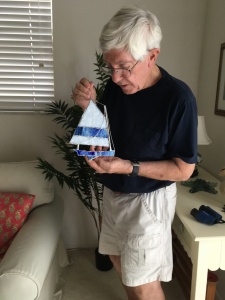
Dad LOVED it, which made me so happy. Love you Dad! Here’s 2 pics my mom sent:
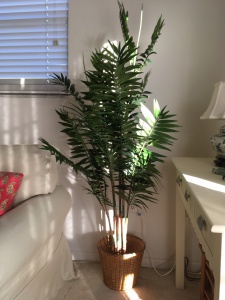
Mom also sent a pic of the artificial bamboo tree I gave them for Christmas. It looks so nice in their loft:
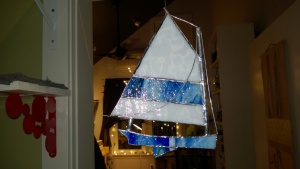

Any sailor would love this recreation in stained glass. I especially love the colors you chose. Jo @ Let’s Face the Music
Thanks, Jo!
That is you good successfull.
Das ist dir gut gelungen.
Liebe Grüsse
Danke Daniela!
You are right, I totally ❤️ it. Now I am looking for a special spot to hang it up. Love, Dad
Cool! It will be perfect in Marblehead 🙂
The catboat is just beautiful – we both really love it.
It was the perfect Christmas gift for Dad!
I’m glad it came out how I pictured it!