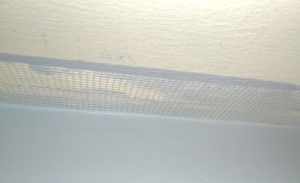
My wonderful husband got me some FibaTape drywall tape at Home Depot last week:
So I set up my ladder and applied the tape along the edge of the ceiling where the original tape was coming loose. After the tape was up, I spread joint compound as evenly as possible over the tape. It was hard to get it to go on even, but I don’t think I did too badly for my first attempt:
As I spread the joint compound I realized I had a new problem, which is a gap between the wall and ceiling. When I pushed gently on the ceiling, the gap got bigger… since there’s no visible water damage, it could just be a sign of shoddy workmanship or materials, in which case it’s a job for another year – replacing ceiling drywall is not in my current realm of abilities!
After letting the compound dry for a few days, I sanded it down smooth. I learned that sanded joint compound has the consistency of confectioners sugar… definitely wear a mask! And protective eyewear. And have a vacuum nearby! Then I applied FibaTape to the hole I discovered last week, to seal it. I applied the tape so half was on the ceiling and half was on the wall. Sorry the photos are so hard to make out – the ceiling, drywall tape and joint compound are all sort of the same shade!
Then I applied another layer of joint compound. Once that’s dry, I’ll sand it down and will probably have to apply a 3rd touch-up coat of joint compound since I can still see a bit of the tape. But the tape kept moving slightly when I tried to keep going over the same spot, so I decided to let it settle before doing anything else.


