Once the chicken wire was off the catio frame, I realized I could build a little sleeping box for the catio before my welded wire arrived. I did a quick sketch and took some measurements. I wanted the roof of the box to slant slightly so water wouldn’t collect on it, which is exaggerated in my sketch:

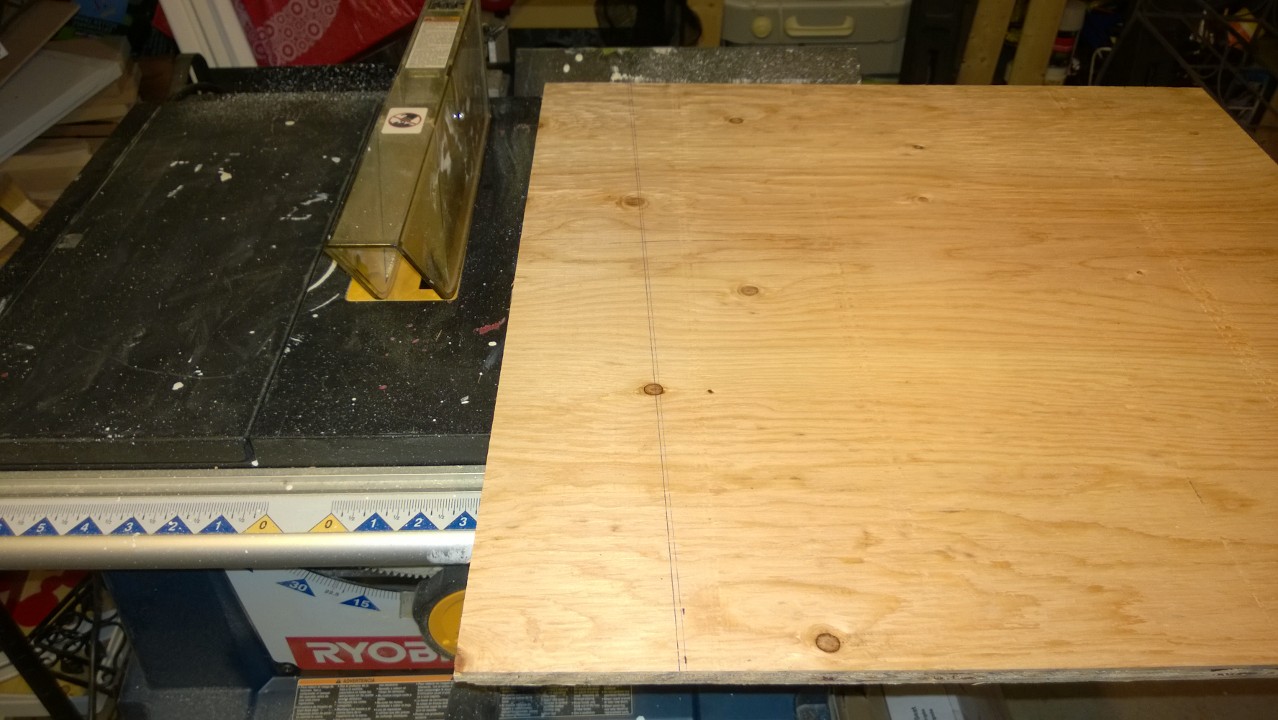
I consulted my Dad and he suggested ½” exterior plywood. I went to Home Depot after work last Tuesday and bought a half sheet cut into 2’x2′ squares. After getting home I realized I’d made a measuring mistake – I’d sat on the bottom shelf of the catio, leaned in, and measured the interior distance between catio shelves, which is 21.5″. I should have measured shelf to frame, which is only 18″ – d’oh! It was only after cutting a side piece to 21″ and testing it against the catio I realized my mistake. Phew – glad I didn’t build the whole box. Measuring wood is not a strong point of mine! I modified my sketch with the new measurements:

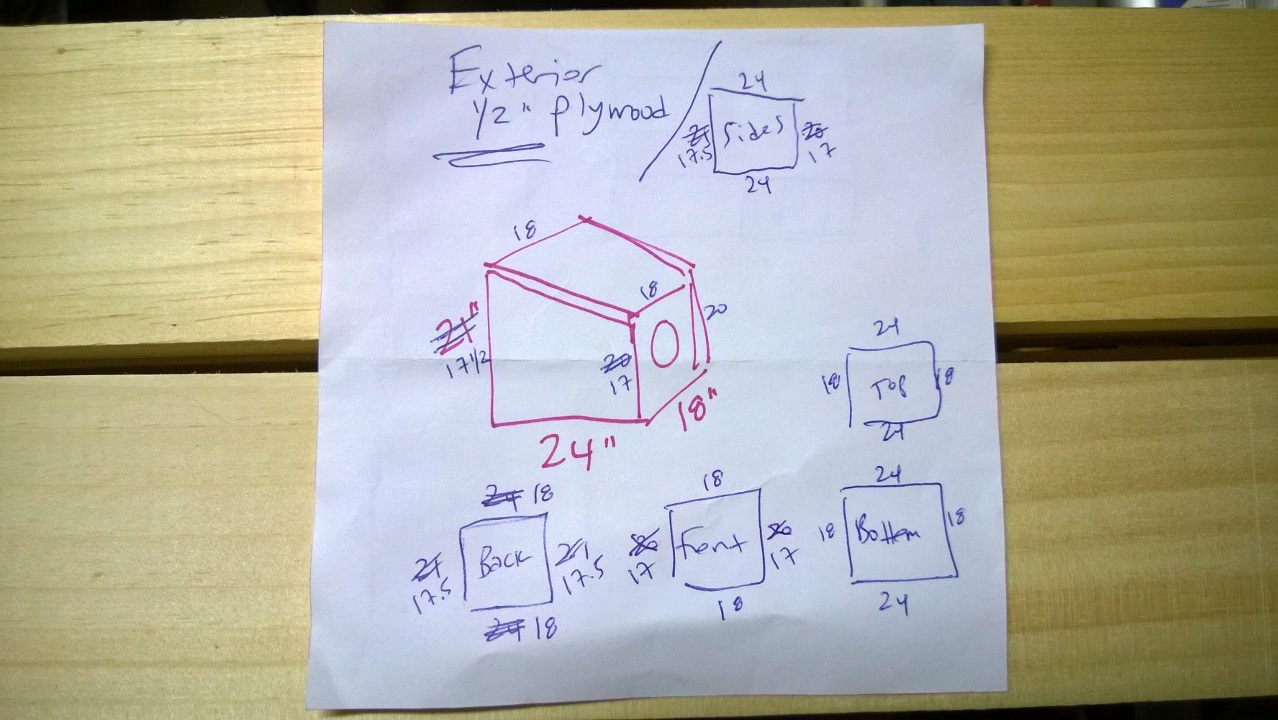
You may also notice I didn’t account for the ½” thickness of the wood. I had a hard enough time visualizing the size of each piece let alone which ones needed to be slightly shorter – gah! I figured I’d deal with that while building. Spacial visualization is beyond my scope of talents, FOR SURE. Once everything was cut to the right size, I sanded down each edge & surface:

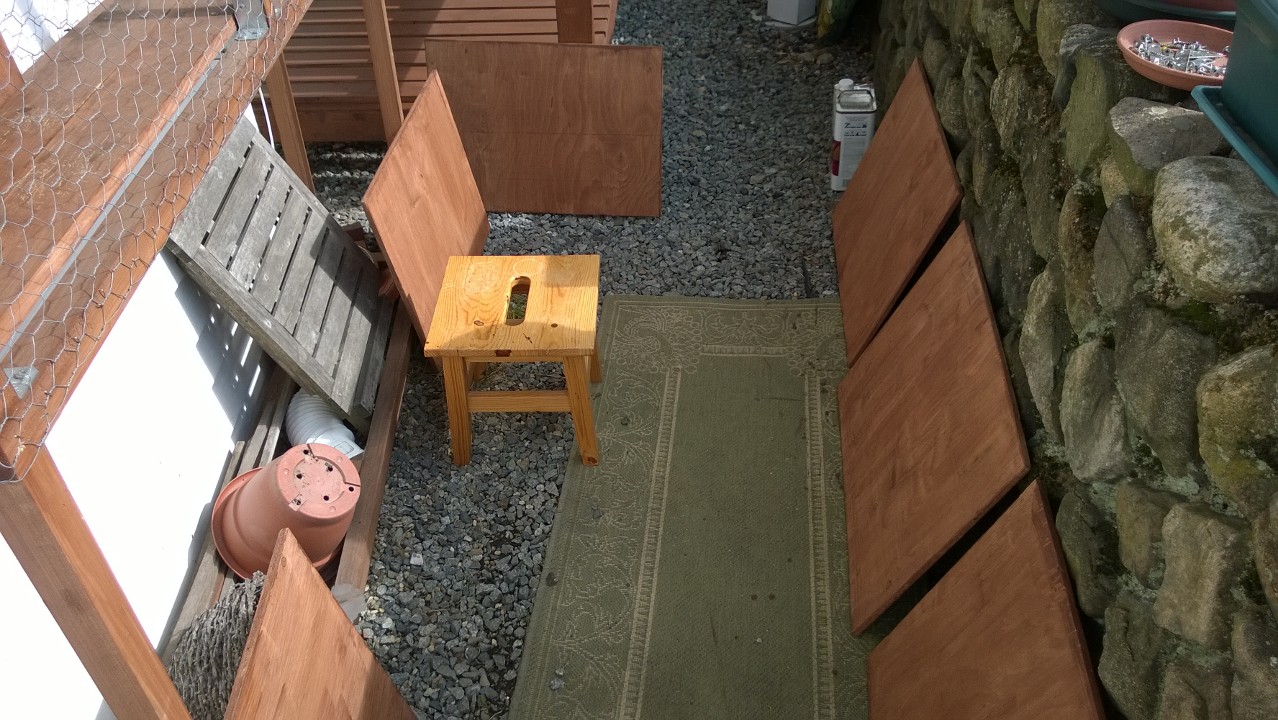
On Wednesday I was home sick with a migraine, so nothing got done. That was über frustrating, but what can you do. On Thursday after work I stained the 6 pieces:
And on Friday I built the box:
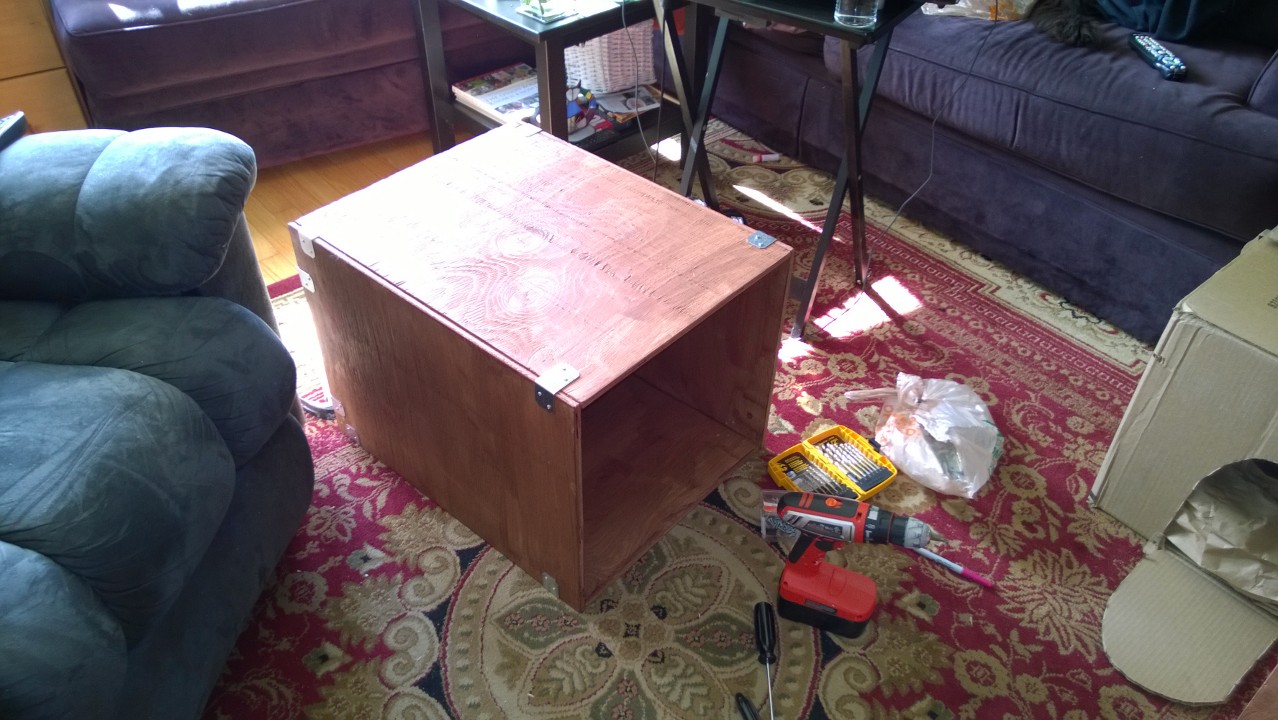
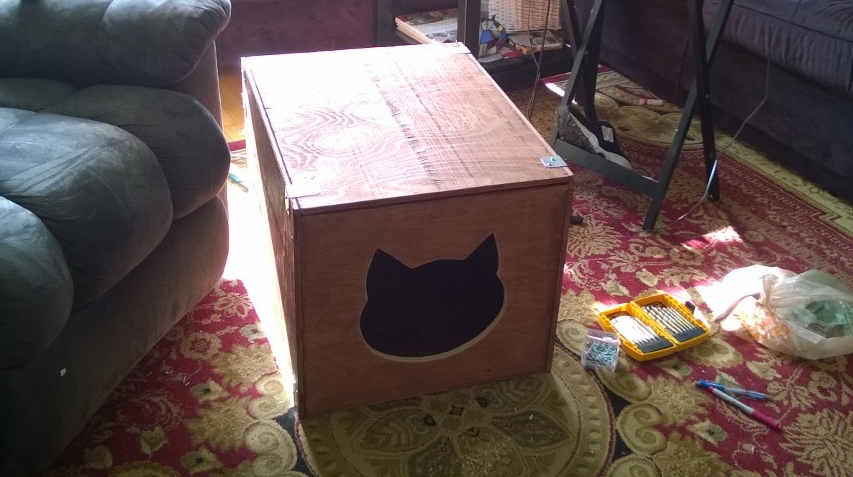
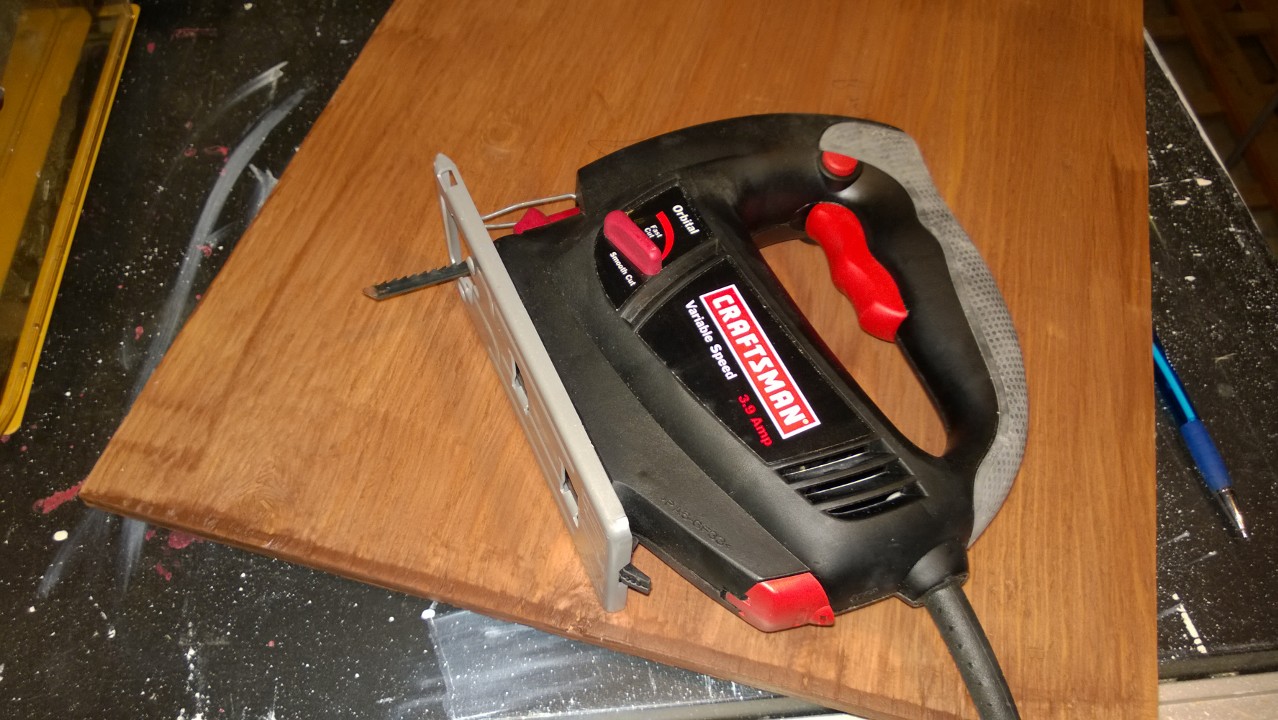
I attached 5 of the 6 pieces together with strong-tie brackets and screws. I left the front piece off so I could cut an entrance hole. I knew I wanted a cat-head-shaped entrance hole, and was planning to buy a cheap sabre saw/jigsaw for this step, but my Dad surprised me 2 weekends ago with one of his old ones. He had two, so he gave me the best one – so nice!!! Thank you, Dad! I LOVE it:
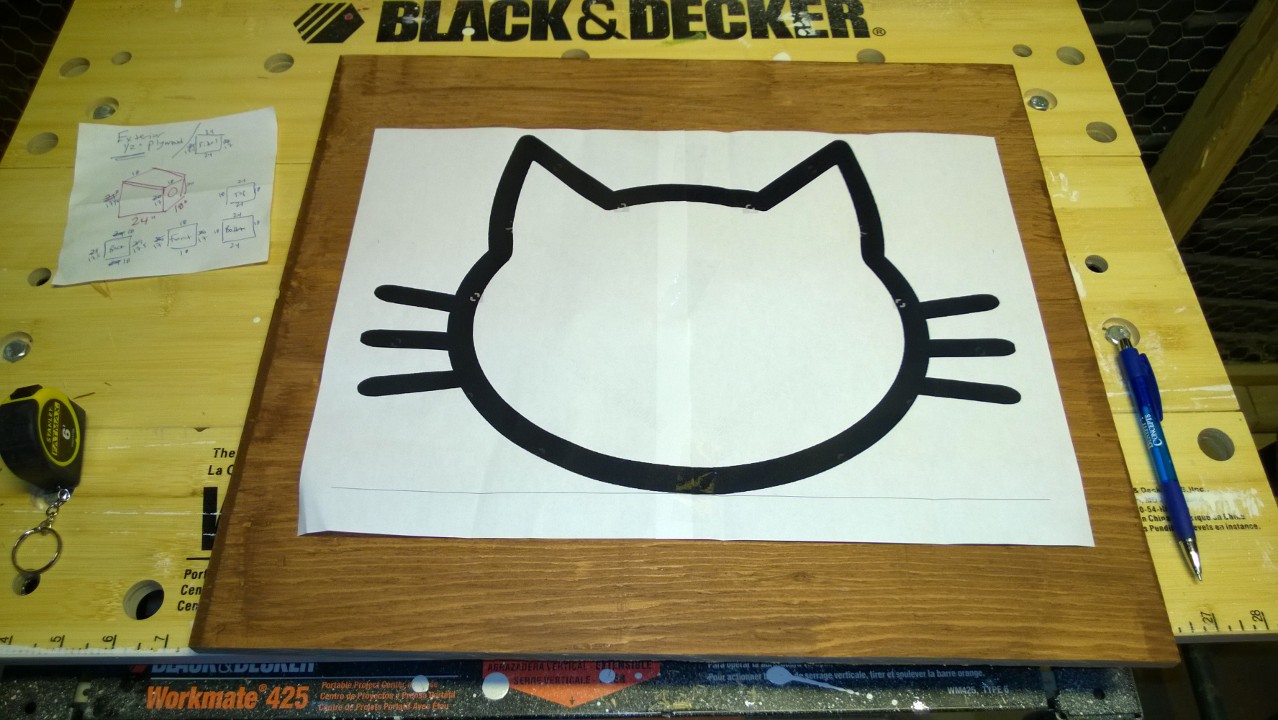
I Googled “cat head outline” and found one I really liked [my original link to the original isn’t working anymore so I removed it]:

I printed it out but it was too small for a cat to fit through. So I opened it in MS Paint, cut it in half, saved each half as a new file, and then rotated the halves so when I printed them I could tape them together into one piece:


When I laid it across the front panel of the sleeping box it was perfect!:
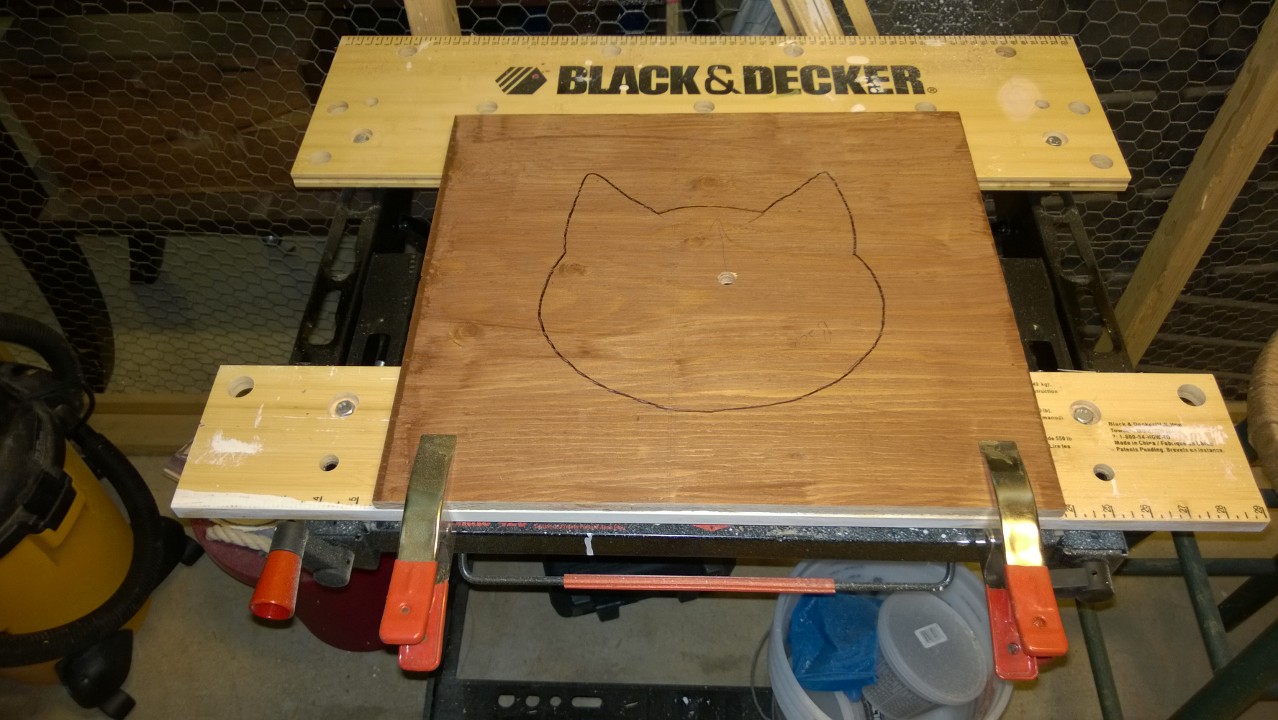
I used a pen to trace the outline of the cat head, pushing down really hard so I’d be able to see the indent on the wood. Then I traced the indent in pen on the wood, but decided it would be easier to cut if the outline was in Sharpie:


That spot in the middle is the hole I drilled to use as a starting point for the sabre saw blade. I debated using the sabre saw on a test piece of plywood, since I’ve never used one, but after watching some YouTube videos it looked so easy I decided to just go for it. I clamped the wood to my Black & Decker WorkMate, then got to cutting – the ears went really well:
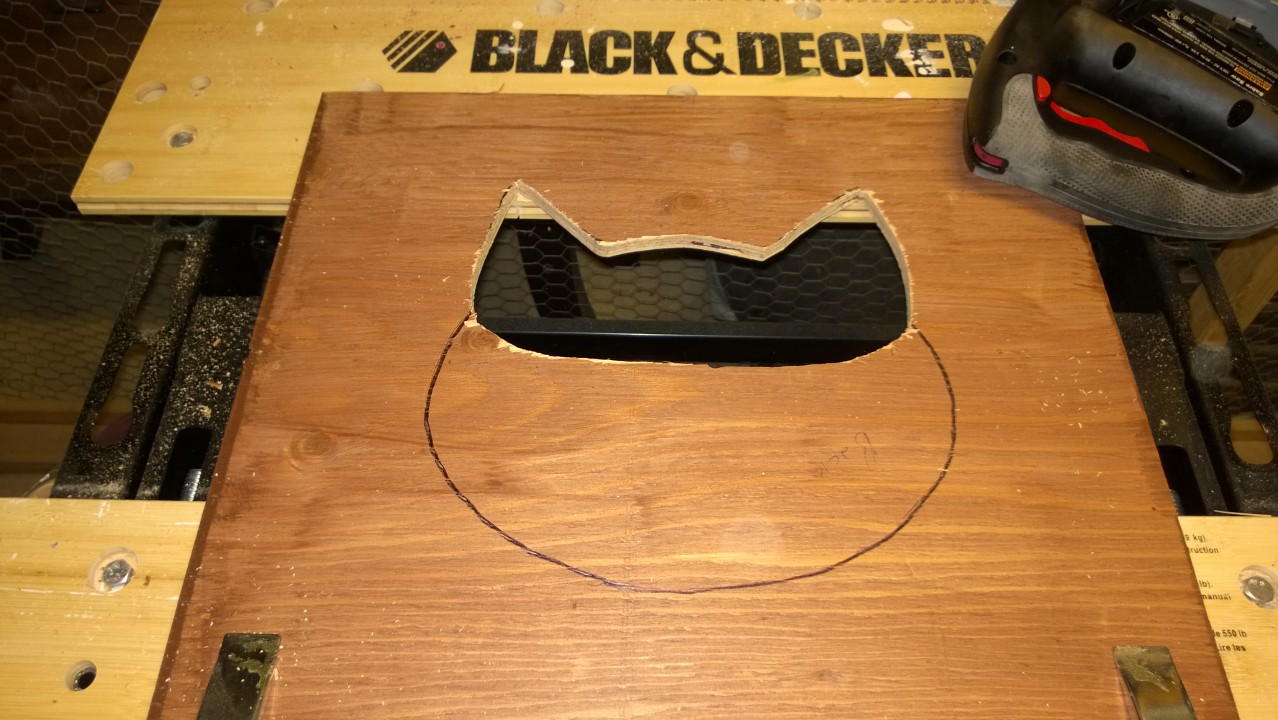
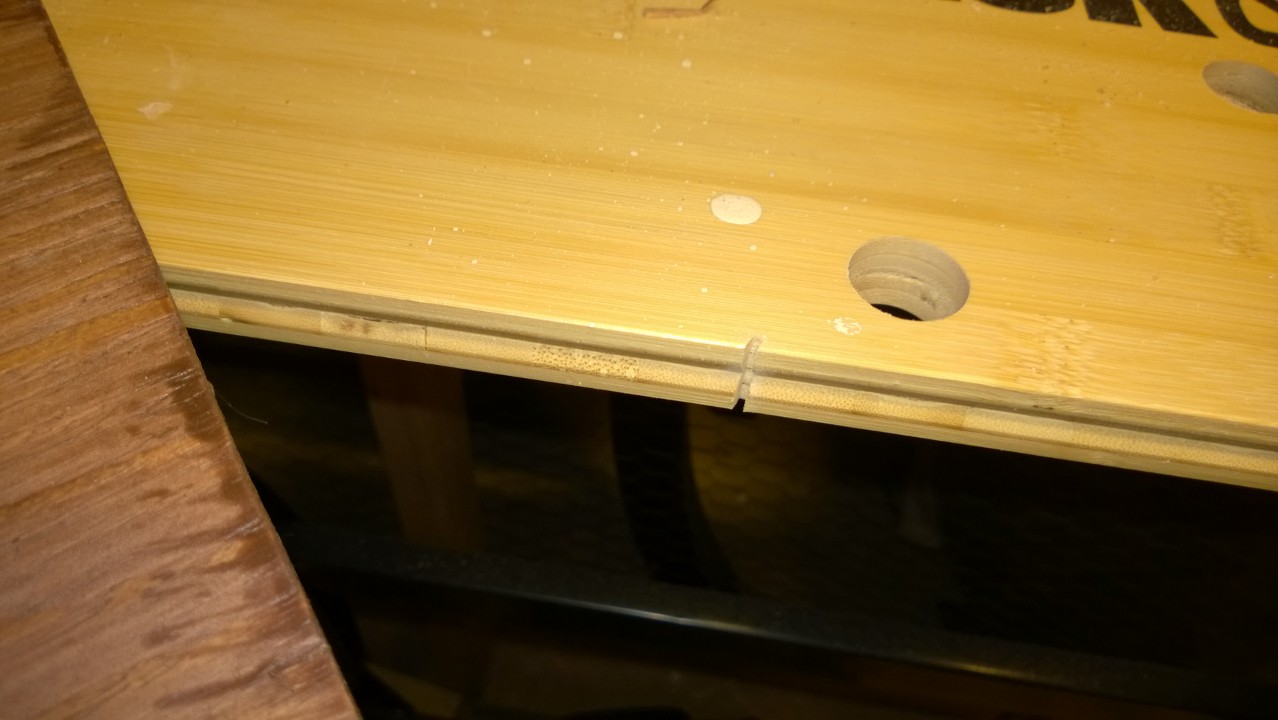
Although I cut a slice into my WorkMate table… Then I flipped the wood around and cut the rest of the cat head:

It only took a few minutes – it was so easy! Then I sanded the edges, brought the piece upstairs, and bolted it to the front of the sleeping box:

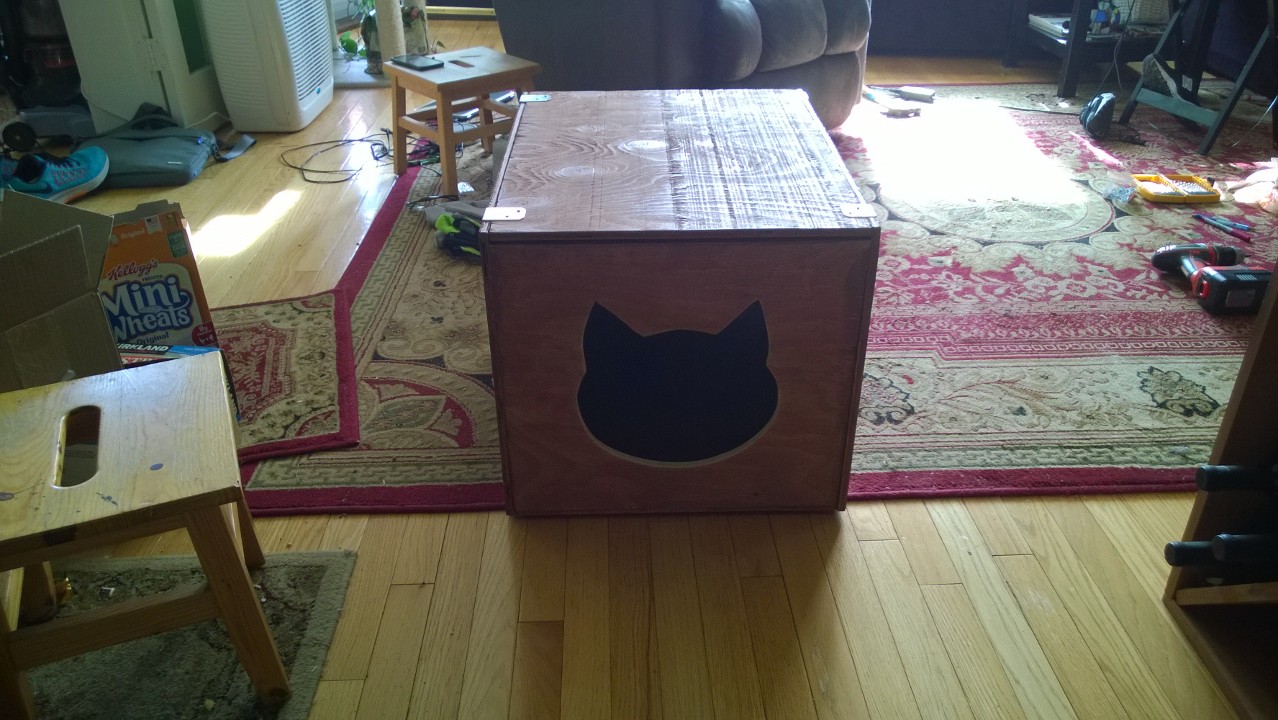
I LOVE it! I took the completed box out to the catio to make sure it fit, and it fit perfectly! But you’ll have to wait until the next post to see it 🙂
Love it! So do Ponche and Crème. They’re jealous.
I’m going to build a couple more indoor ones for the cat platforms.
Wiht much love made .
Mit viel liebe gemacht.
Liebe Grüsse
Ja, das ist wahr!
Love the box – so cute! Once the cats get over their fear of the unknown, they’ll love it!
Agreed 🙂
The kitties will love this!
Darwin has already checked it out and is quite interested. We bought 2 outdoor seat cushions to put inside. That should make it nice & comfy!